Mod Sales Logo
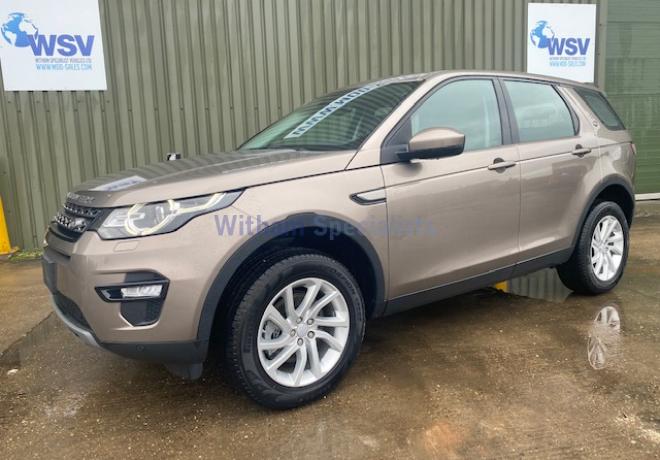
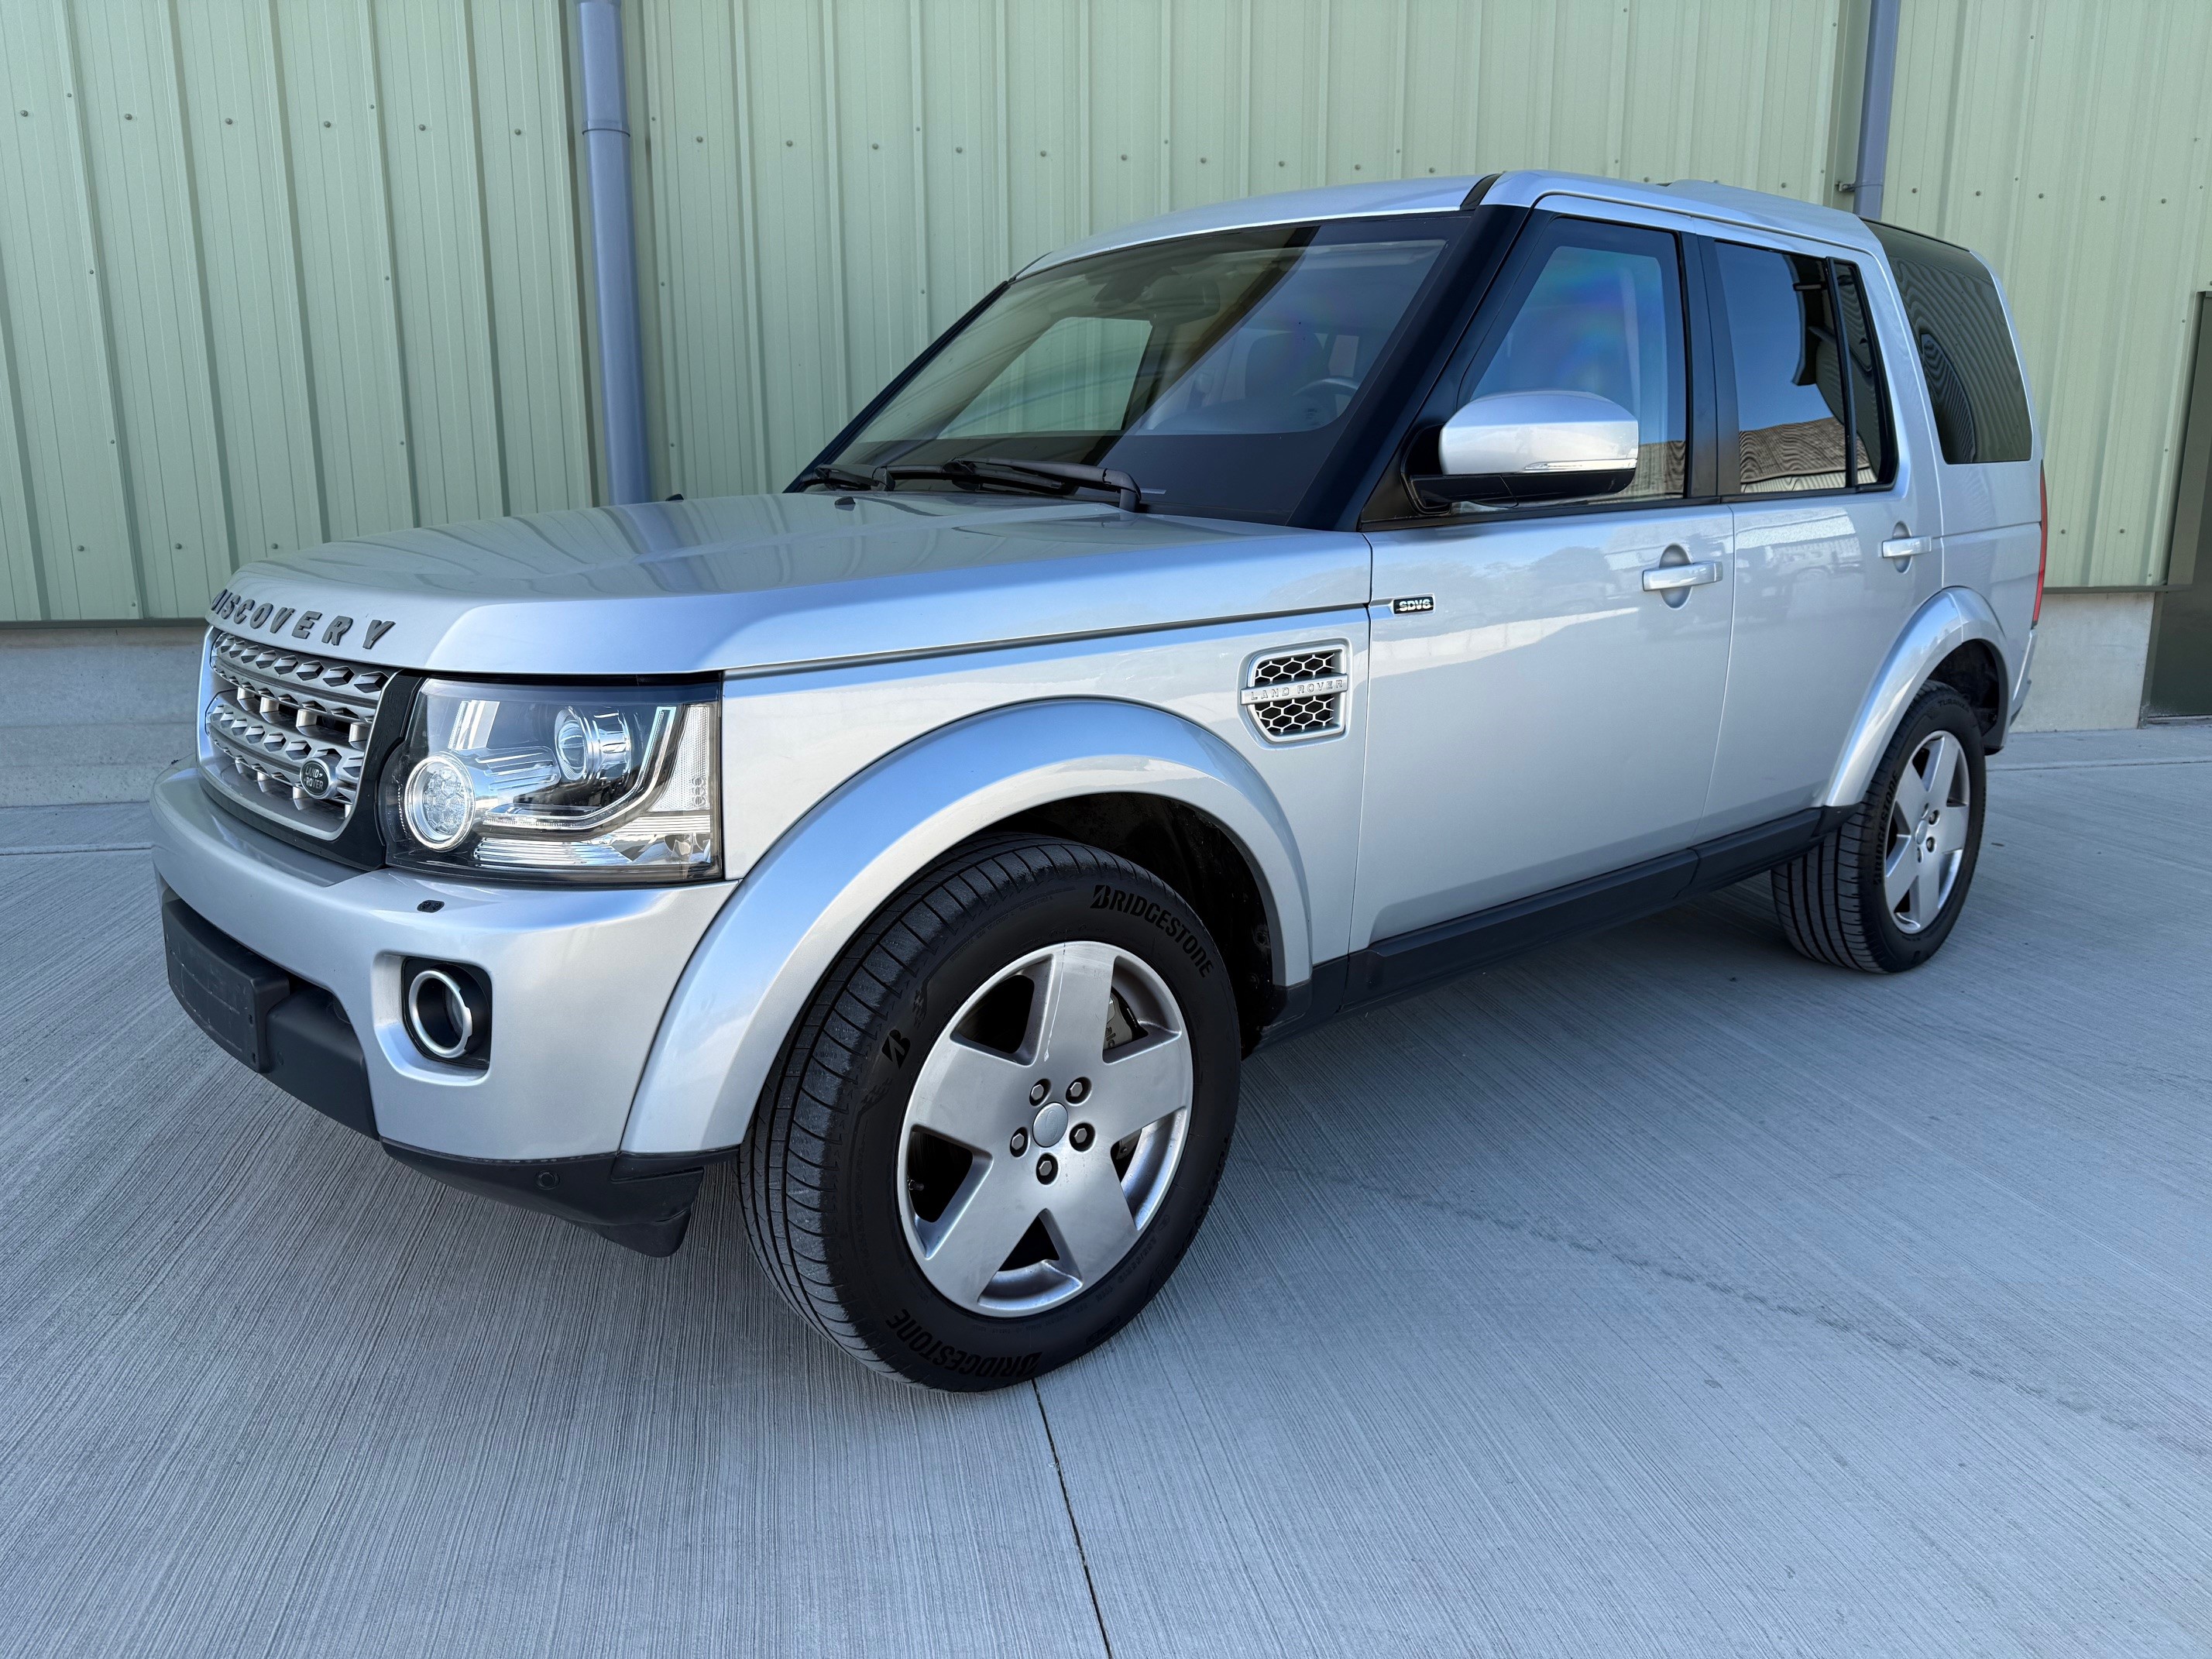
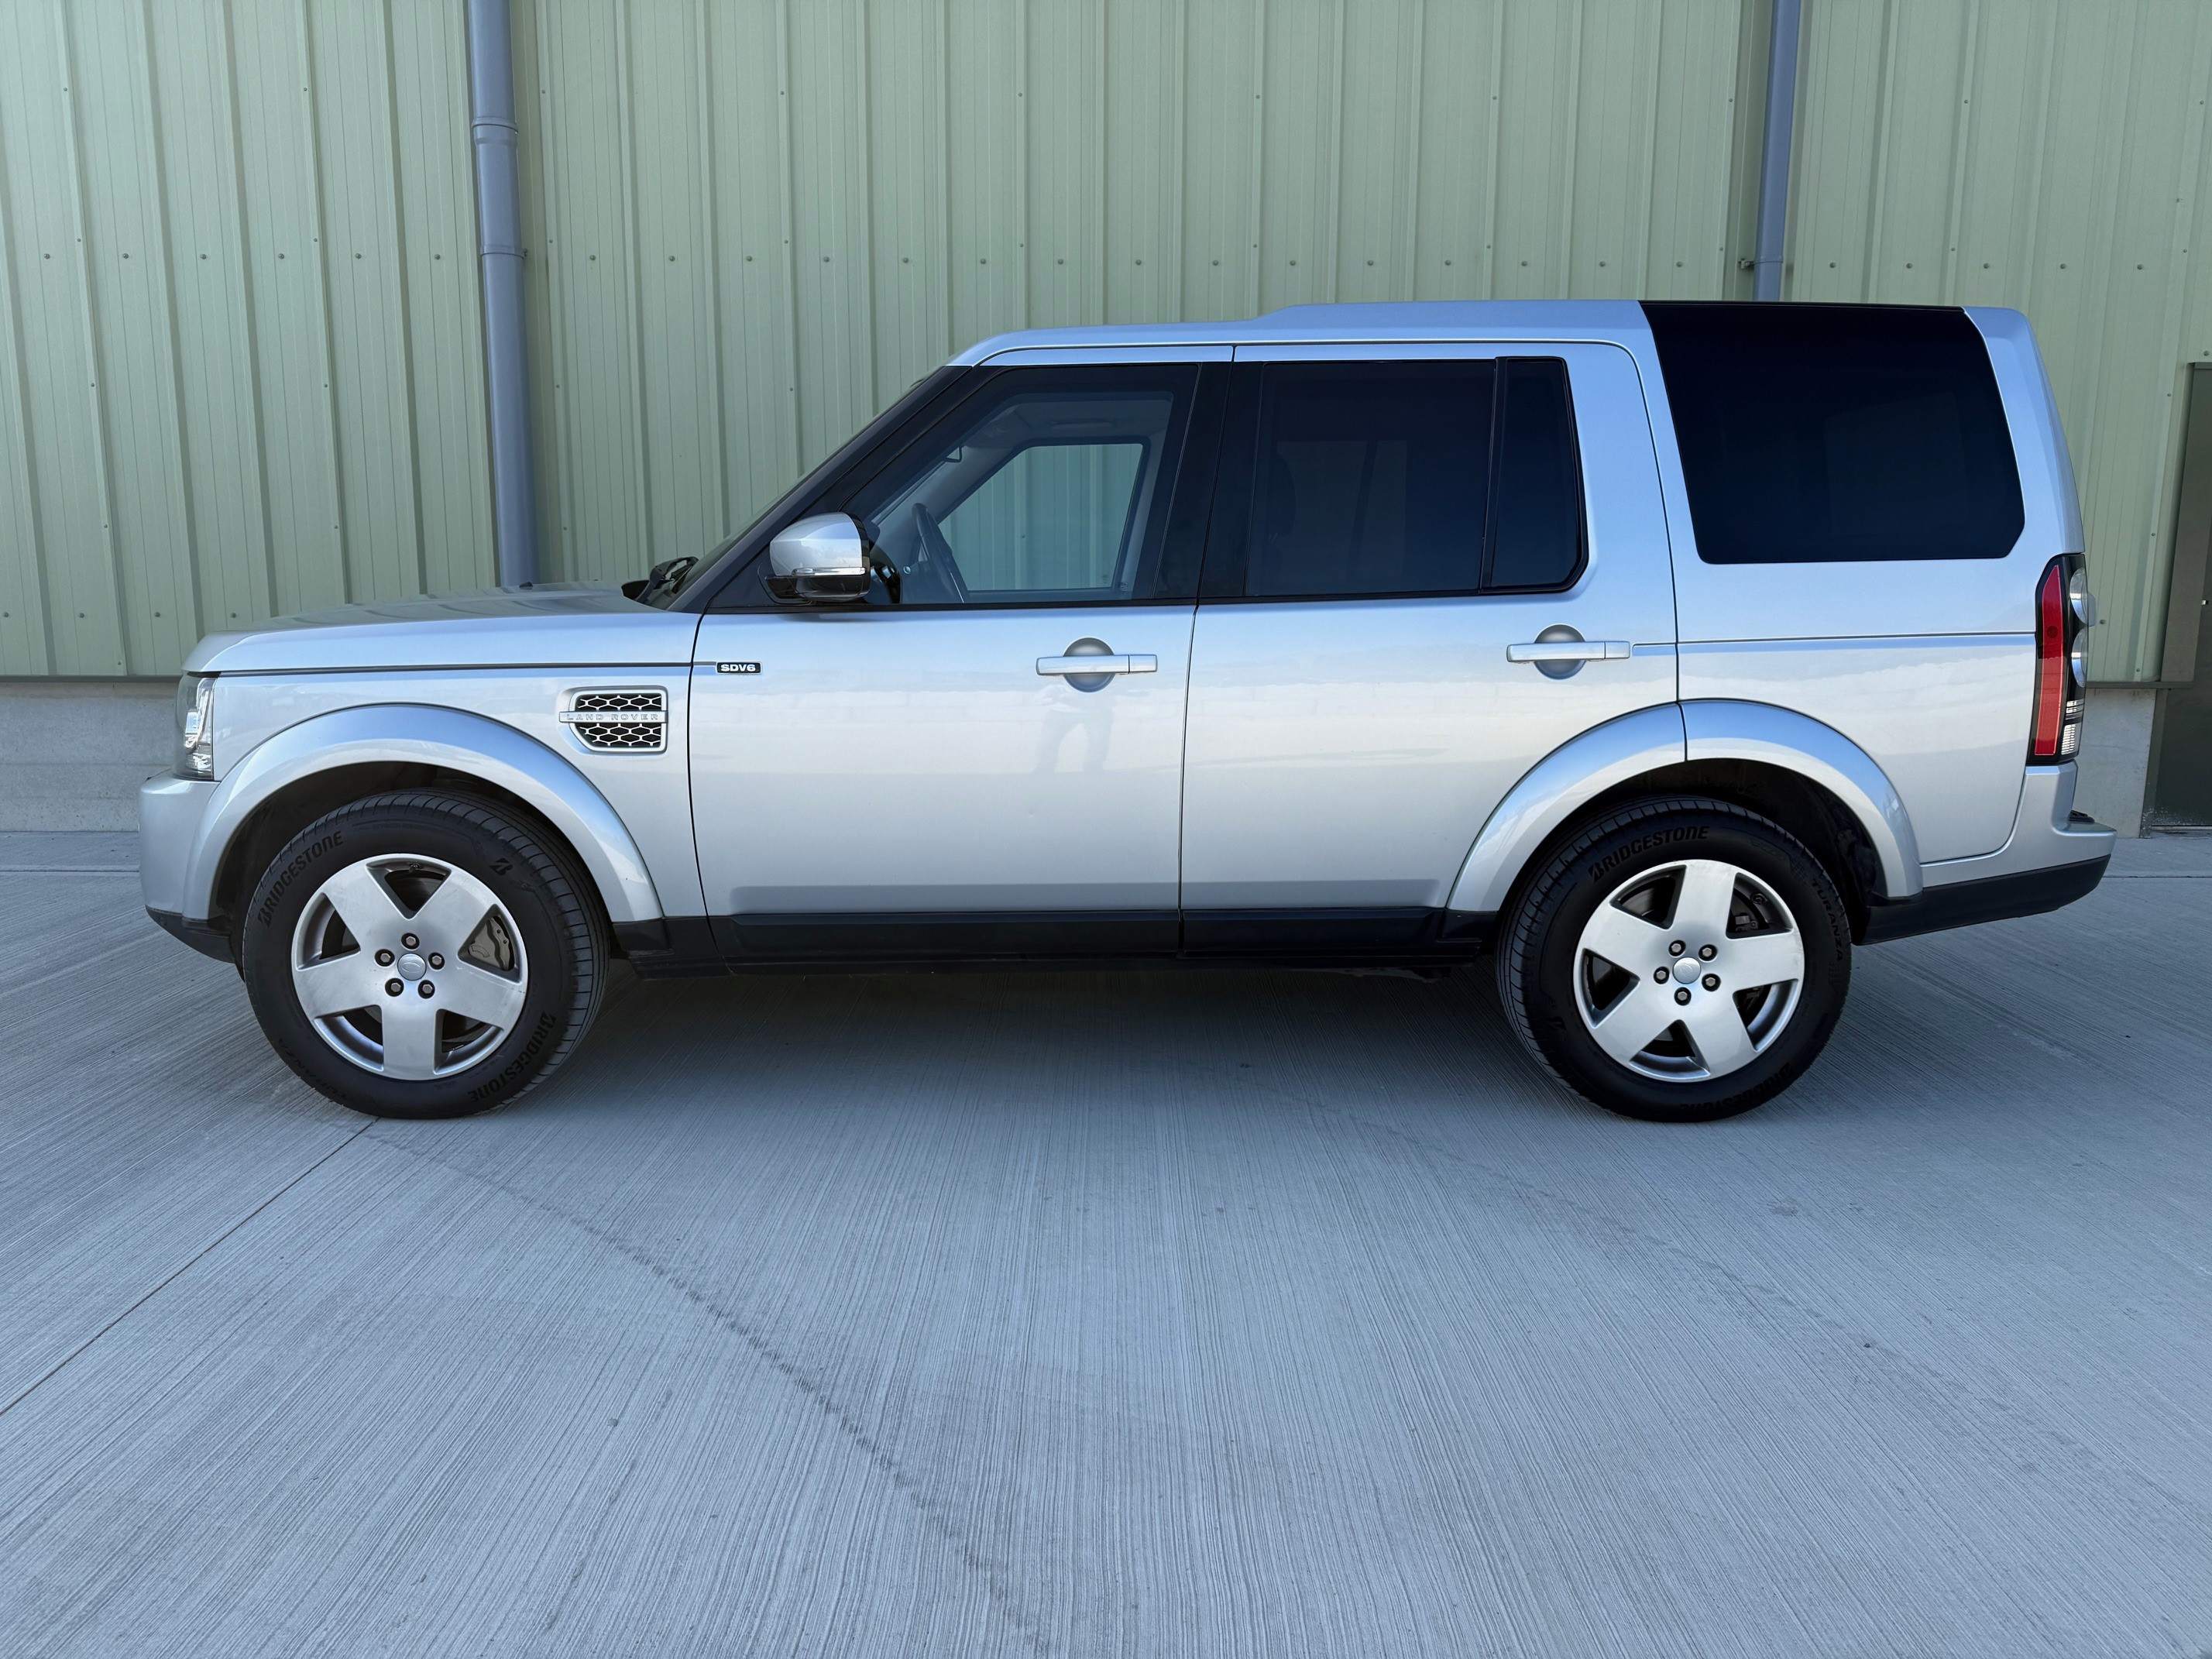
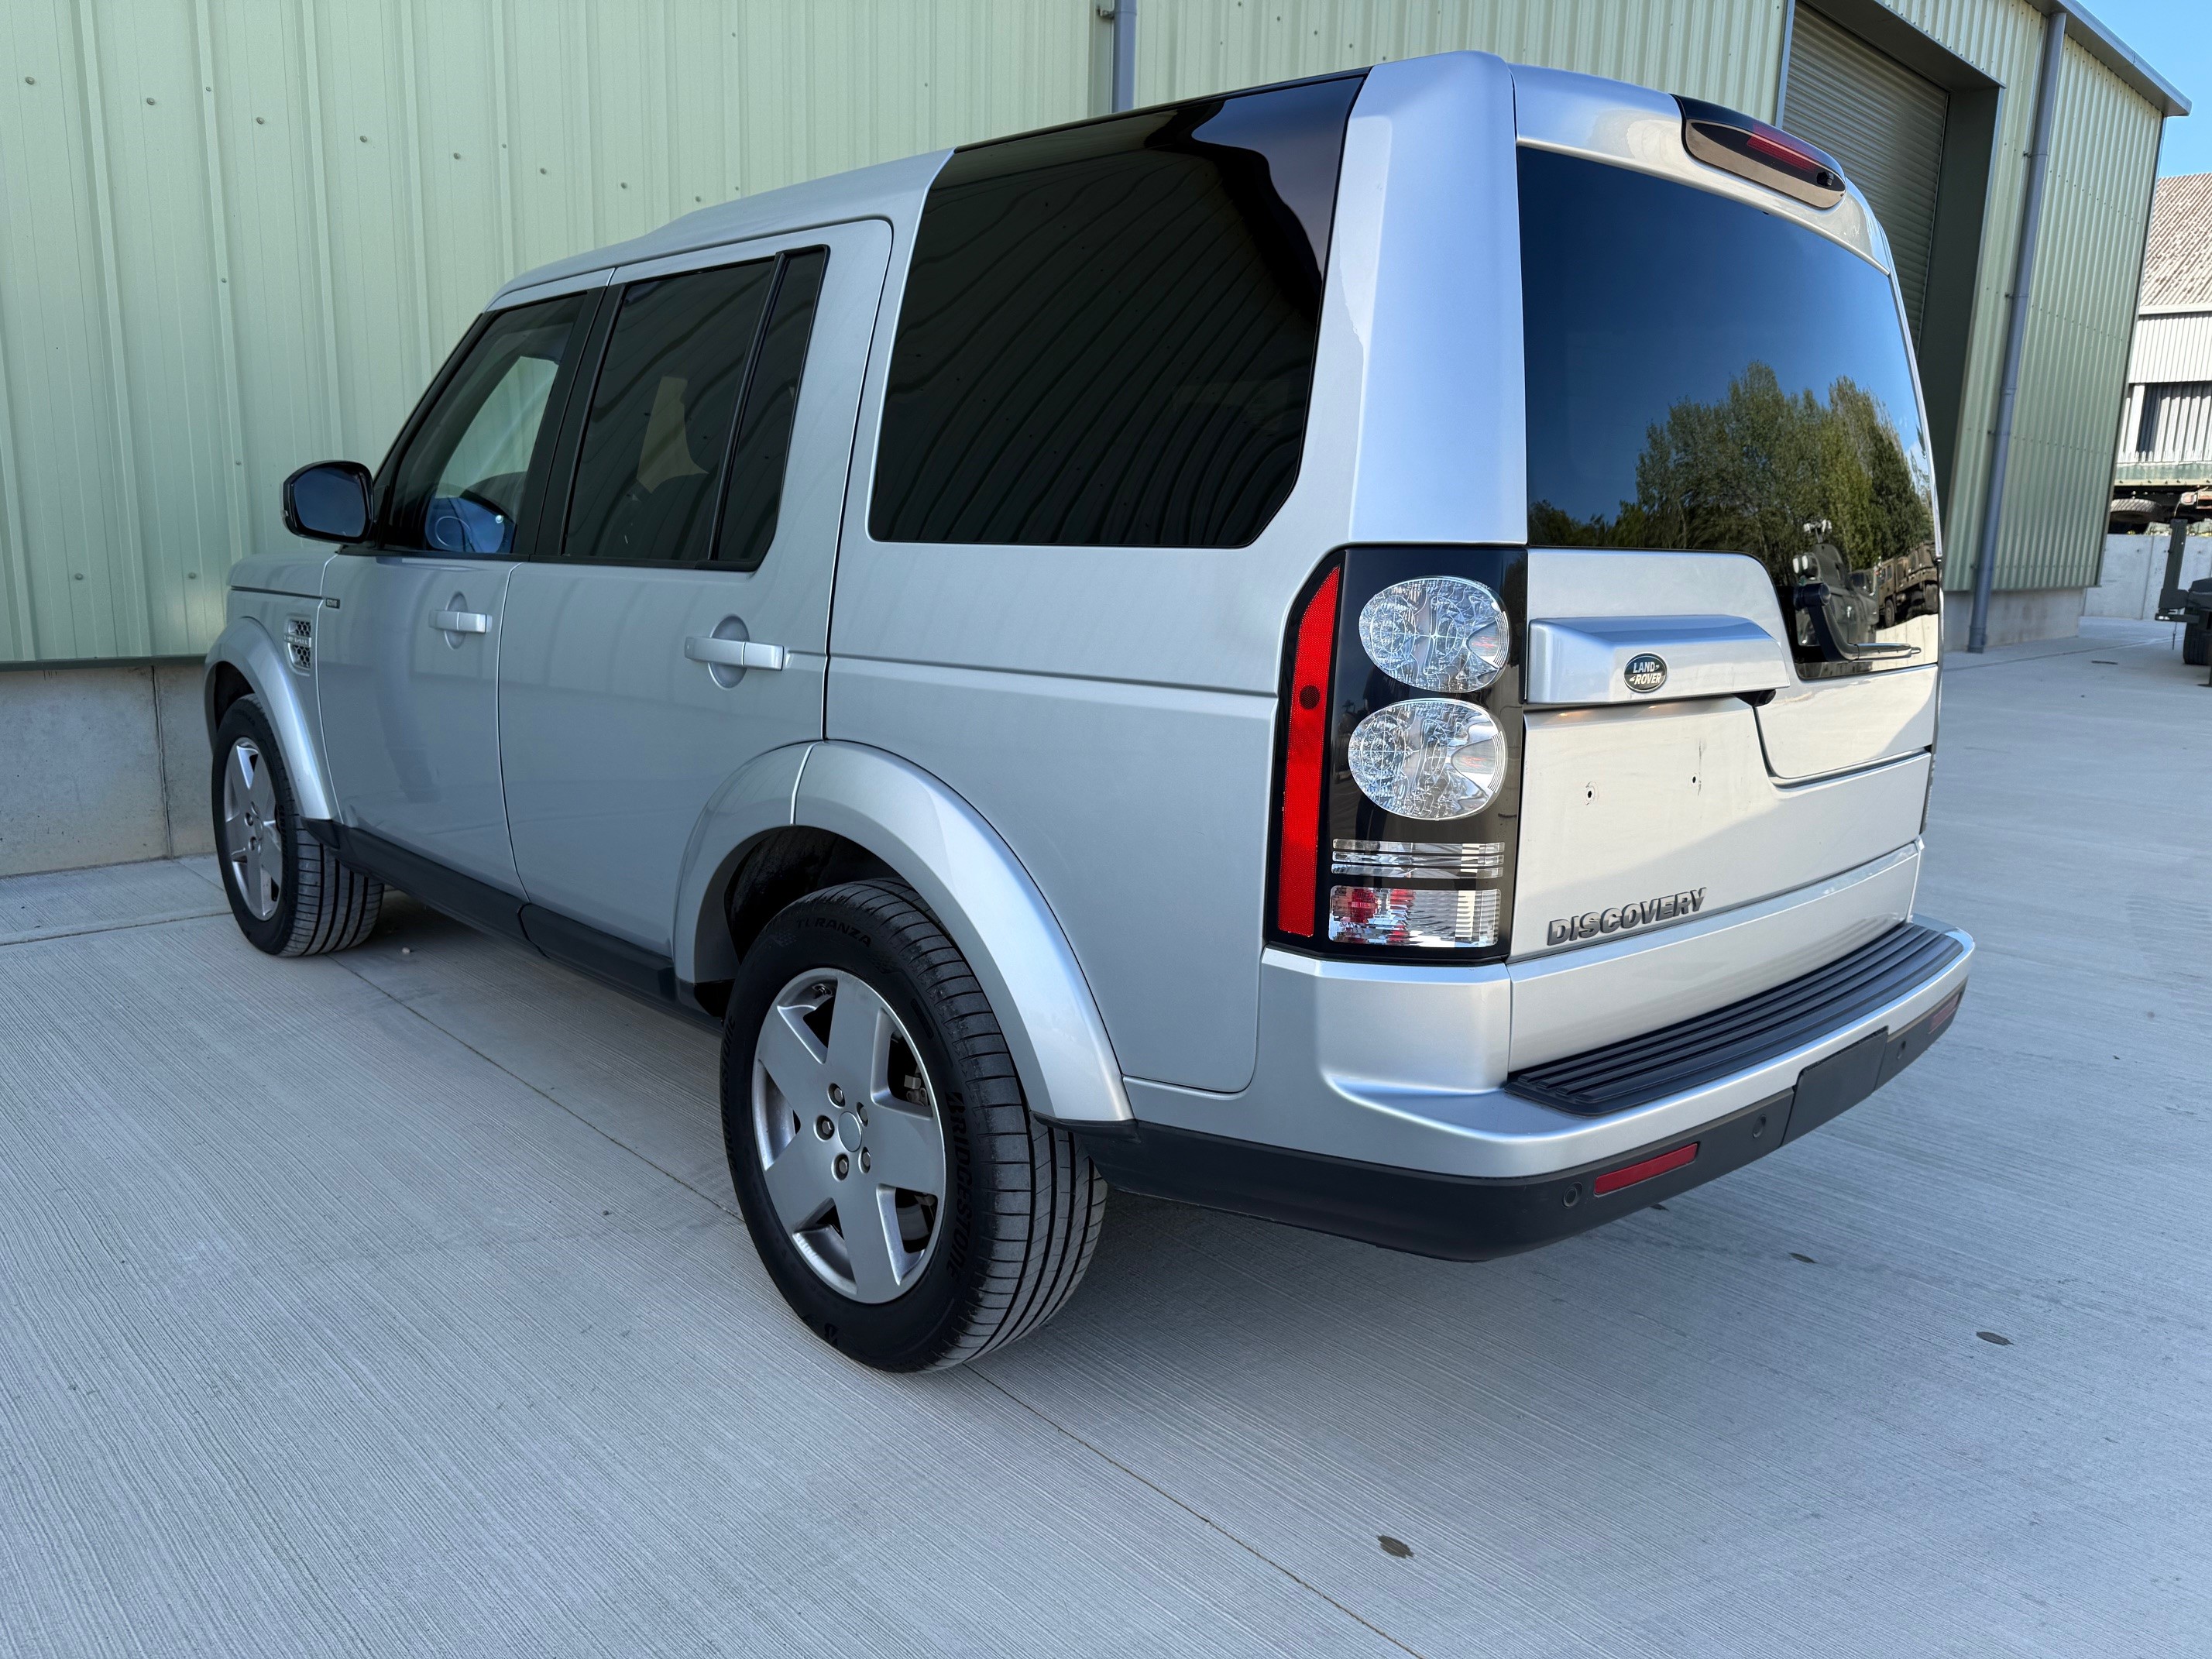
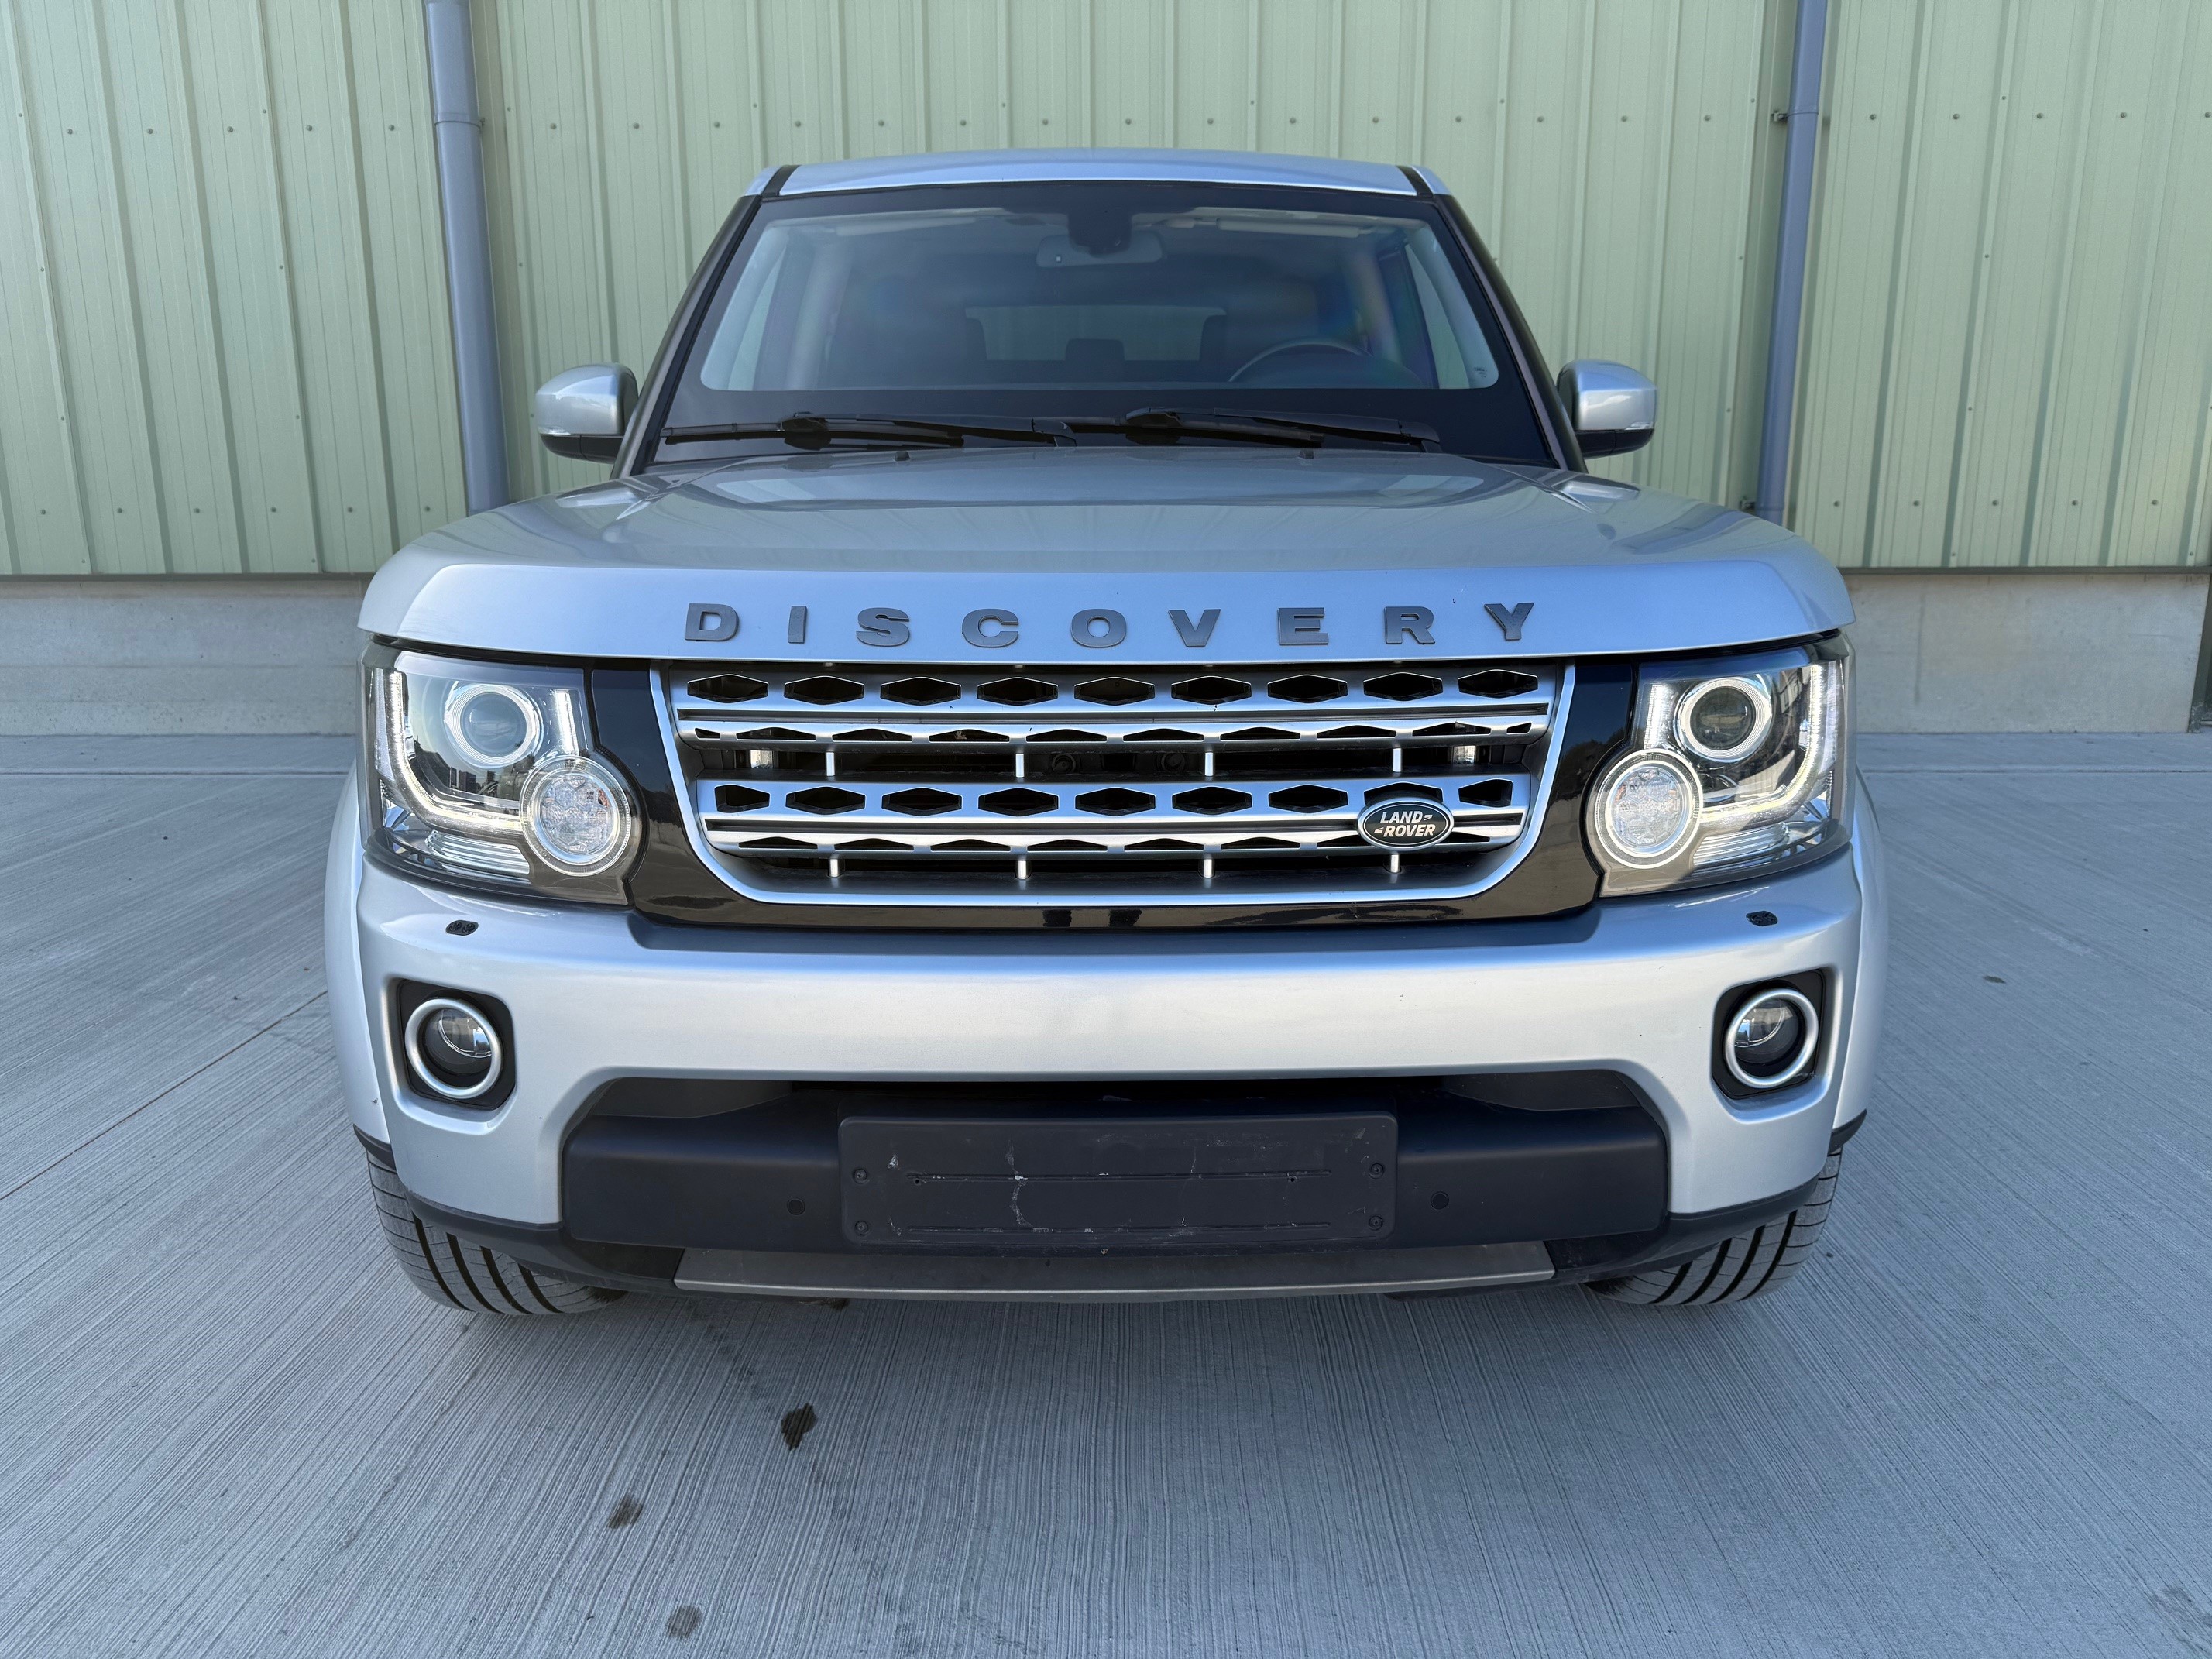
Land Rover Discovery 4 SDV6 HSE LHD, Armoured to B6 Level - Featured image
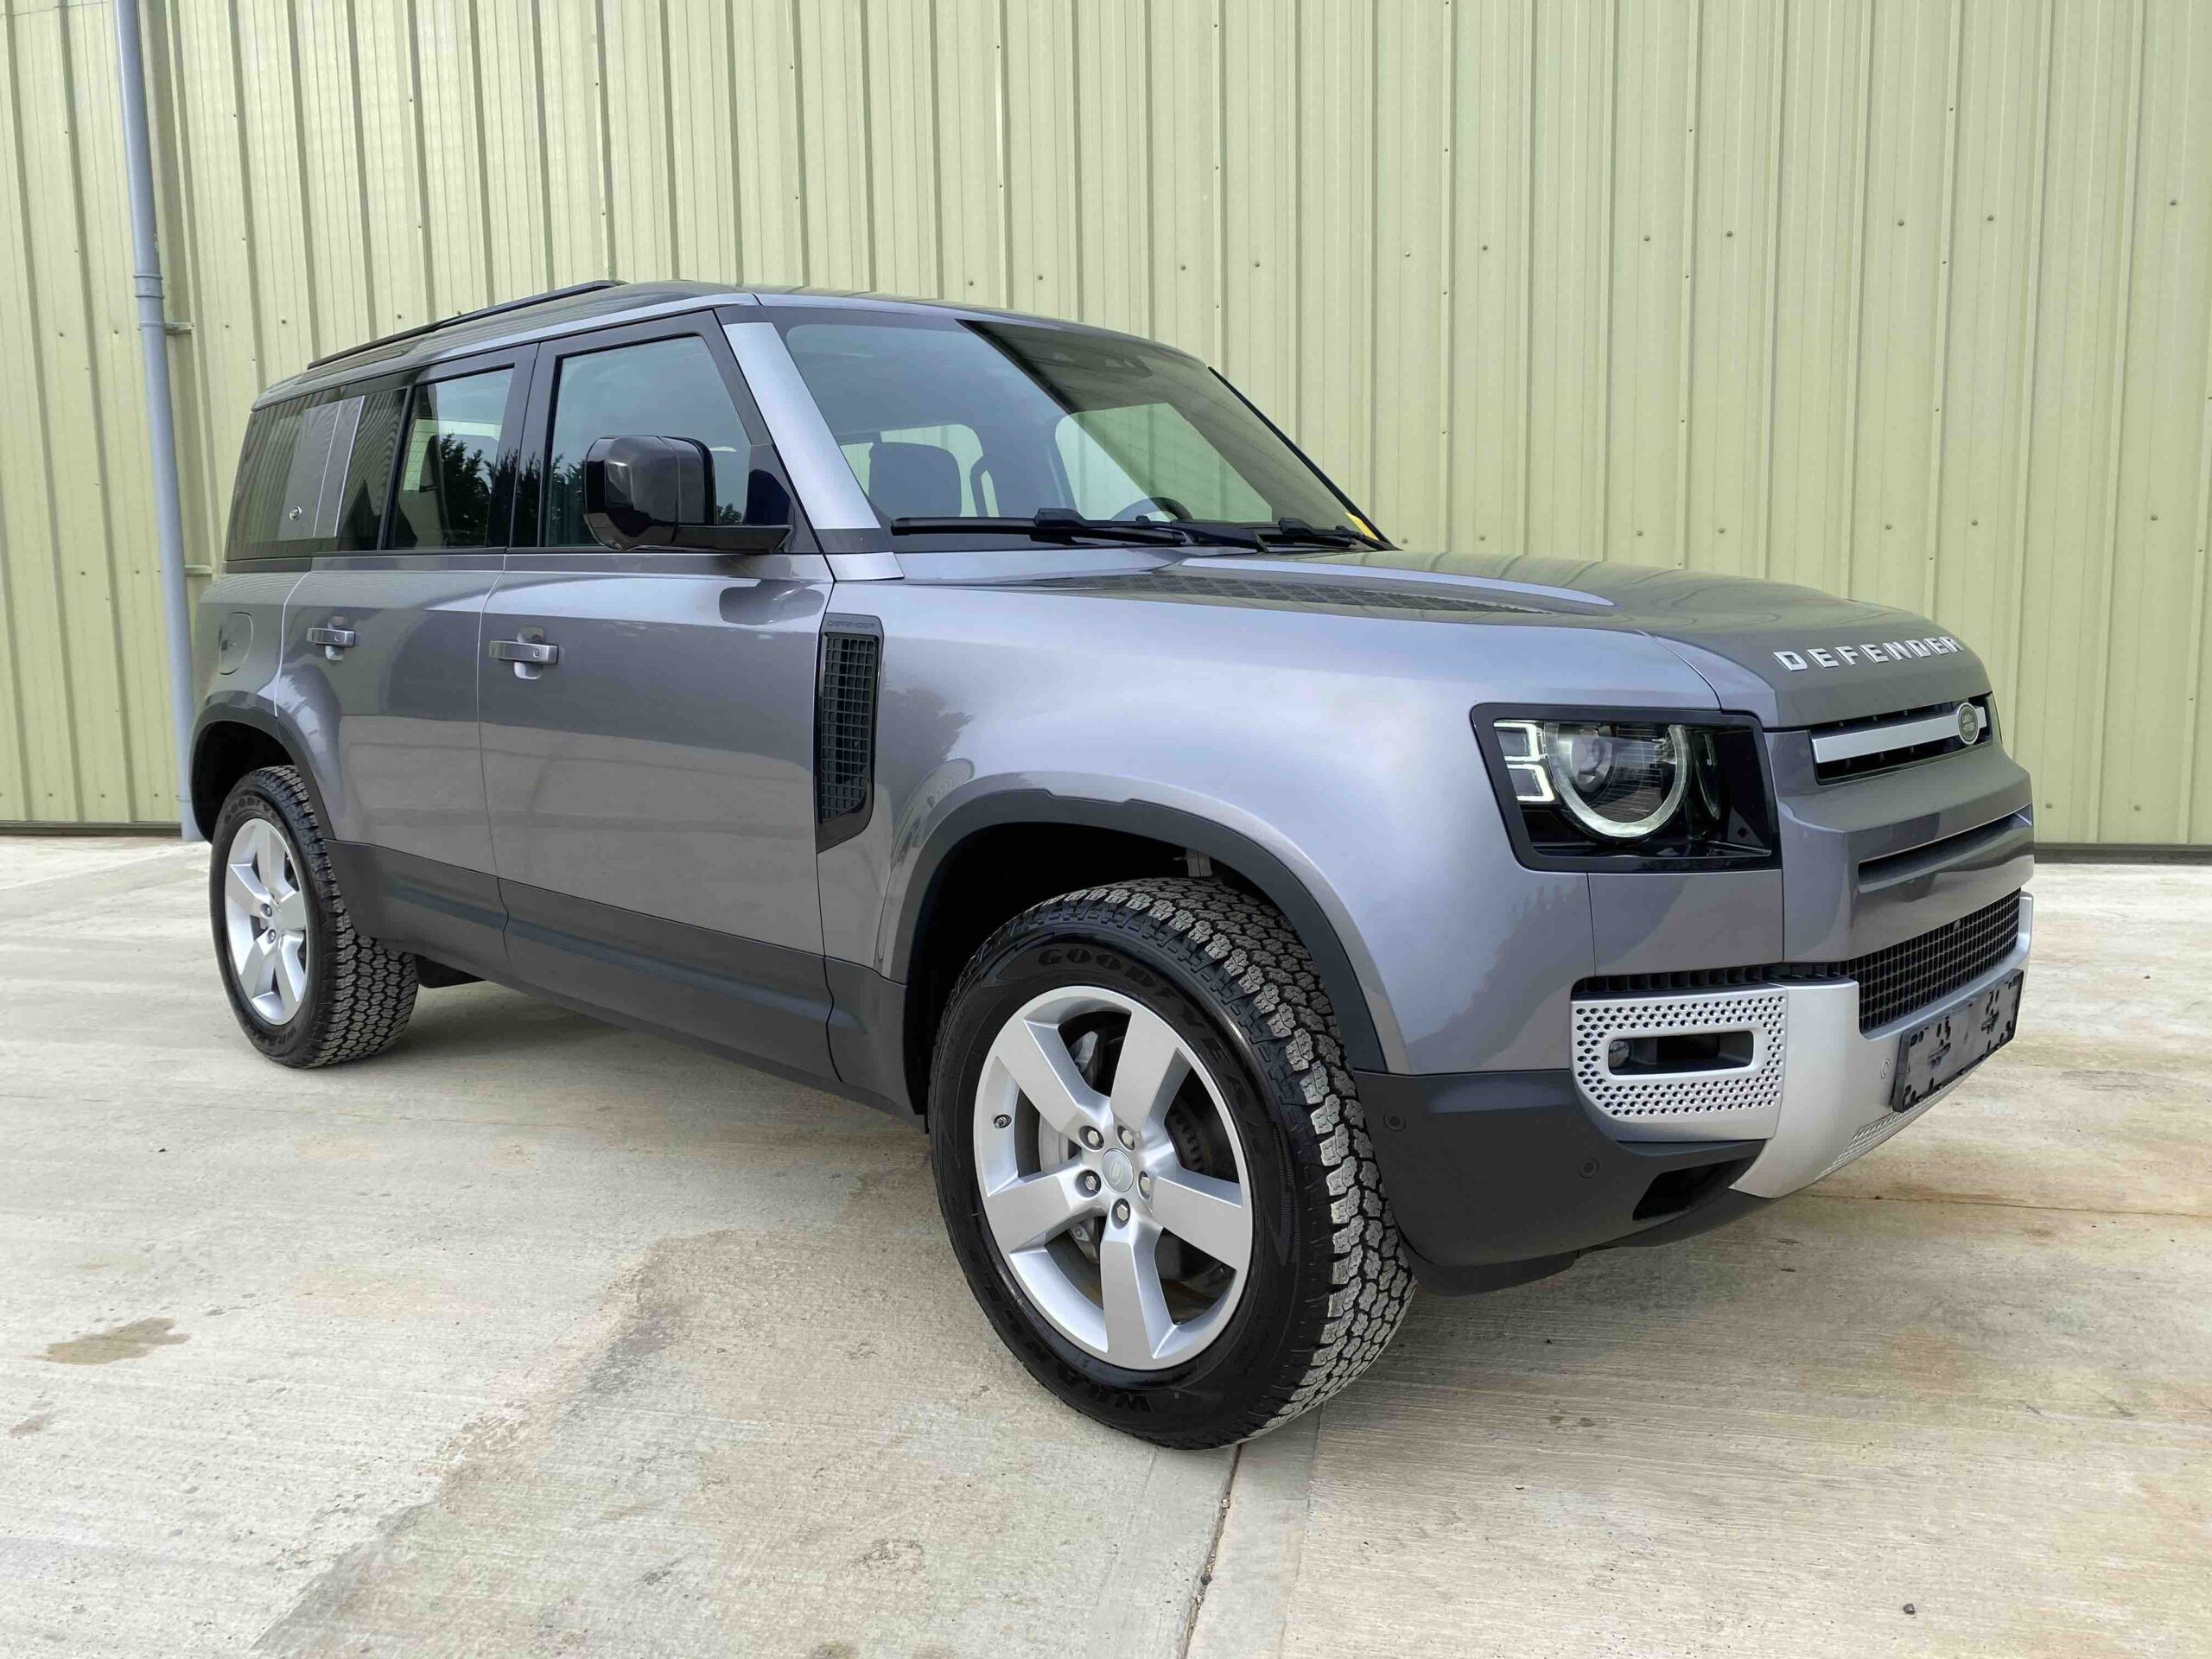
Land Rover Discovery 4 SDV6 HSE LHD, Armoured to B6 Level - Gallery image 1
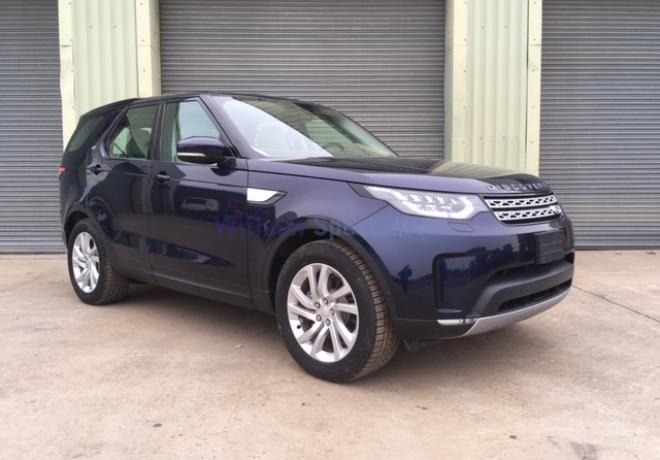
Land Rover Discovery 4 SDV6 HSE LHD, Armoured to B6 Level - Gallery image 2
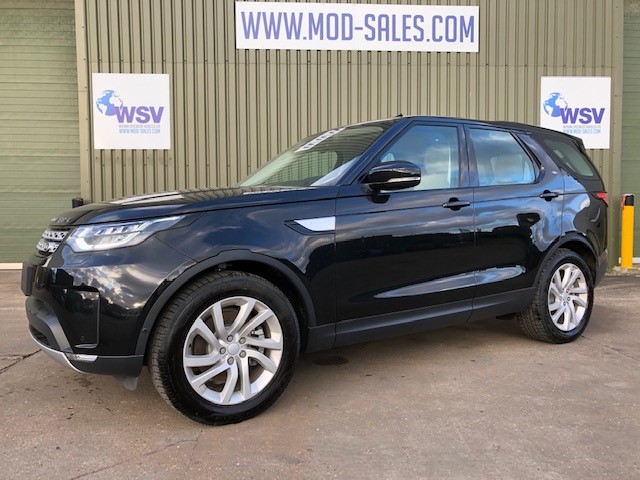
Land Rover Discovery 4 SDV6 HSE LHD, Armoured to B6 Level - Gallery image 3
Land Rover Discovery 4 SDV6 HSE LHD, Armoured to B6 Level - Gallery image 4
Land Rover Discovery 4 SDV6 HSE LHD, Armoured to B6 Level - Gallery image 5
Land Rover Discovery 4 SDV6 HSE LHD, Armoured to B6 Level - Gallery image 6
Land Rover Discovery 4 SDV6 HSE LHD, Armoured to B6 Level - Gallery image 7
Land Rover Discovery 4 SDV6 HSE LHD, Armoured to B6 Level - Gallery image 8
Land Rover Discovery 4 SDV6 HSE LHD, Armoured to B6 Level - Gallery image 9
Land Rover Discovery 4 SDV6 HSE LHD, Armoured to B6 Level - Gallery image 10
Land Rover Discovery 4 SDV6 HSE LHD, Armoured to B6 Level - Gallery image 11
Land Rover Discovery 4 SDV6 HSE LHD, Armoured to B6 Level - Gallery image 12
Land Rover Discovery 4 SDV6 HSE LHD, Armoured to B6 Level - Gallery image 13
Land Rover Discovery 4 SDV6 HSE LHD, Armoured to B6 Level - Gallery image 14
Land Rover Discovery 4 SDV6 HSE LHD, Armoured to B6 Level - Gallery image 15
Land Rover Discovery 4 SDV6 HSE LHD, Armoured to B6 Level - Gallery image 16
Land Rover Discovery 4 SDV6 HSE LHD, Armoured to B6 Level - Gallery image 17
Land Rover Discovery 4 SDV6 HSE LHD, Armoured to B6 Level - Gallery image 18
Land Rover Discovery 4 SDV6 HSE LHD, Armoured to B6 Level - Gallery image 19
Land Rover Discovery 4 SDV6 HSE LHD, Armoured to B6 Level - Gallery image 20
Land Rover Discovery 4 SDV6 HSE LHD, Armoured to B6 Level - Gallery image 21
Land Rover Discovery 4 SDV6 HSE LHD, Armoured to B6 Level - Gallery image 22
Land Rover Discovery 4 SDV6 HSE LHD, Armoured to B6 Level - Gallery image 23
Land Rover Discovery 4 SDV6 HSE LHD, Armoured to B6 Level - Gallery image 24
Land Rover Discovery 4 SDV6 HSE LHD, Armoured to B6 Level - Gallery image 25
Land Rover Discovery 4 SDV6 HSE LHD, Armoured to B6 Level - Gallery image 26
Land Rover Discovery 4 SDV6 HSE LHD, Armoured to B6 Level - Gallery image 27
Land Rover Discovery 4 SDV6 HSE LHD, Armoured to B6 Level - Gallery image 28
Land Rover Discovery 4 SDV6 HSE LHD, Armoured to B6 Level - Gallery image 29
Land Rover Discovery 4 SDV6 HSE LHD, Armoured to B6 Level - Gallery image 30
Land Rover Discovery 4 SDV6 HSE LHD, Armoured to B6 Level - Gallery image 31
Land Rover Discovery 4 SDV6 HSE LHD, Armoured to B6 Level - Gallery image 32
Land Rover Discovery 4 SDV6 HSE LHD, Armoured to B6 Level - Gallery image 33
Land Rover Discovery 4 SDV6 HSE LHD, Armoured to B6 Level - Gallery image 34
Land Rover Discovery 4 SDV6 HSE LHD, Armoured to B6 Level - Gallery image 35
Land Rover Discovery 4 SDV6 HSE LHD, Armoured to B6 Level - Gallery image 36
Land Rover Discovery 4 SDV6 HSE LHD, Armoured to B6 Level - Gallery image 37
Land Rover Discovery 4 SDV6 HSE LHD, Armoured to B6 Level - Gallery image 38
Land Rover Discovery 4 SDV6 HSE LHD, Armoured to B6 Level - Gallery image 39
Land Rover Discovery 4 SDV6 HSE LHD, Armoured to B6 Level - Gallery image 40
Land Rover Discovery 4 SDV6 HSE LHD, Armoured to B6 Level - Gallery image 41
Land Rover Discovery 4 SDV6 HSE LHD, Armoured to B6 Level - Gallery image 42
Land Rover Discovery 4 SDV6 HSE LHD, Armoured to B6 Level - Gallery image 43
Land Rover Discovery 4 SDV6 HSE LHD, Armoured to B6 Level - Featured image
Land Rover Discovery 4 SDV6 HSE LHD, Armoured to B6 Level - Gallery image 1
Land Rover Discovery 4 SDV6 HSE LHD, Armoured to B6 Level - Gallery image 2
Land Rover Discovery 4 SDV6 HSE LHD, Armoured to B6 Level - Gallery image 3
Land Rover Discovery 4 SDV6 HSE LHD, Armoured to B6 Level - Gallery image 4
Land Rover Discovery 4 SDV6 HSE LHD, Armoured to B6 Level - Gallery image 5
Land Rover Discovery 4 SDV6 HSE LHD, Armoured to B6 Level - Gallery image 6
Land Rover Discovery 4 SDV6 HSE LHD, Armoured to B6 Level - Gallery image 7
Land Rover Discovery 4 SDV6 HSE LHD, Armoured to B6 Level - Gallery image 8
Land Rover Discovery 4 SDV6 HSE LHD, Armoured to B6 Level - Gallery image 9
Land Rover Discovery 4 SDV6 HSE LHD, Armoured to B6 Level - Gallery image 10
Land Rover Discovery 4 SDV6 HSE LHD, Armoured to B6 Level - Gallery image 11
Land Rover Discovery 4 SDV6 HSE LHD, Armoured to B6 Level - Gallery image 12
Land Rover Discovery 4 SDV6 HSE LHD, Armoured to B6 Level - Gallery image 13
Land Rover Discovery 4 SDV6 HSE LHD, Armoured to B6 Level - Gallery image 14
Land Rover Discovery 4 SDV6 HSE LHD, Armoured to B6 Level - Gallery image 15
Land Rover Discovery 4 SDV6 HSE LHD, Armoured to B6 Level - Gallery image 16
Land Rover Discovery 4 SDV6 HSE LHD, Armoured to B6 Level - Gallery image 17
Land Rover Discovery 4 SDV6 HSE LHD, Armoured to B6 Level - Gallery image 18
Land Rover Discovery 4 SDV6 HSE LHD, Armoured to B6 Level - Gallery image 19
Land Rover Discovery 4 SDV6 HSE LHD, Armoured to B6 Level - Gallery image 20
Land Rover Discovery 4 SDV6 HSE LHD, Armoured to B6 Level - Gallery image 21
Land Rover Discovery 4 SDV6 HSE LHD, Armoured to B6 Level - Gallery image 22
Land Rover Discovery 4 SDV6 HSE LHD, Armoured to B6 Level - Gallery image 23
Land Rover Discovery 4 SDV6 HSE LHD, Armoured to B6 Level - Gallery image 24
Land Rover Discovery 4 SDV6 HSE LHD, Armoured to B6 Level - Gallery image 25
Land Rover Discovery 4 SDV6 HSE LHD, Armoured to B6 Level - Gallery image 26
Land Rover Discovery 4 SDV6 HSE LHD, Armoured to B6 Level - Gallery image 27
Land Rover Discovery 4 SDV6 HSE LHD, Armoured to B6 Level - Gallery image 28
Land Rover Discovery 4 SDV6 HSE LHD, Armoured to B6 Level - Gallery image 29
Land Rover Discovery 4 SDV6 HSE LHD, Armoured to B6 Level - Gallery image 30
Land Rover Discovery 4 SDV6 HSE LHD, Armoured to B6 Level - Gallery image 31
Land Rover Discovery 4 SDV6 HSE LHD, Armoured to B6 Level - Gallery image 32
Land Rover Discovery 4 SDV6 HSE LHD, Armoured to B6 Level - Gallery image 33
Land Rover Discovery 4 SDV6 HSE LHD, Armoured to B6 Level - Gallery image 34
Land Rover Discovery 4 SDV6 HSE LHD, Armoured to B6 Level - Gallery image 35
Land Rover Discovery 4 SDV6 HSE LHD, Armoured to B6 Level - Gallery image 36
Land Rover Discovery 4 SDV6 HSE LHD, Armoured to B6 Level - Gallery image 37
Land Rover Discovery 4 SDV6 HSE LHD, Armoured to B6 Level - Gallery image 38
Land Rover Discovery 4 SDV6 HSE LHD, Armoured to B6 Level - Gallery image 39
Land Rover Discovery 4 SDV6 HSE LHD, Armoured to B6 Level - Gallery image 40
Land Rover Discovery 4 SDV6 HSE LHD, Armoured to B6 Level - Gallery image 41
Land Rover Discovery 4 SDV6 HSE LHD, Armoured to B6 Level - Gallery image 42
Land Rover Discovery 4 SDV6 HSE LHD, Armoured to B6 Level - Gallery image 43

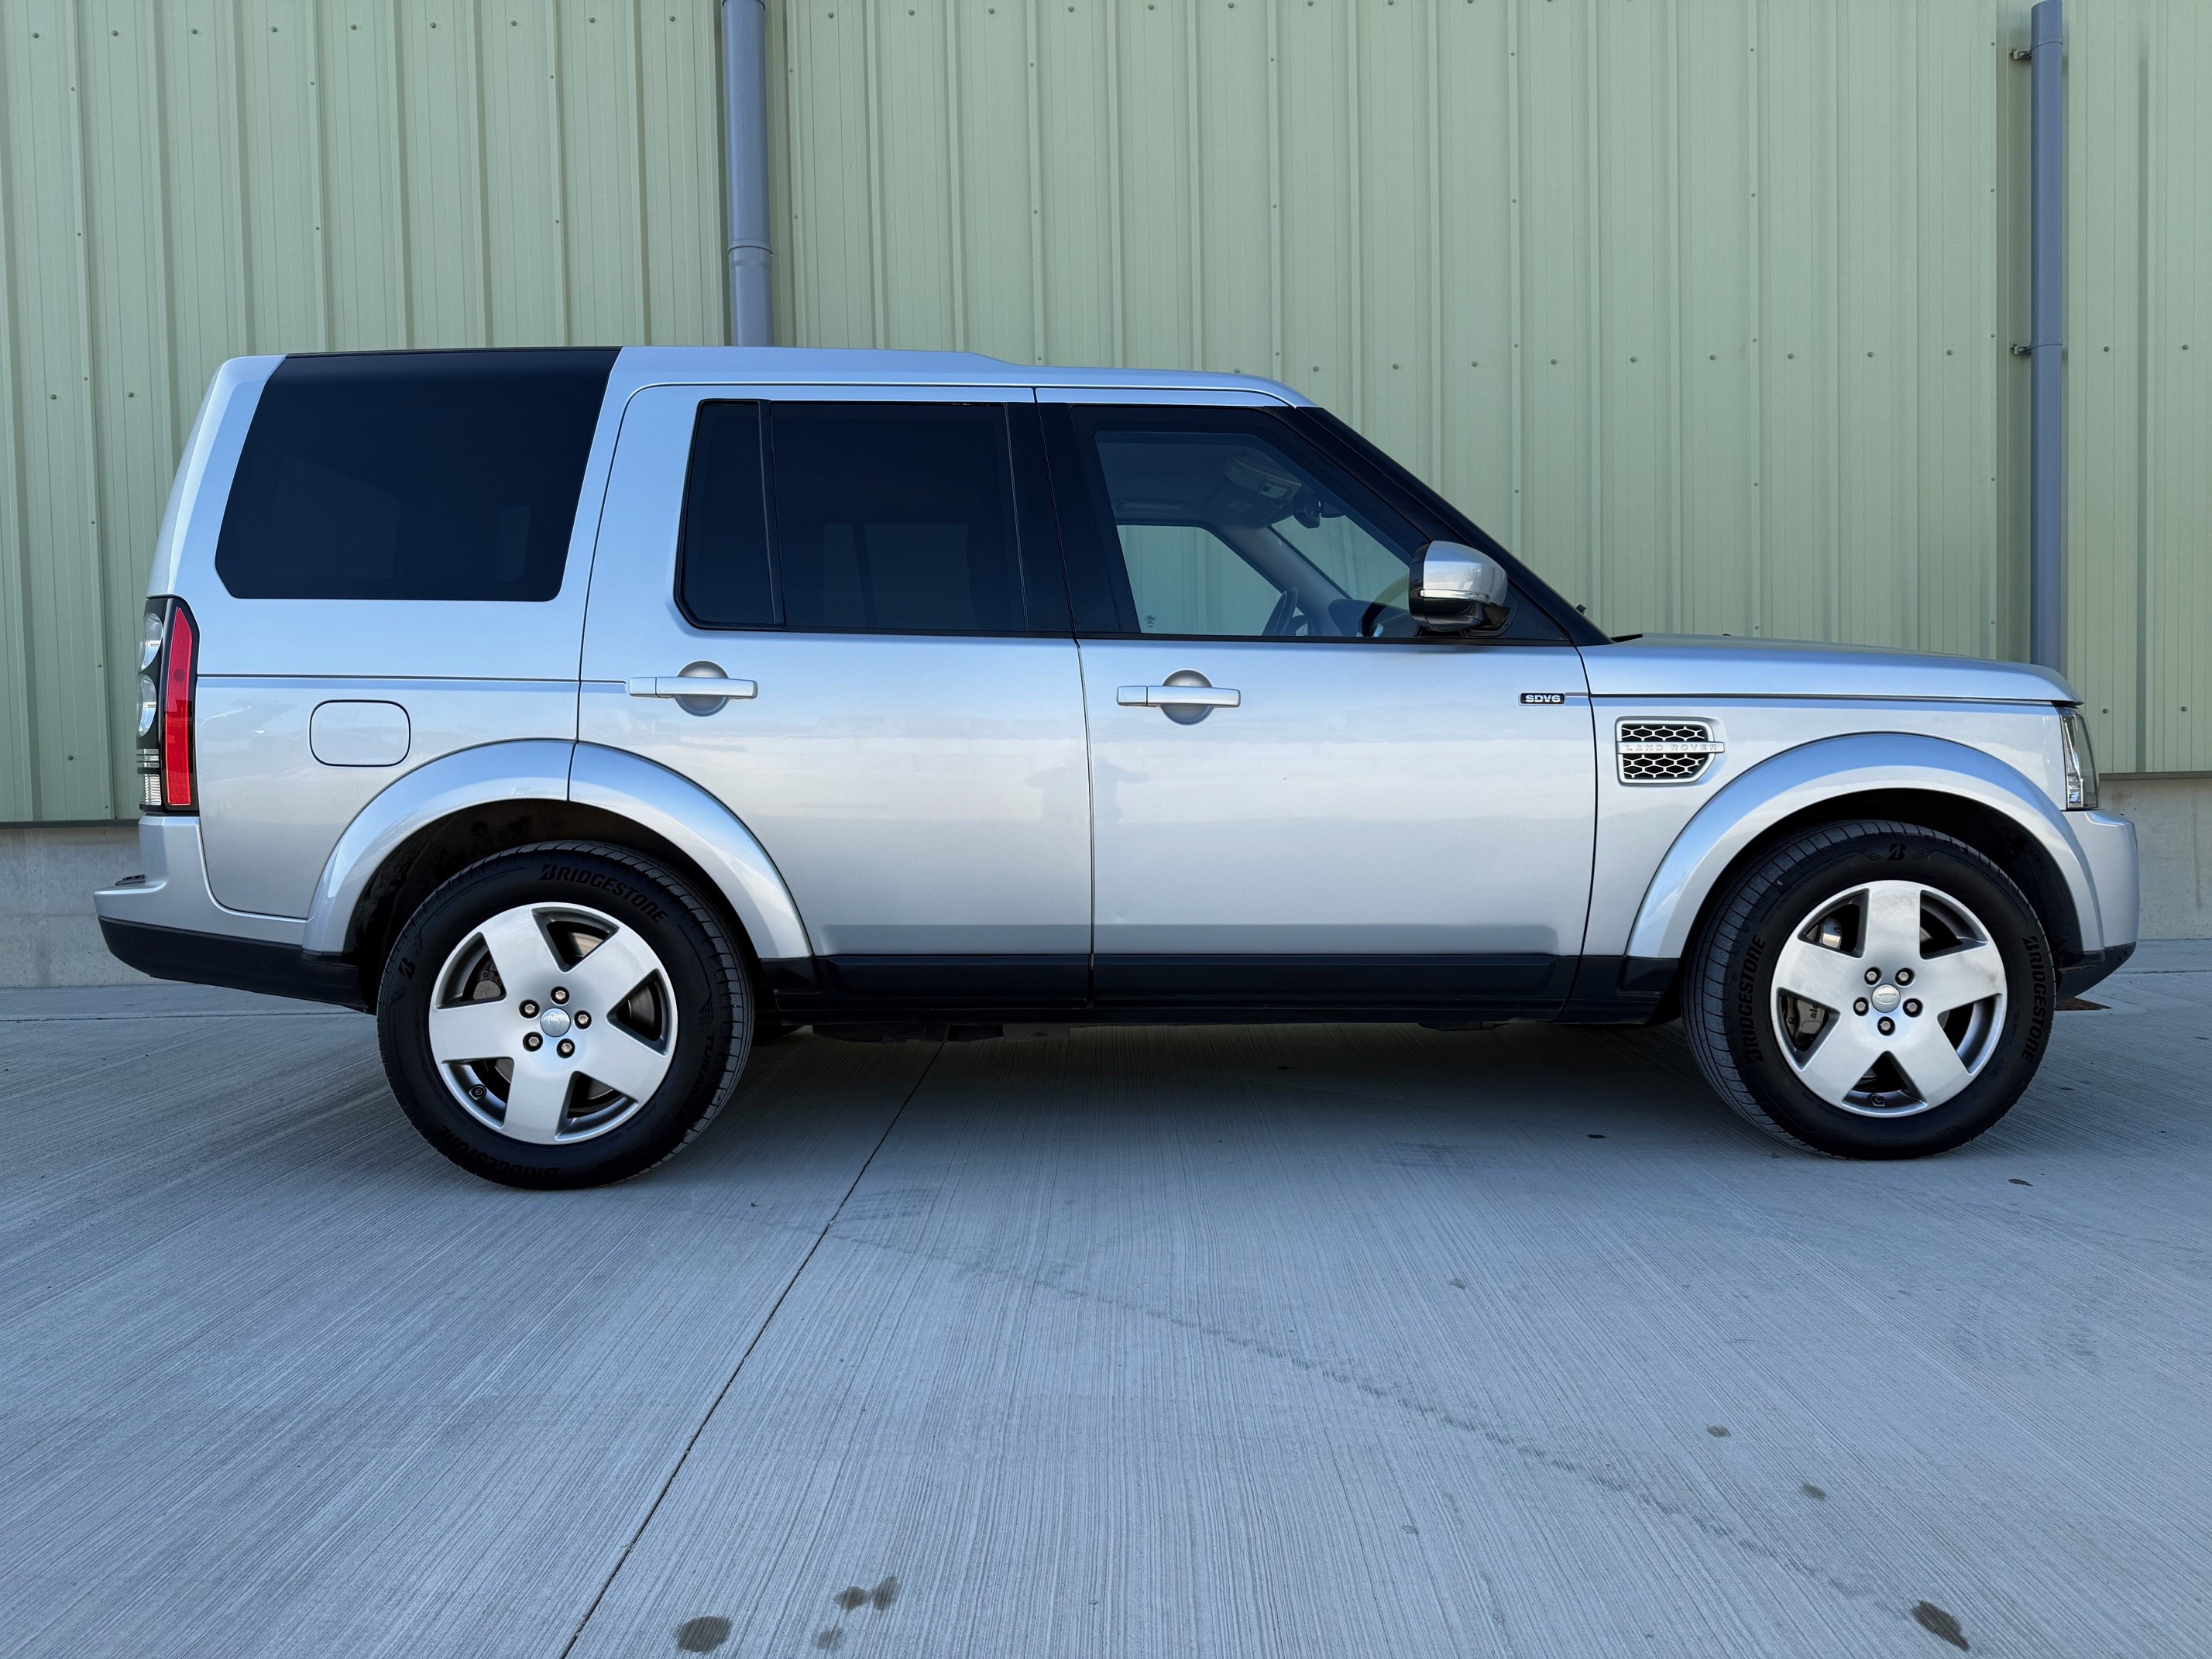
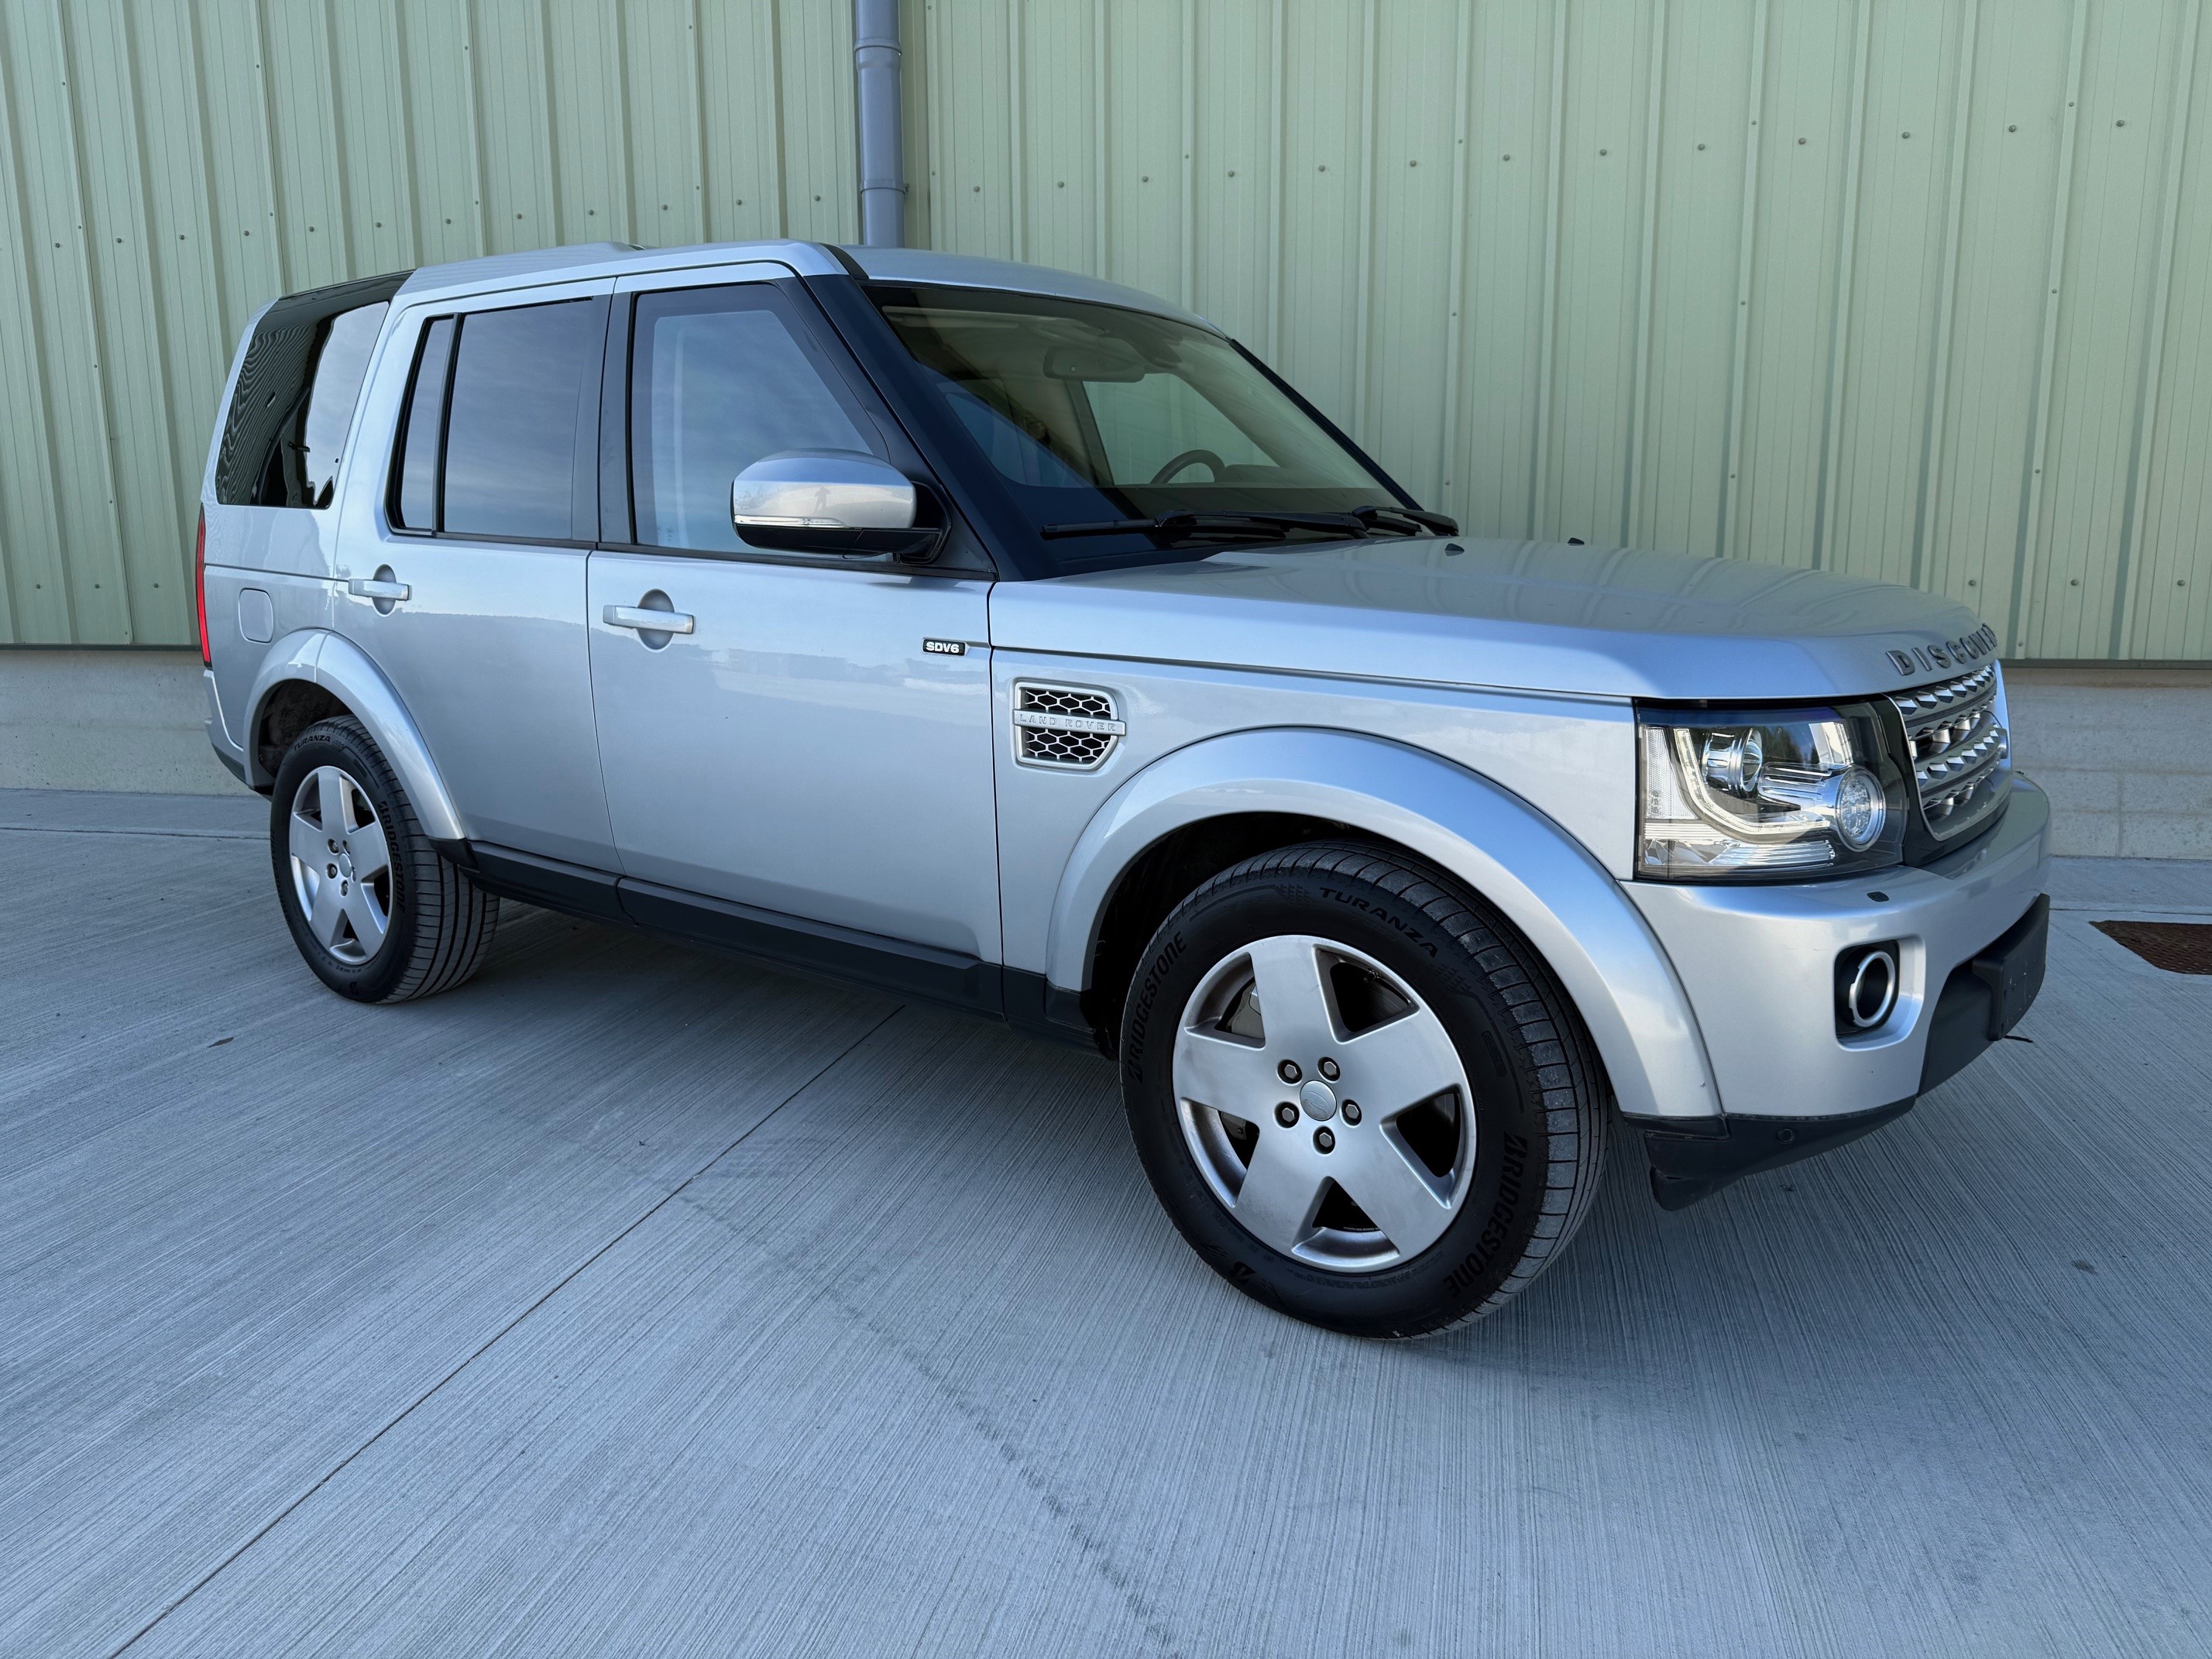
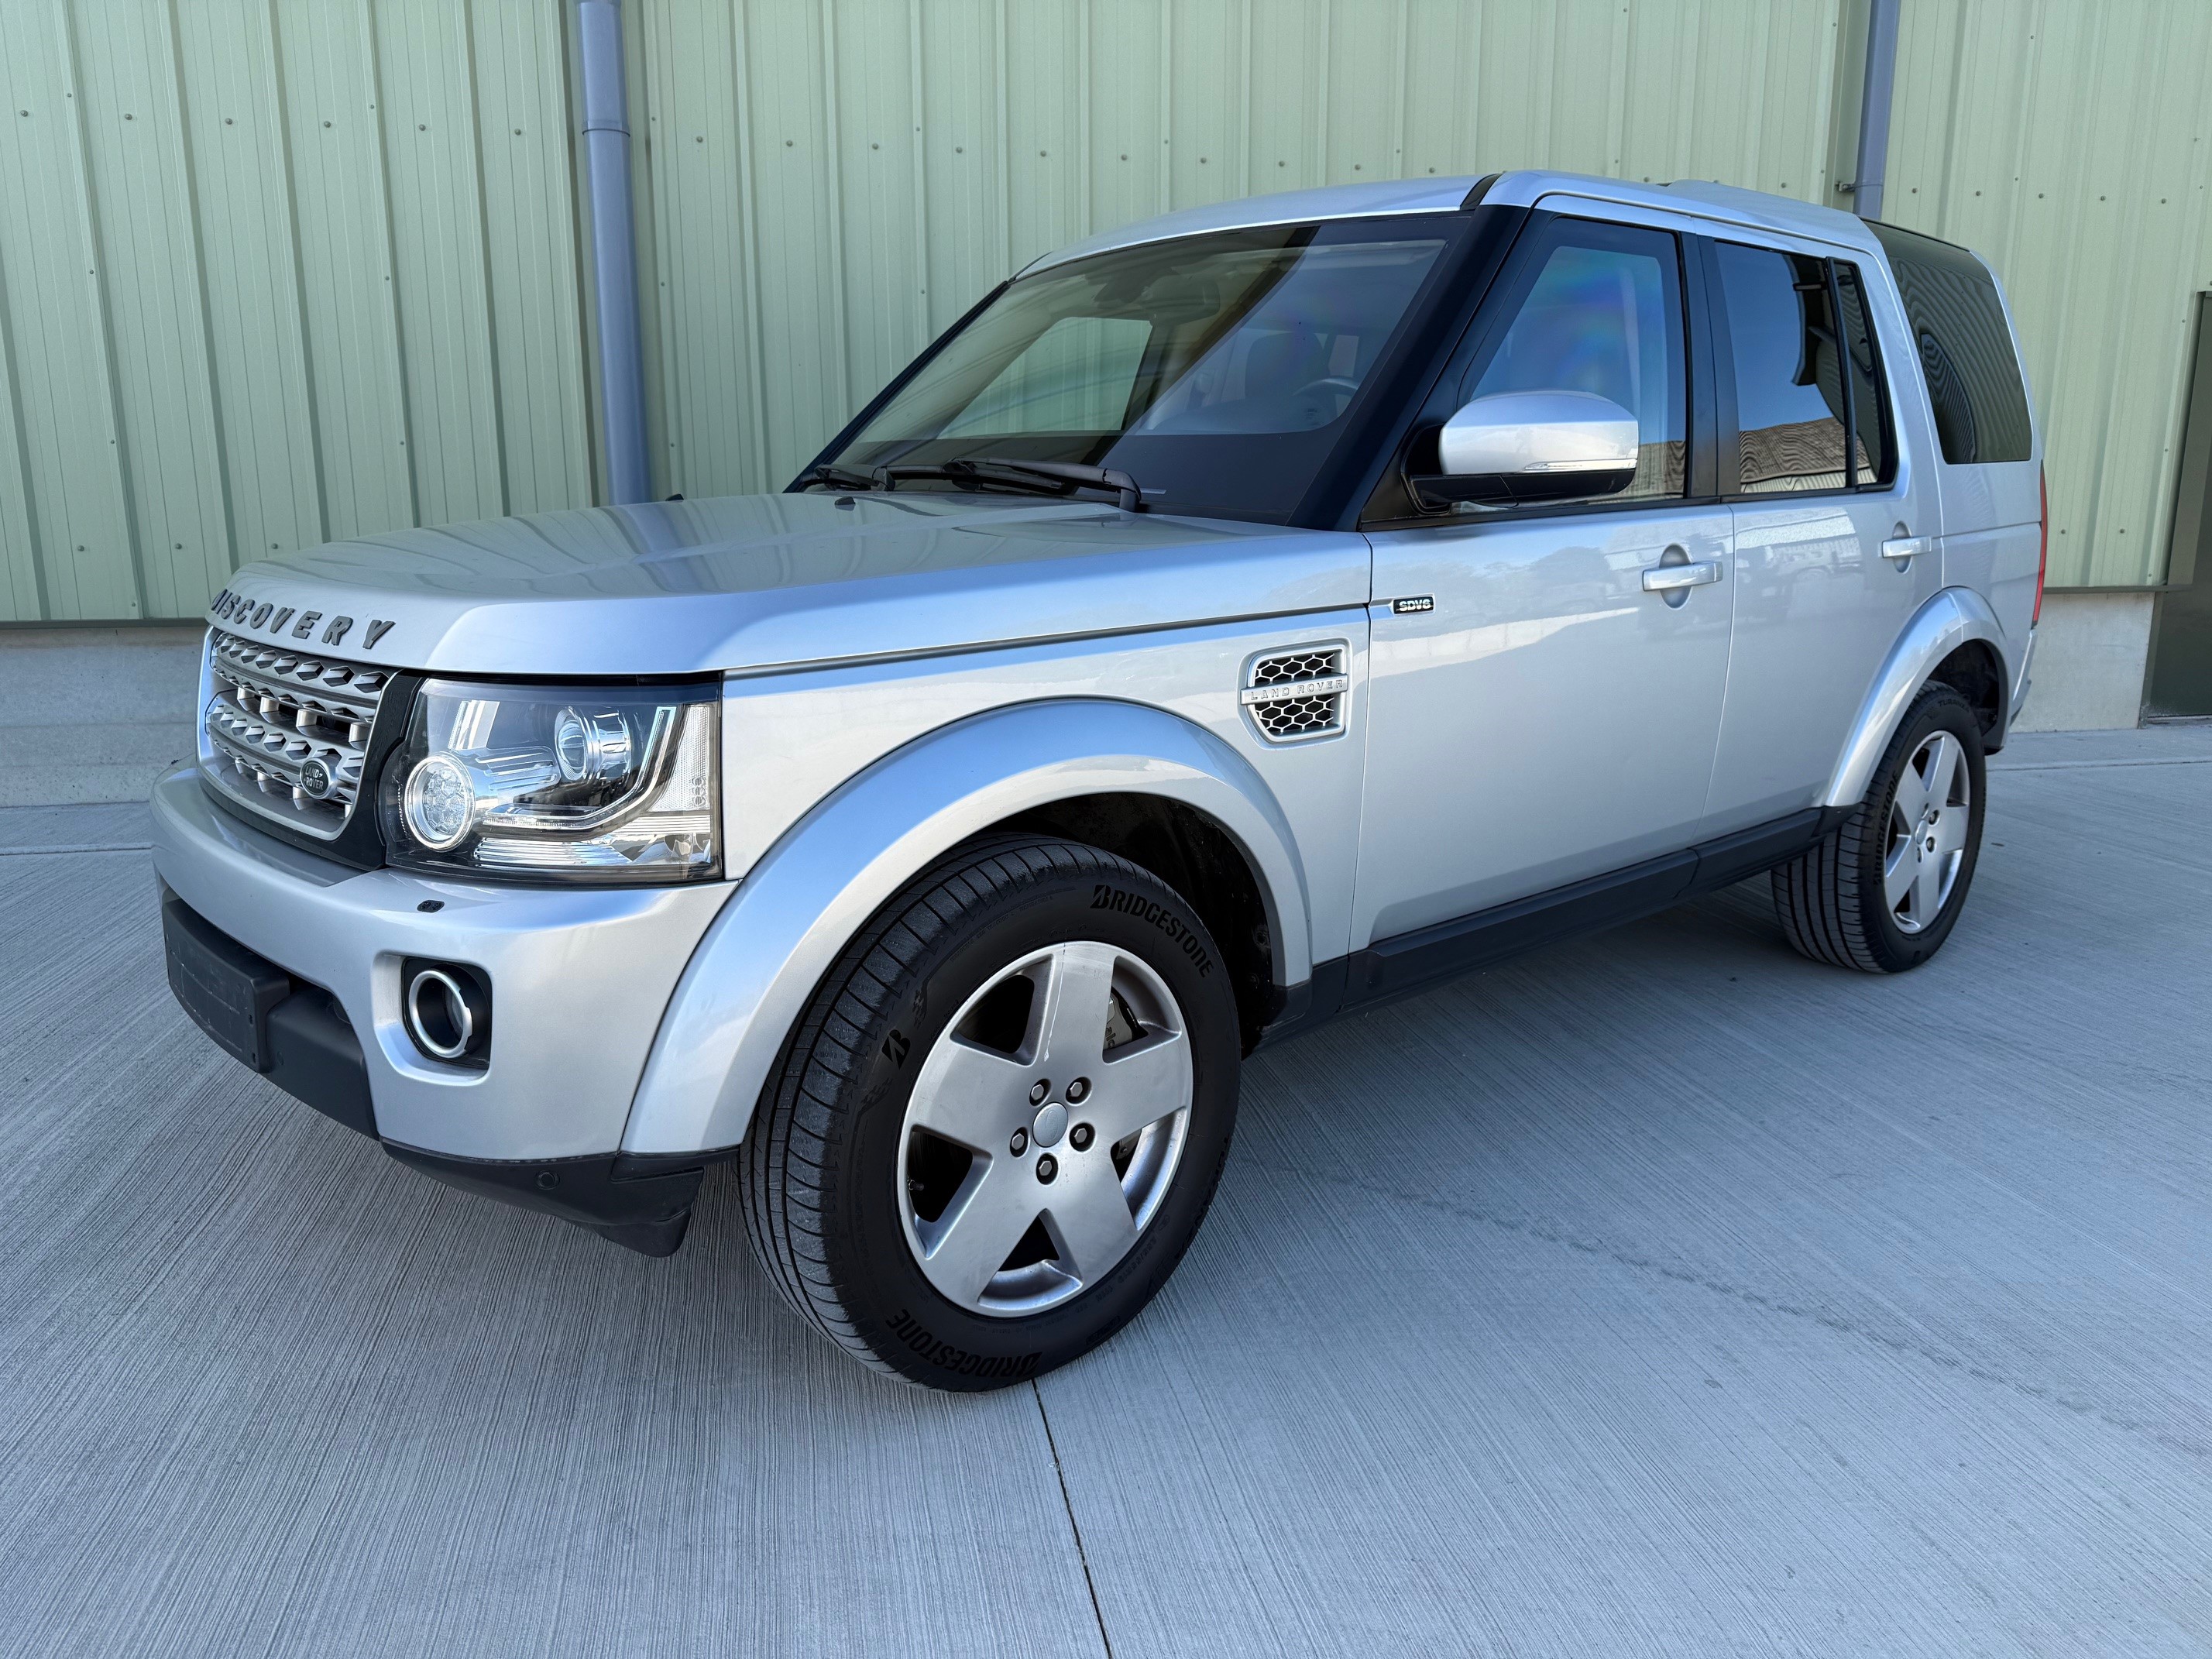
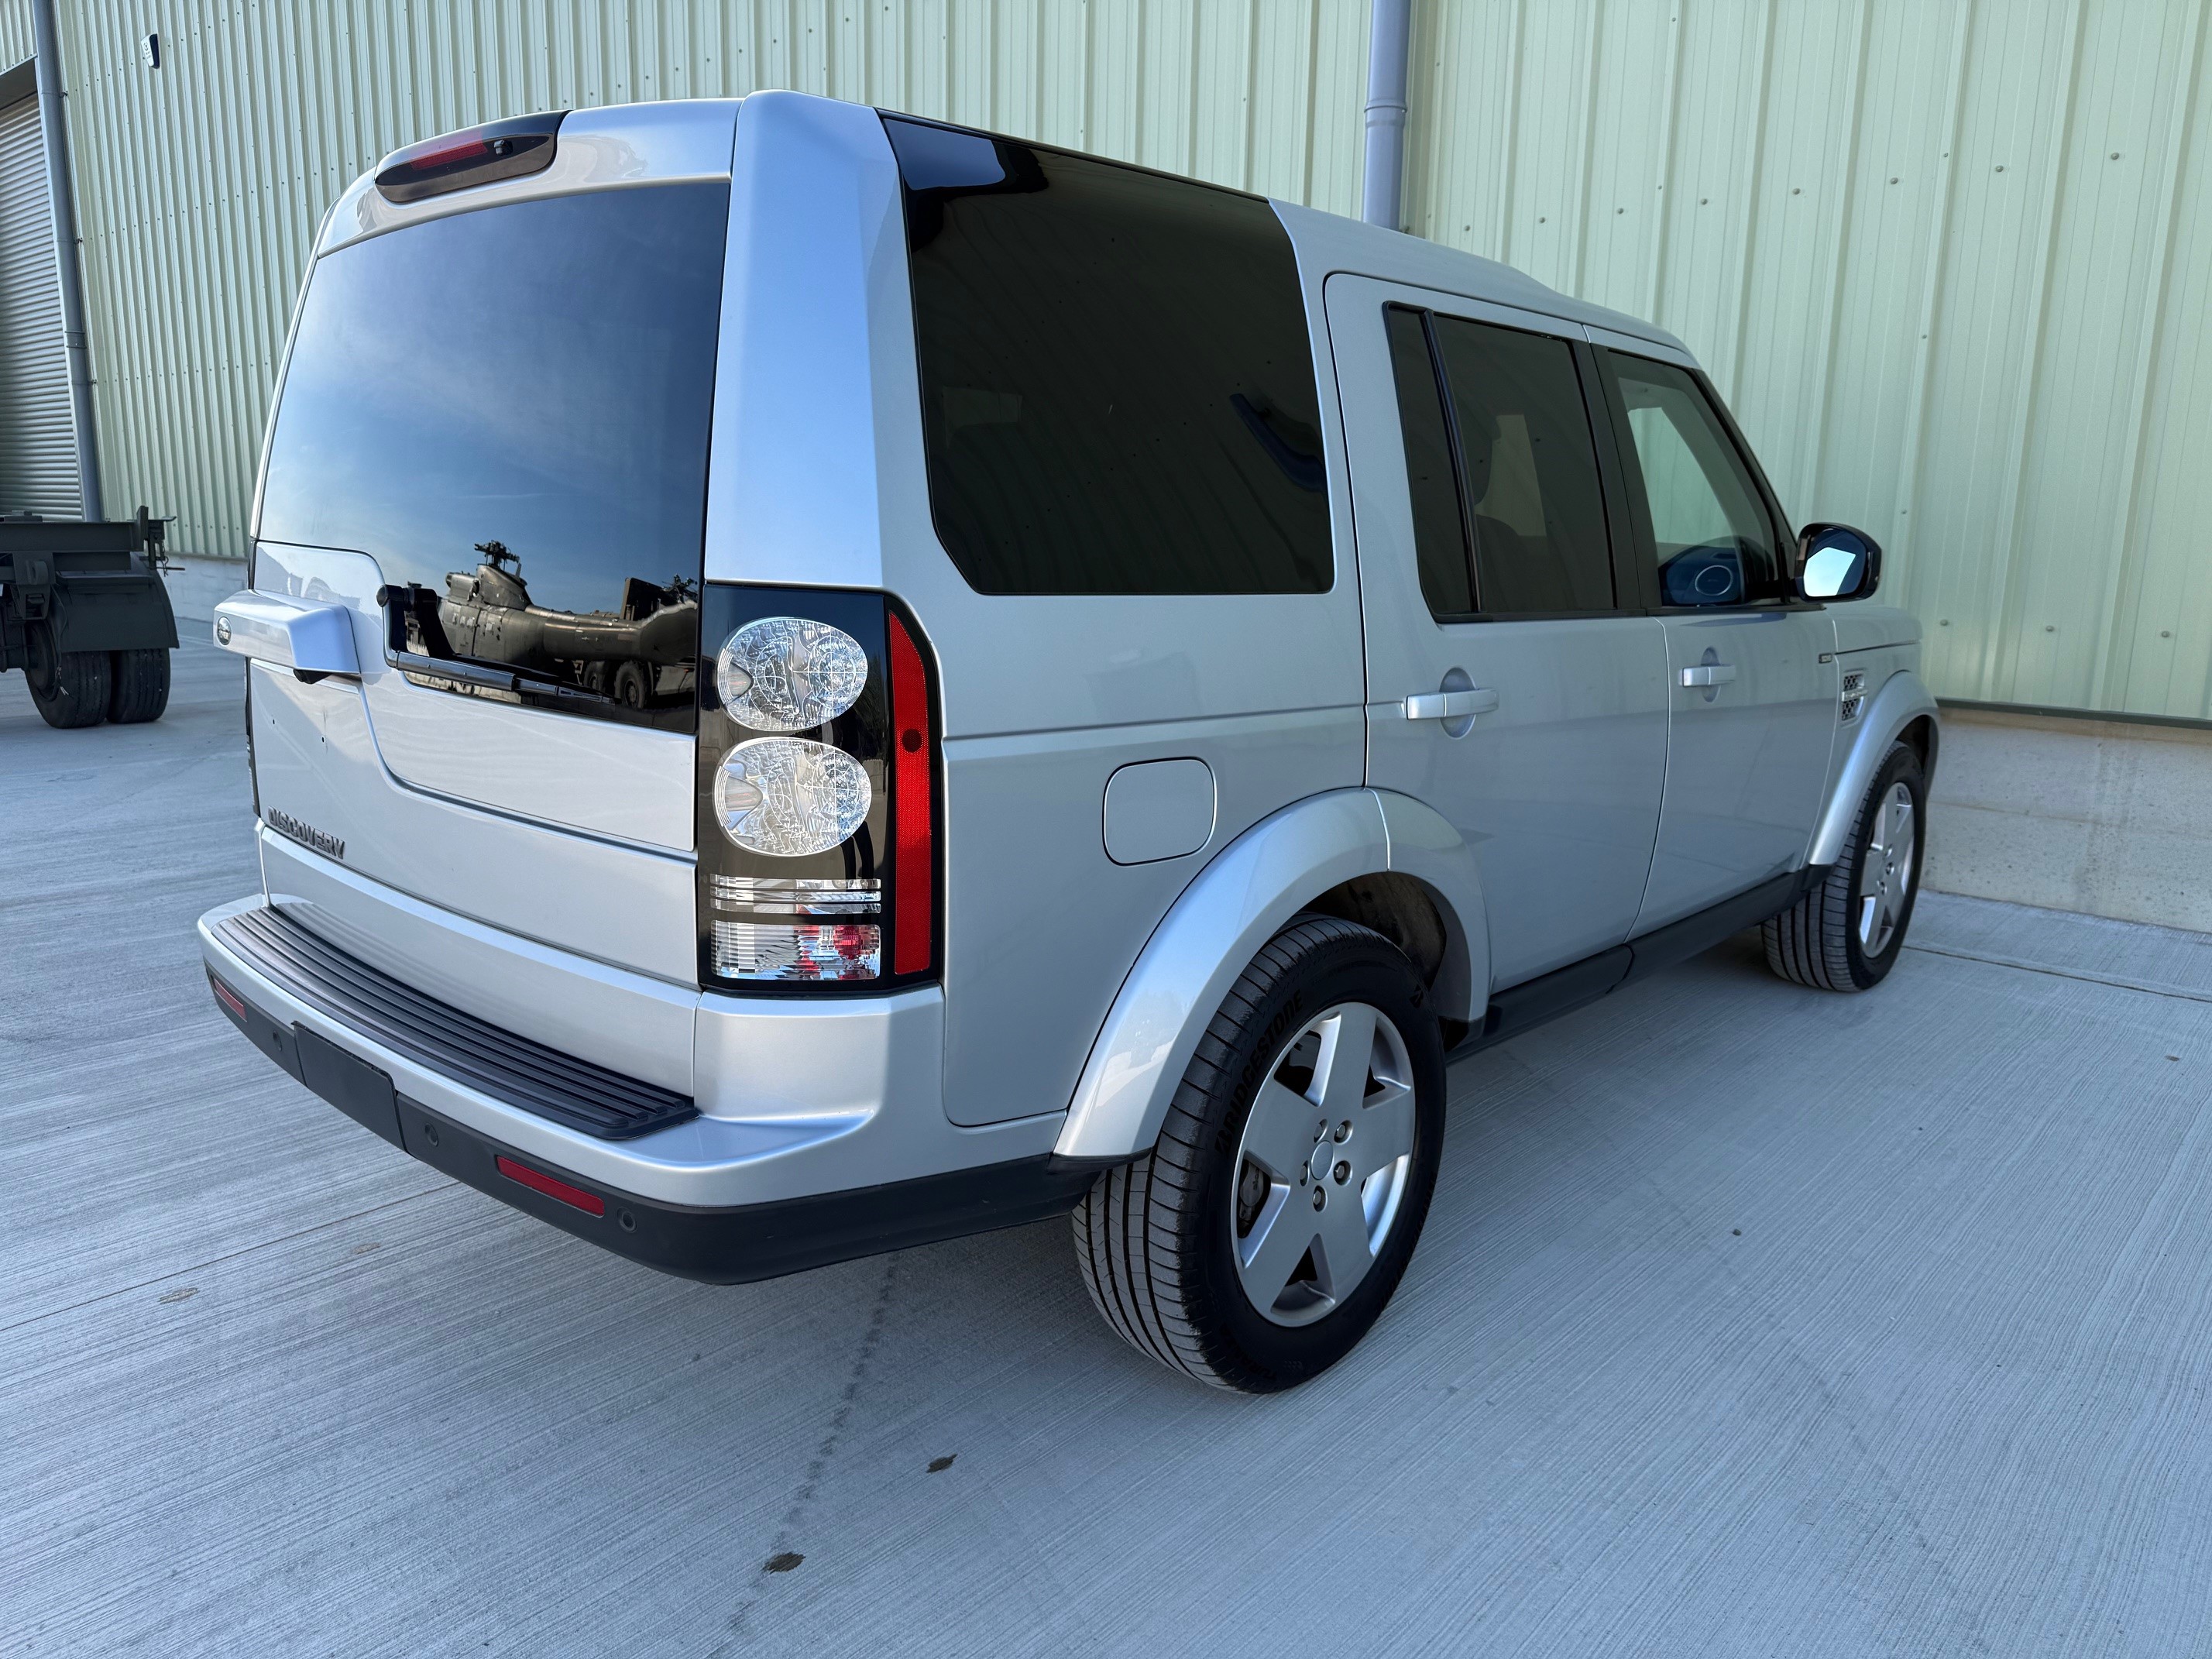
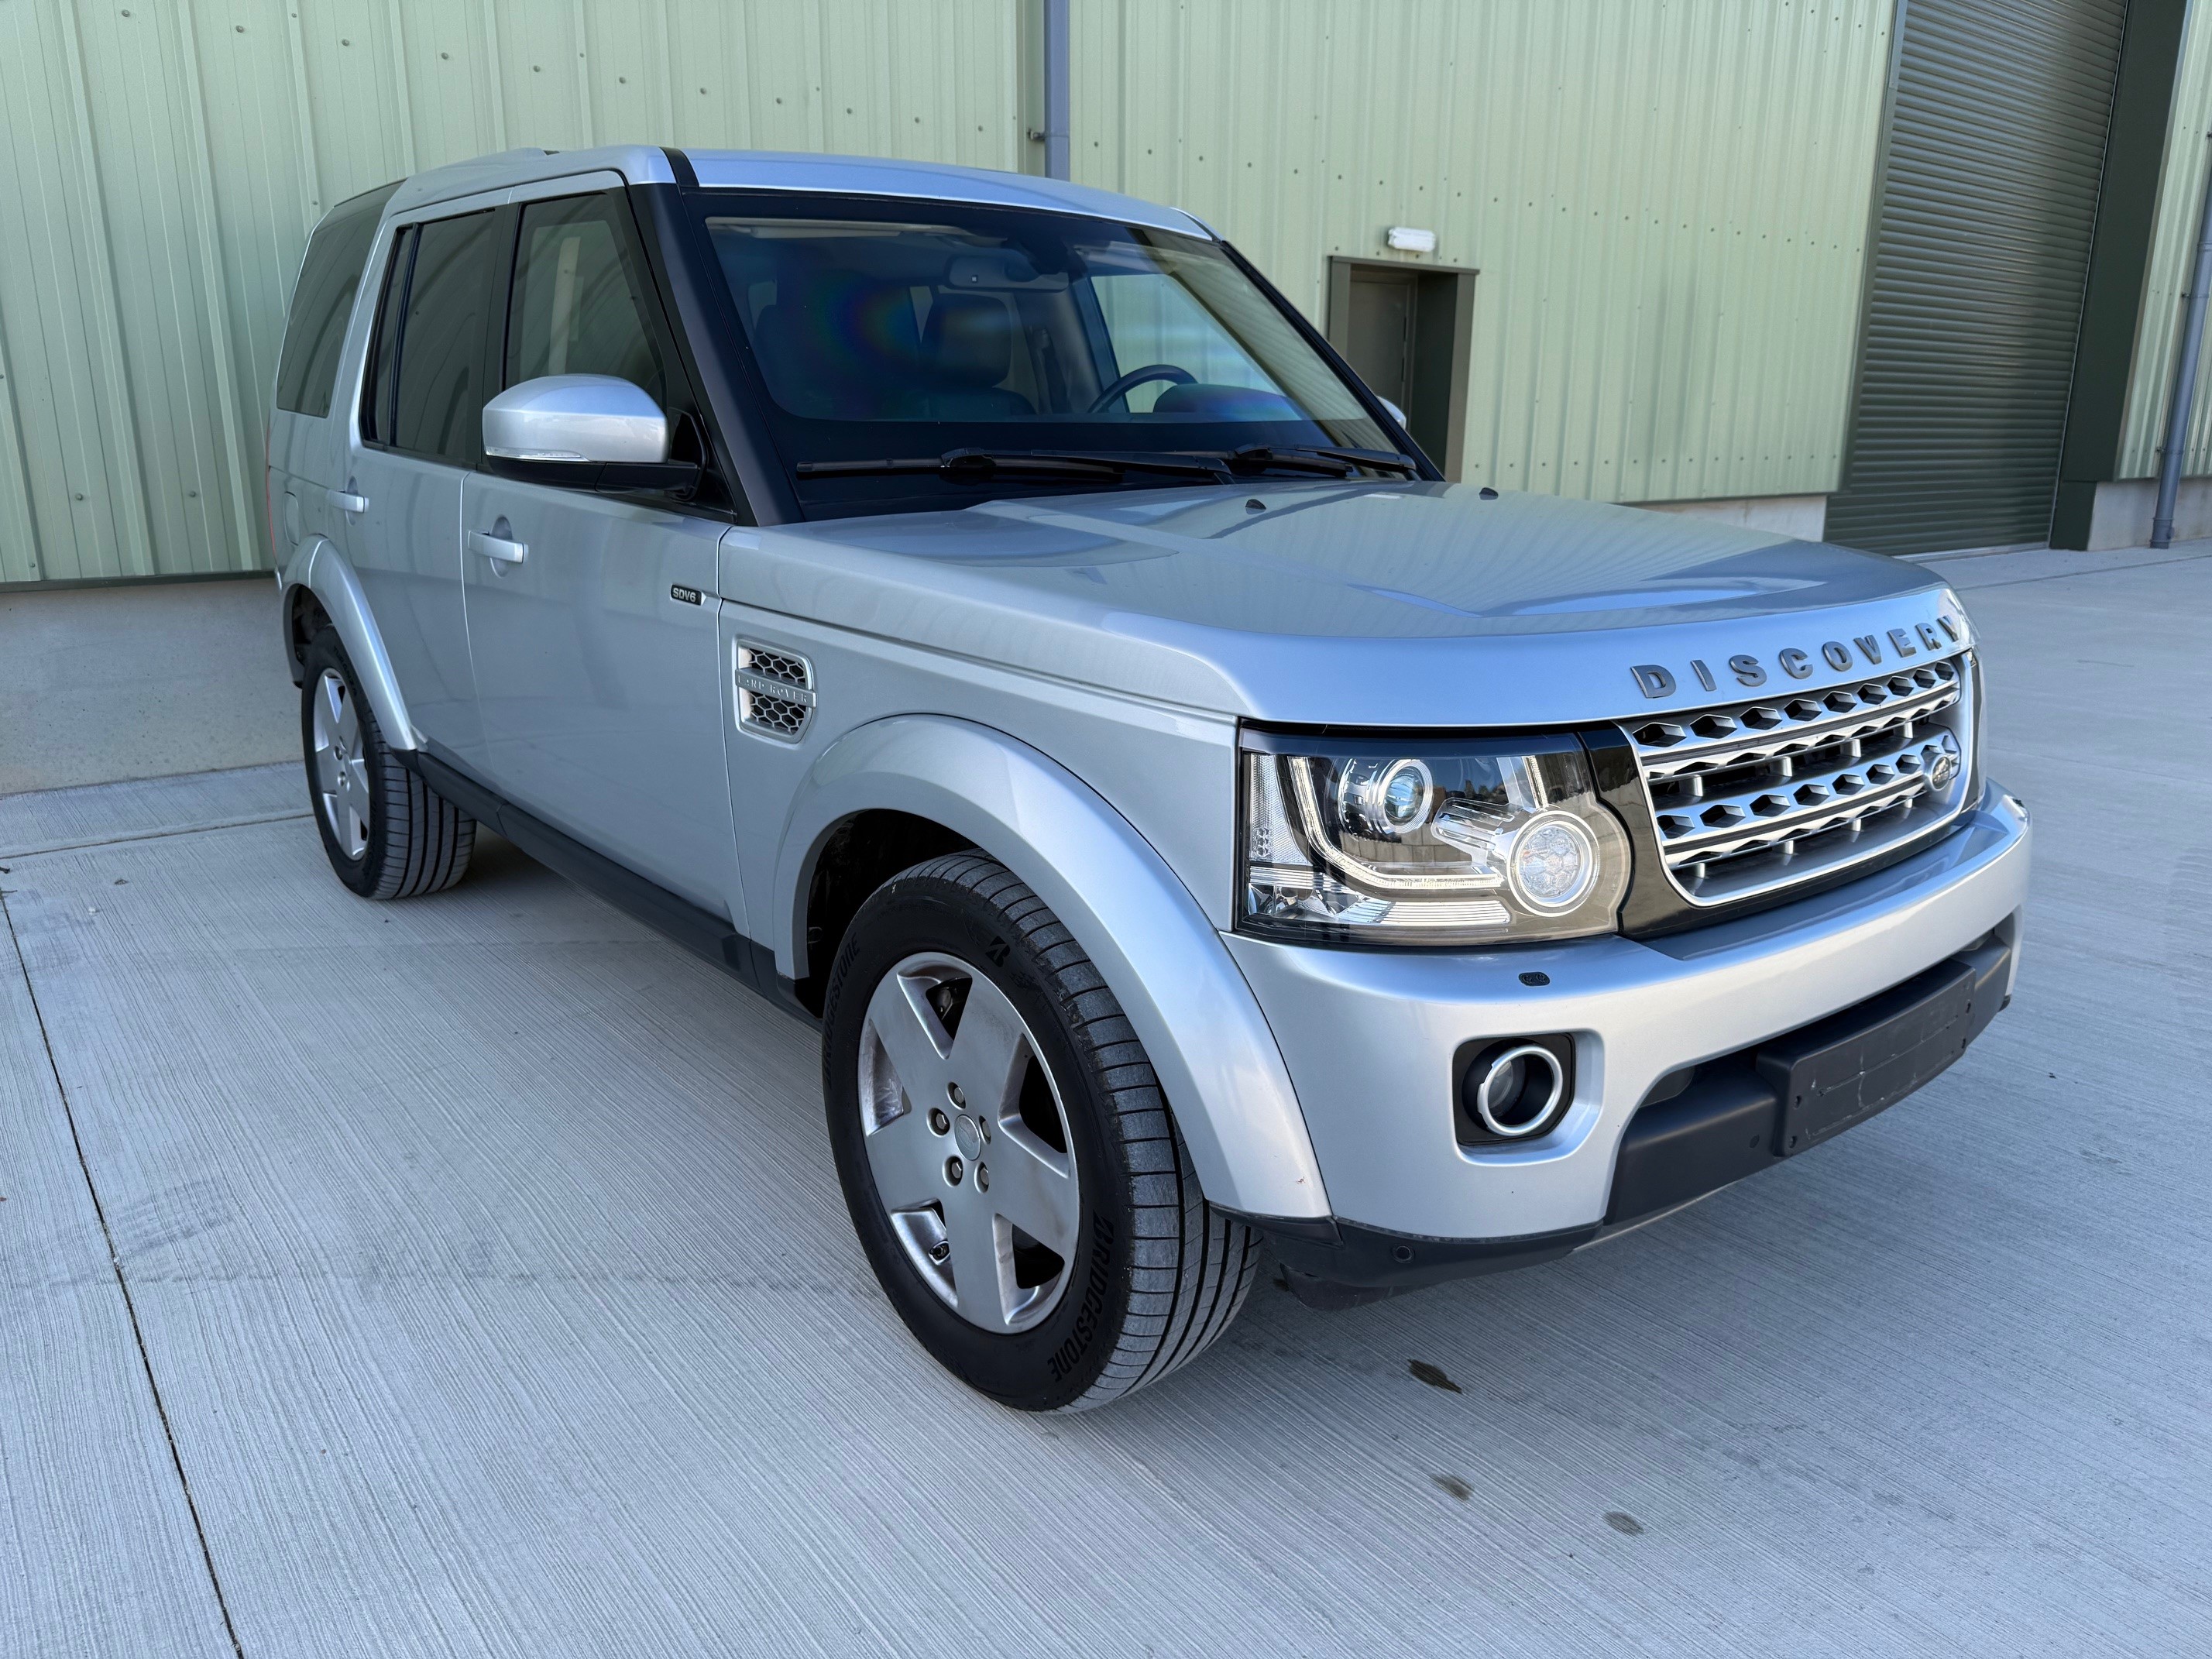
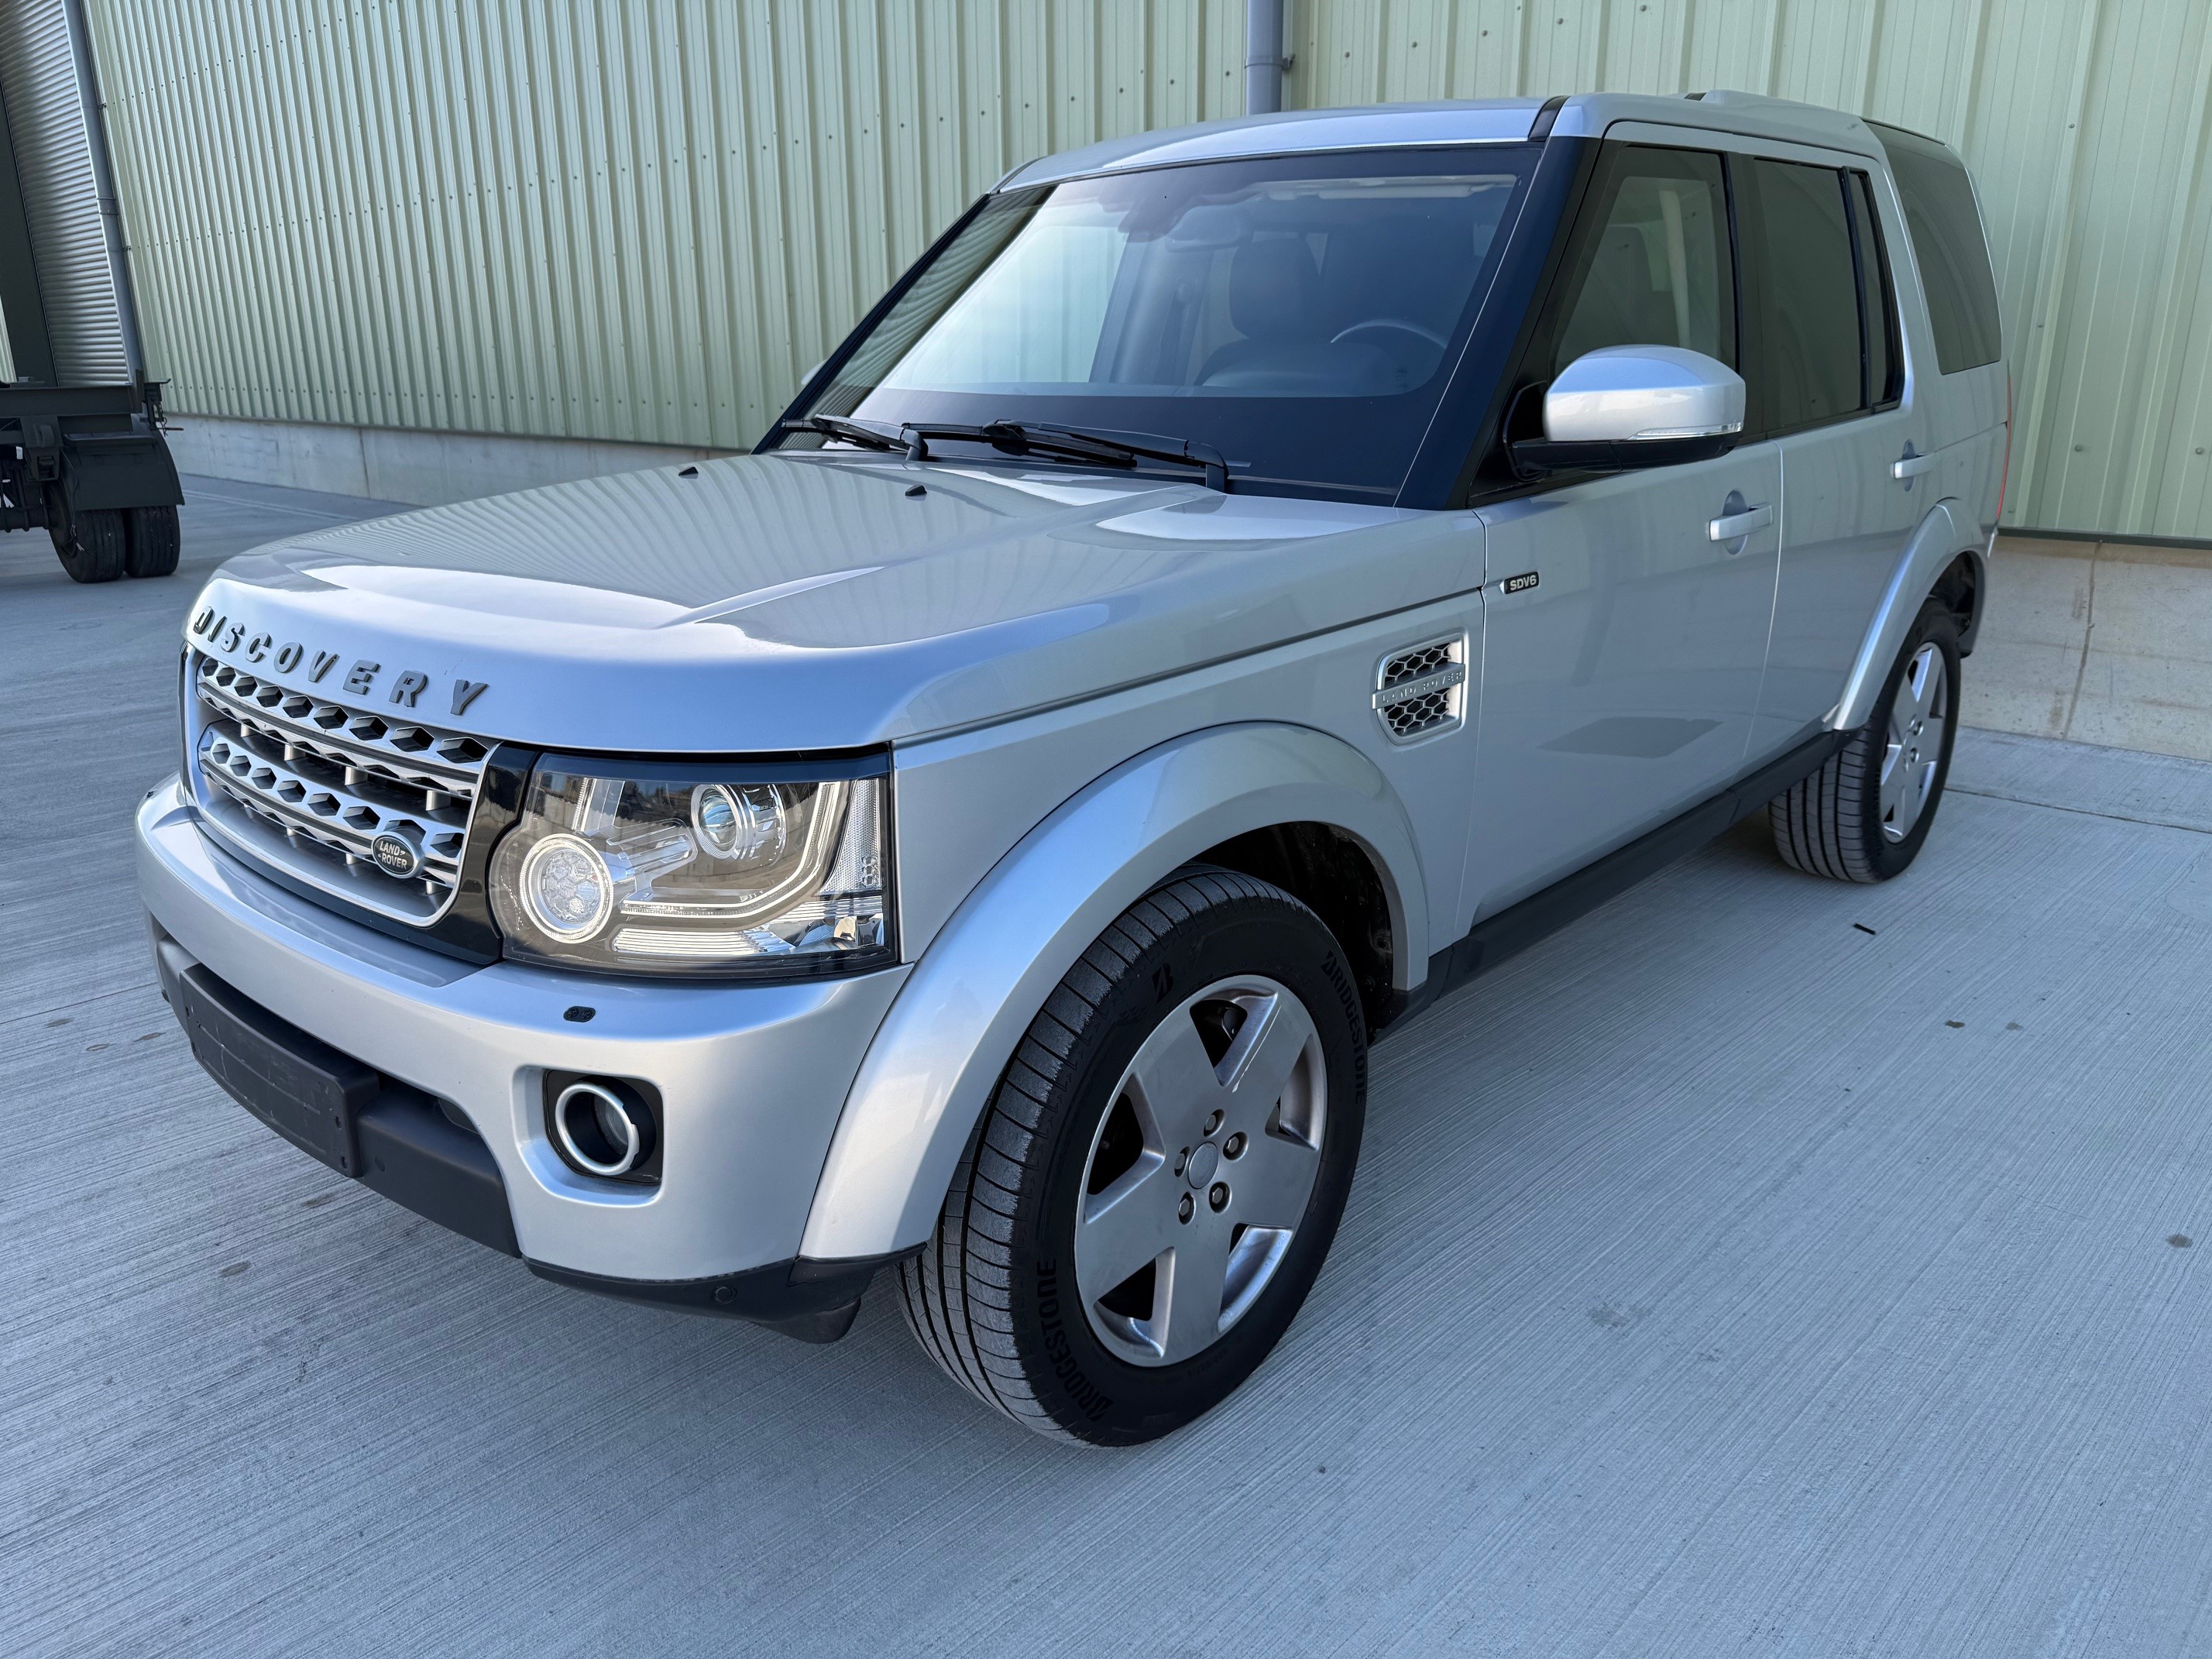
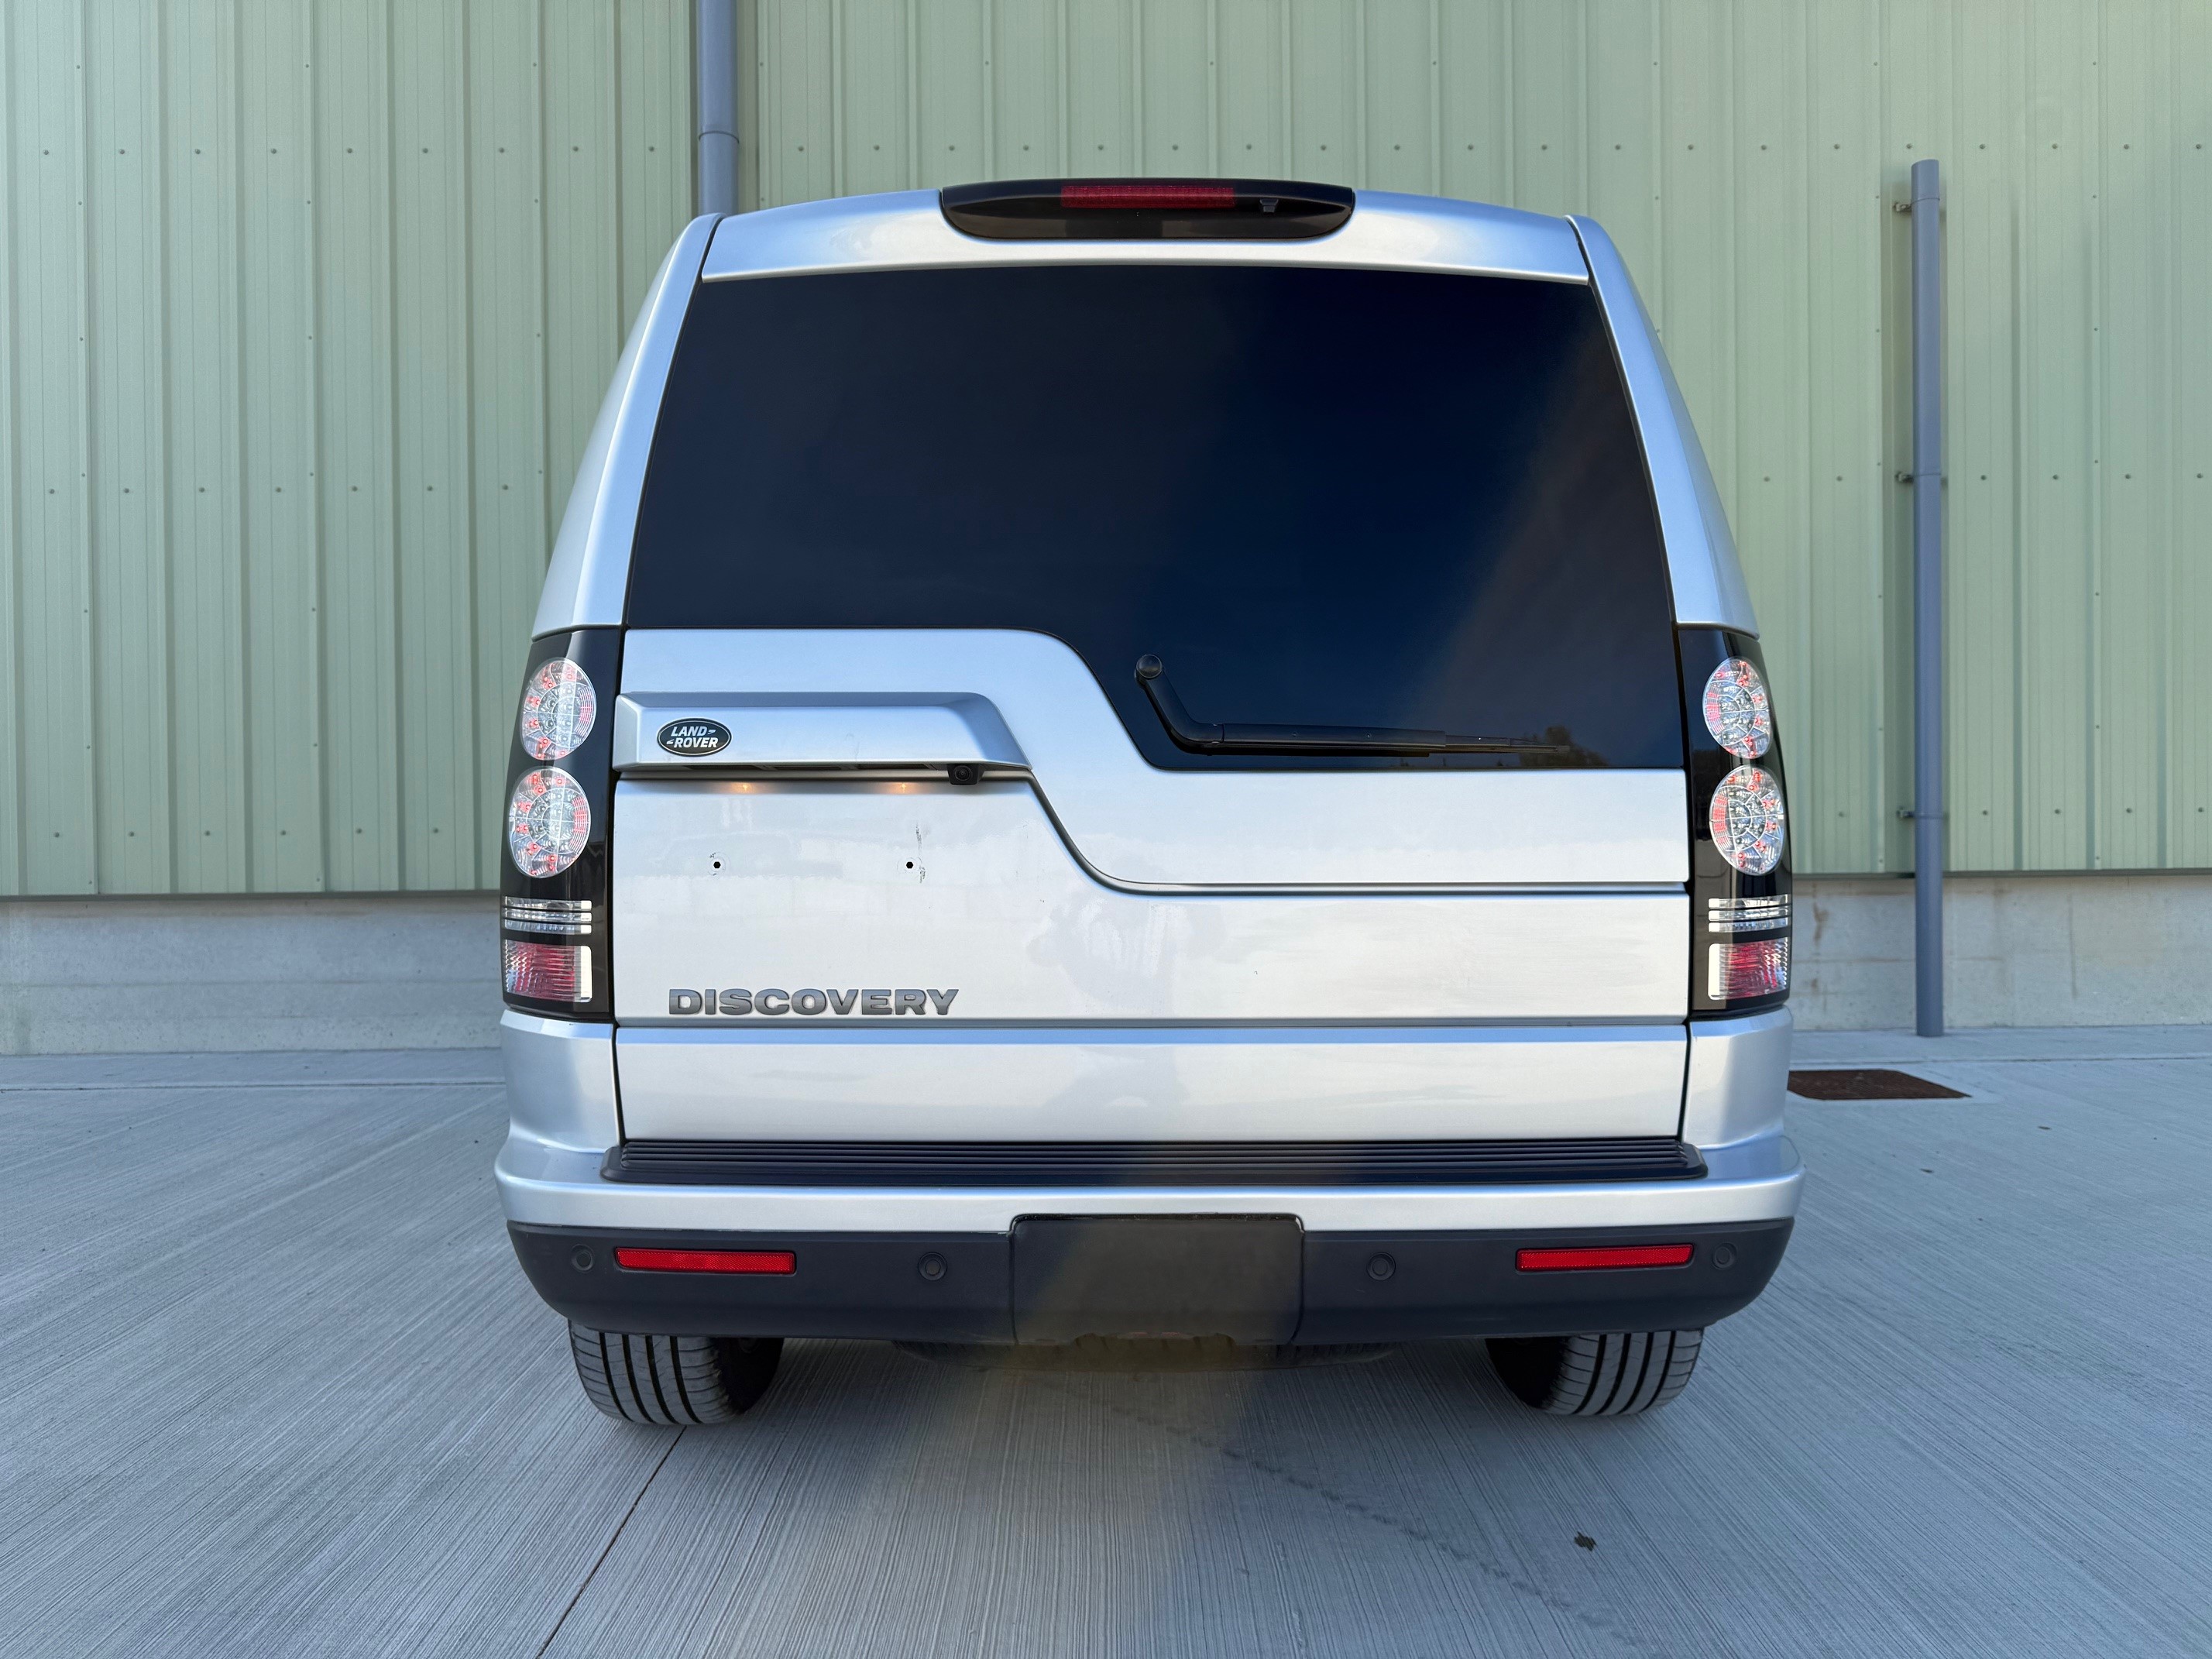
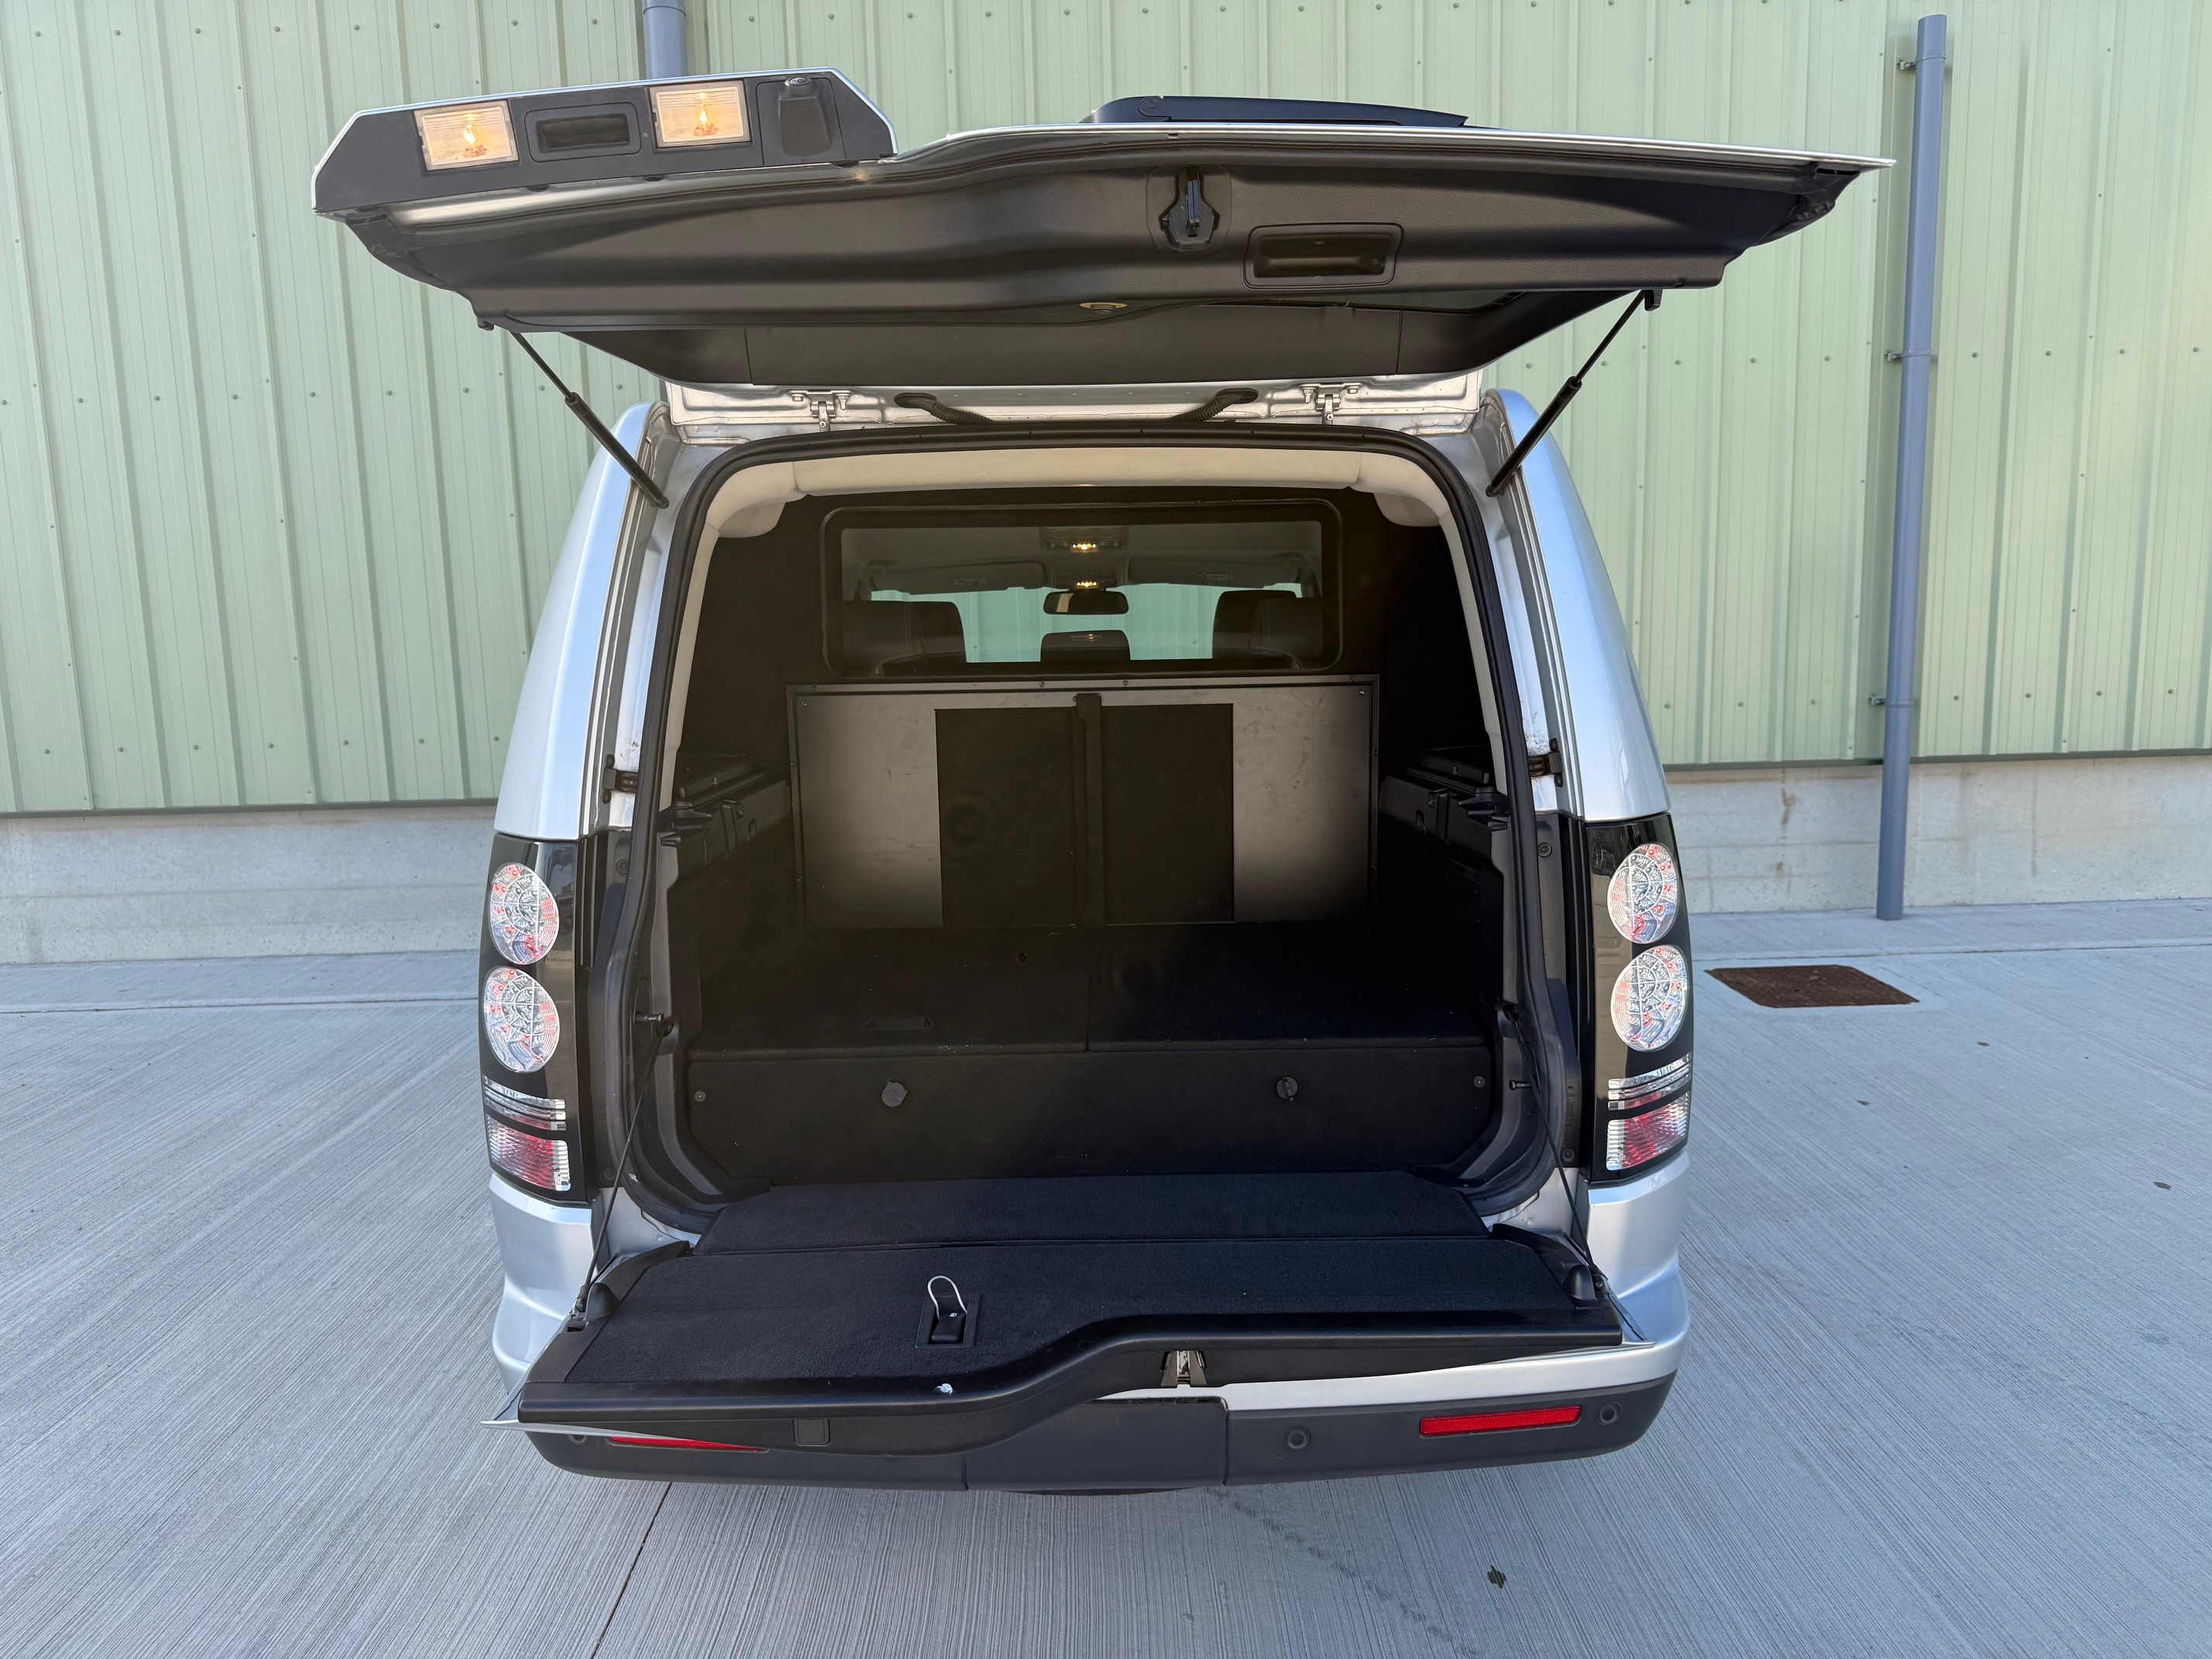
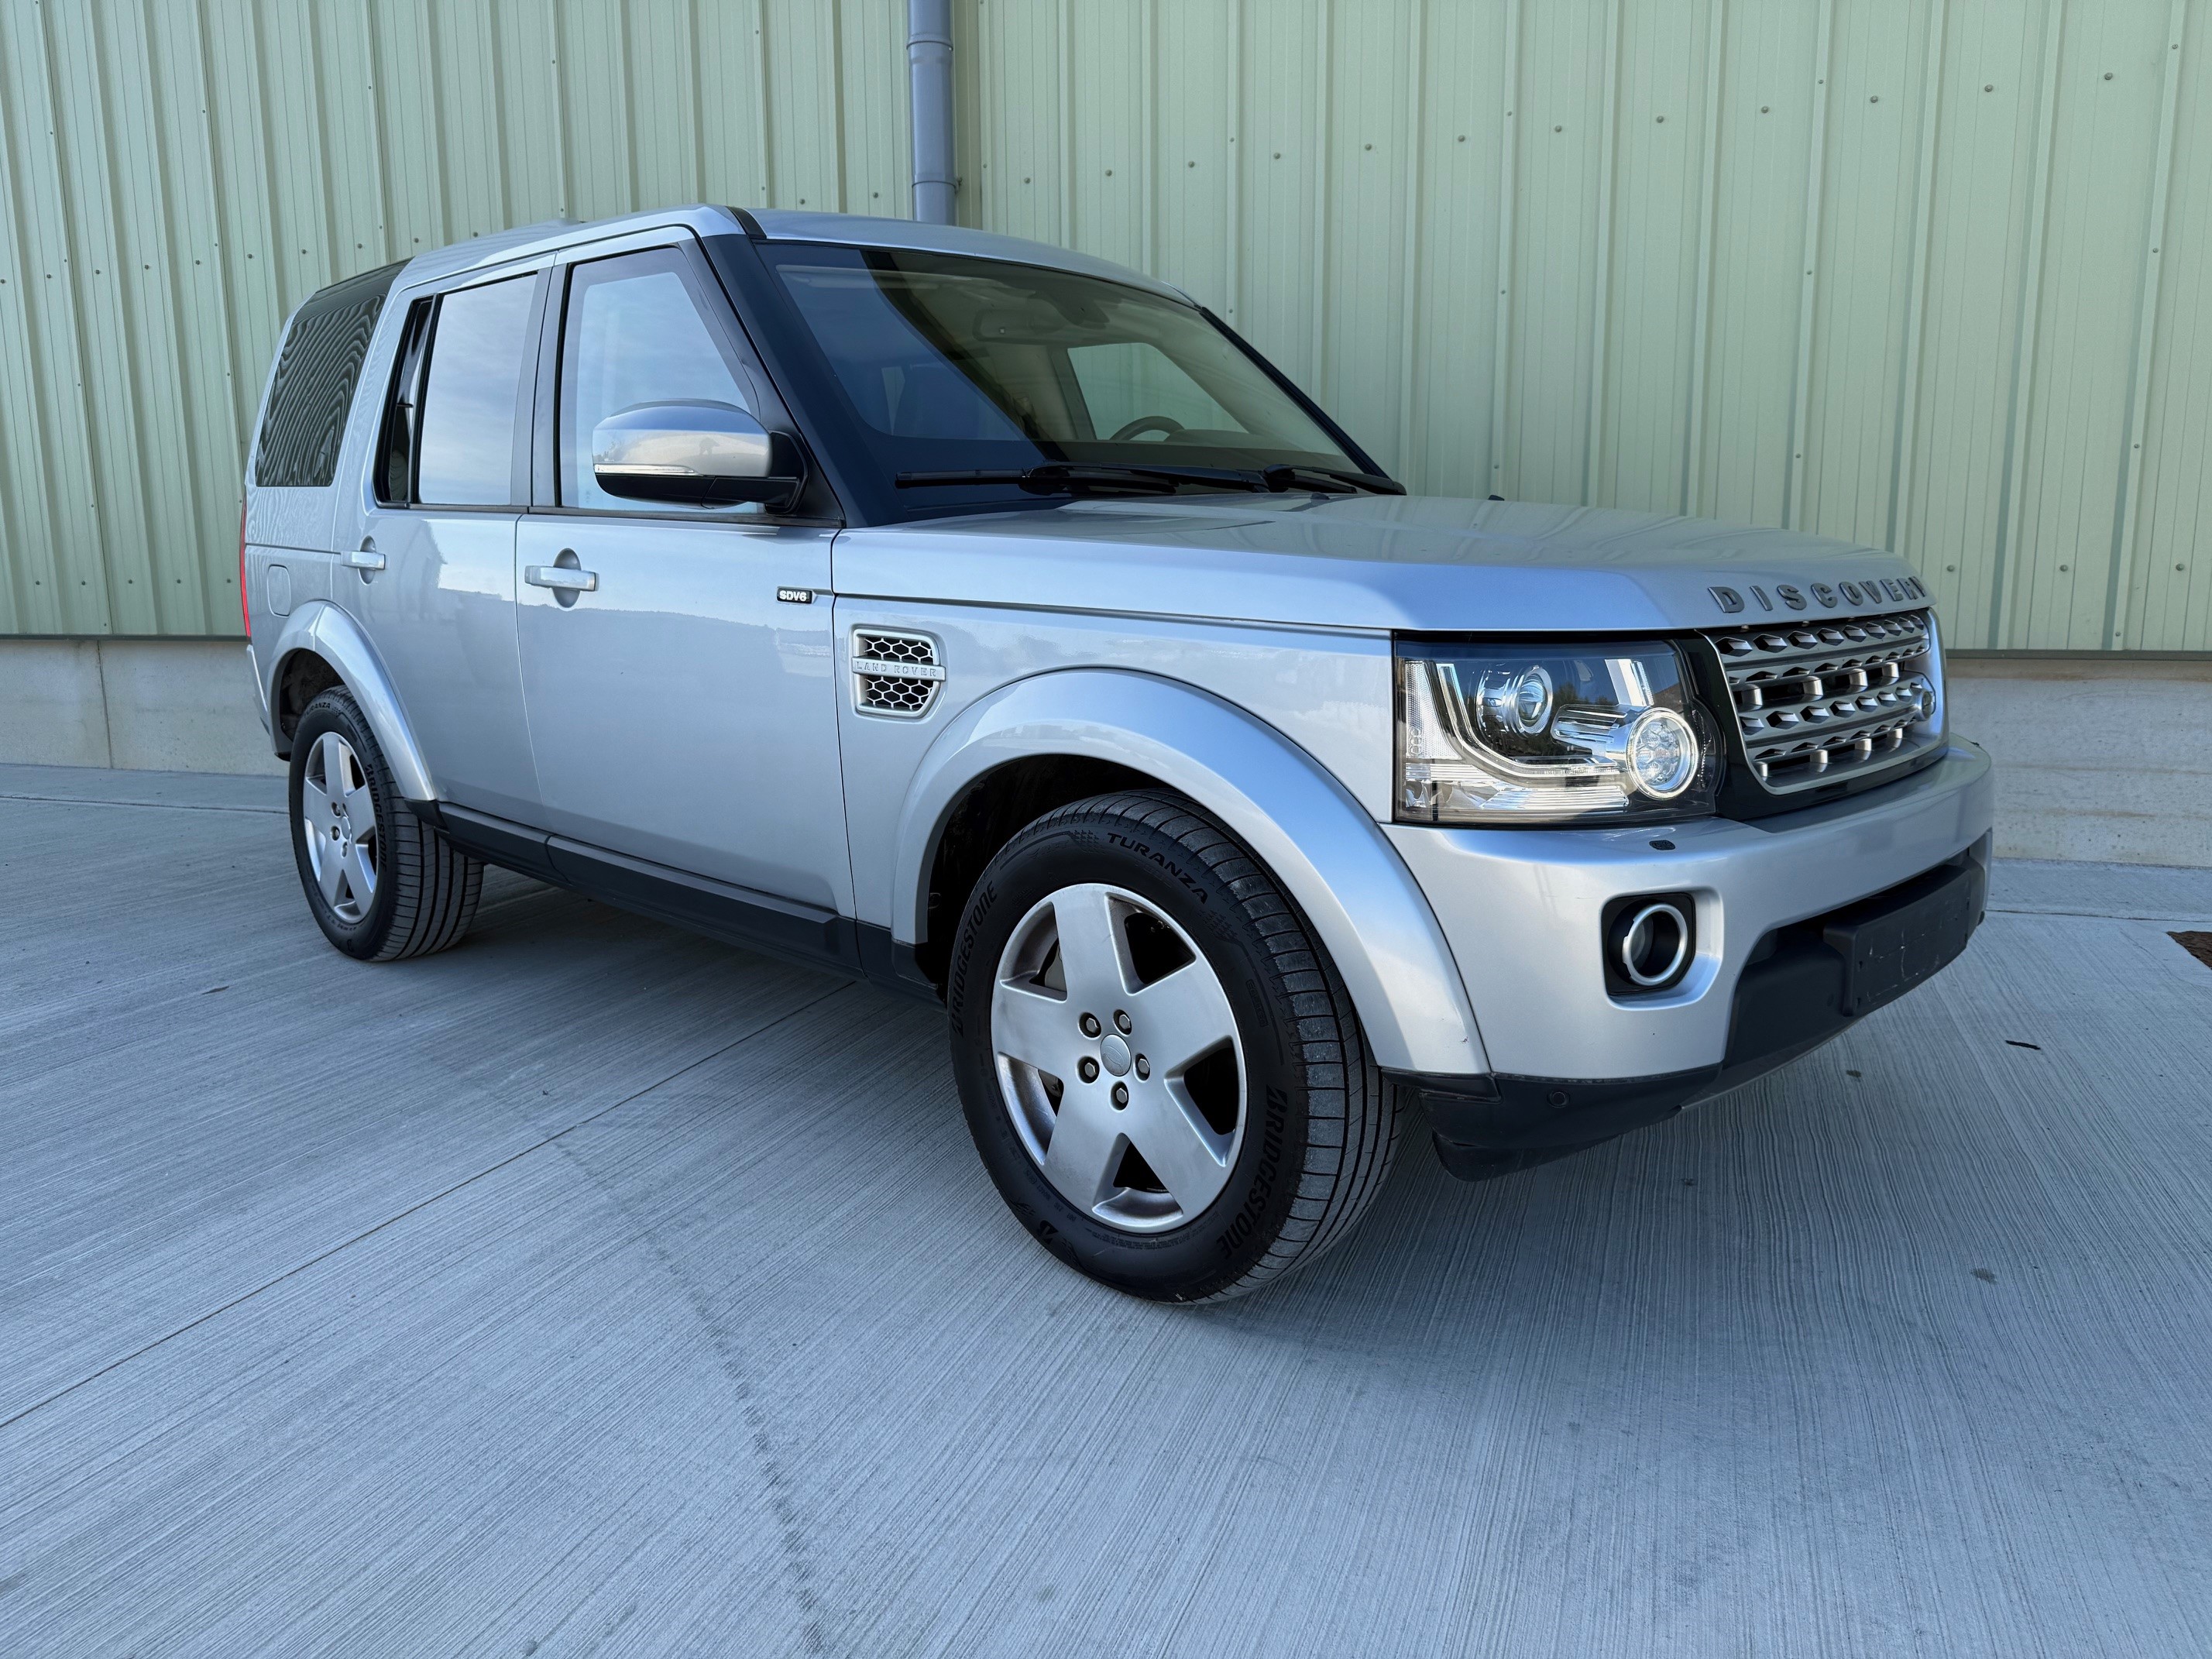
Land Rover Discovery 4 SDV6 HSE LHD, Armoured to B6 Level

Land Rover

WTBC

Please Enquire For Price.£POASubject to UK VAT unless sold outside the UK. Quantity Availble: 1Viewings strictly by appointment

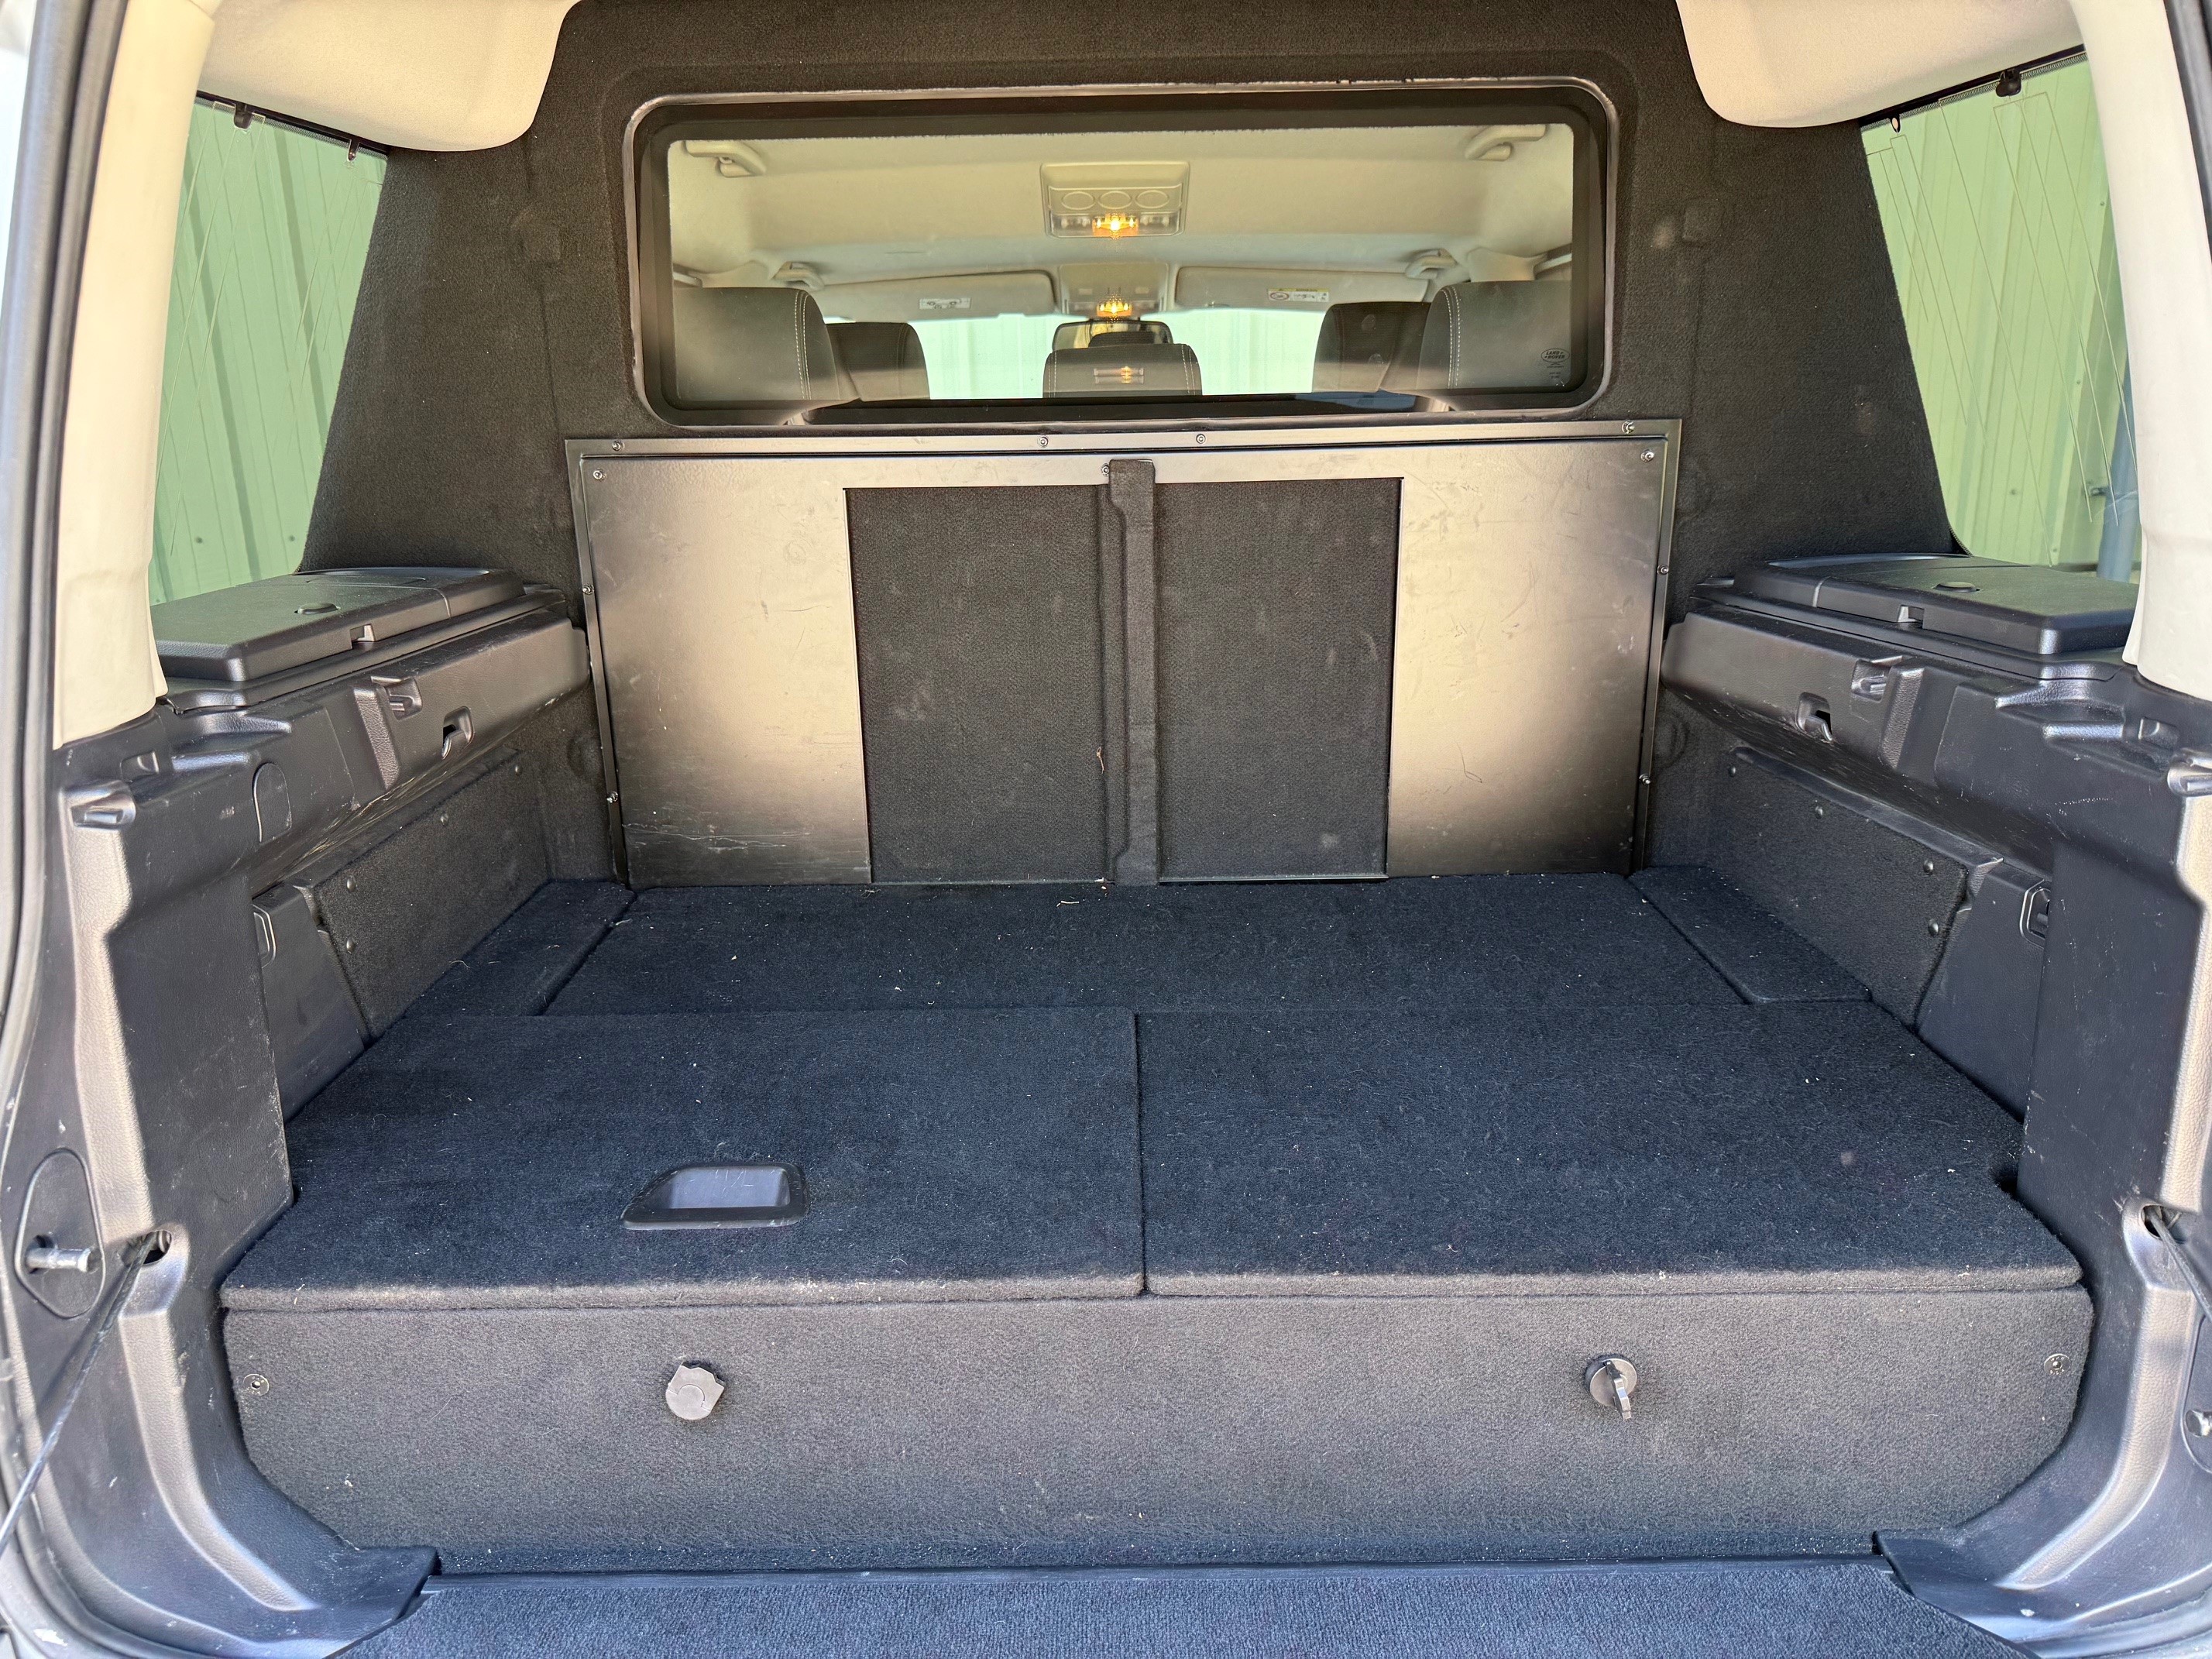
Year 2015, E marked, Sold with UK MOD paperwork, recently released from a UK MOD contract

Indus Silver metallic exterior

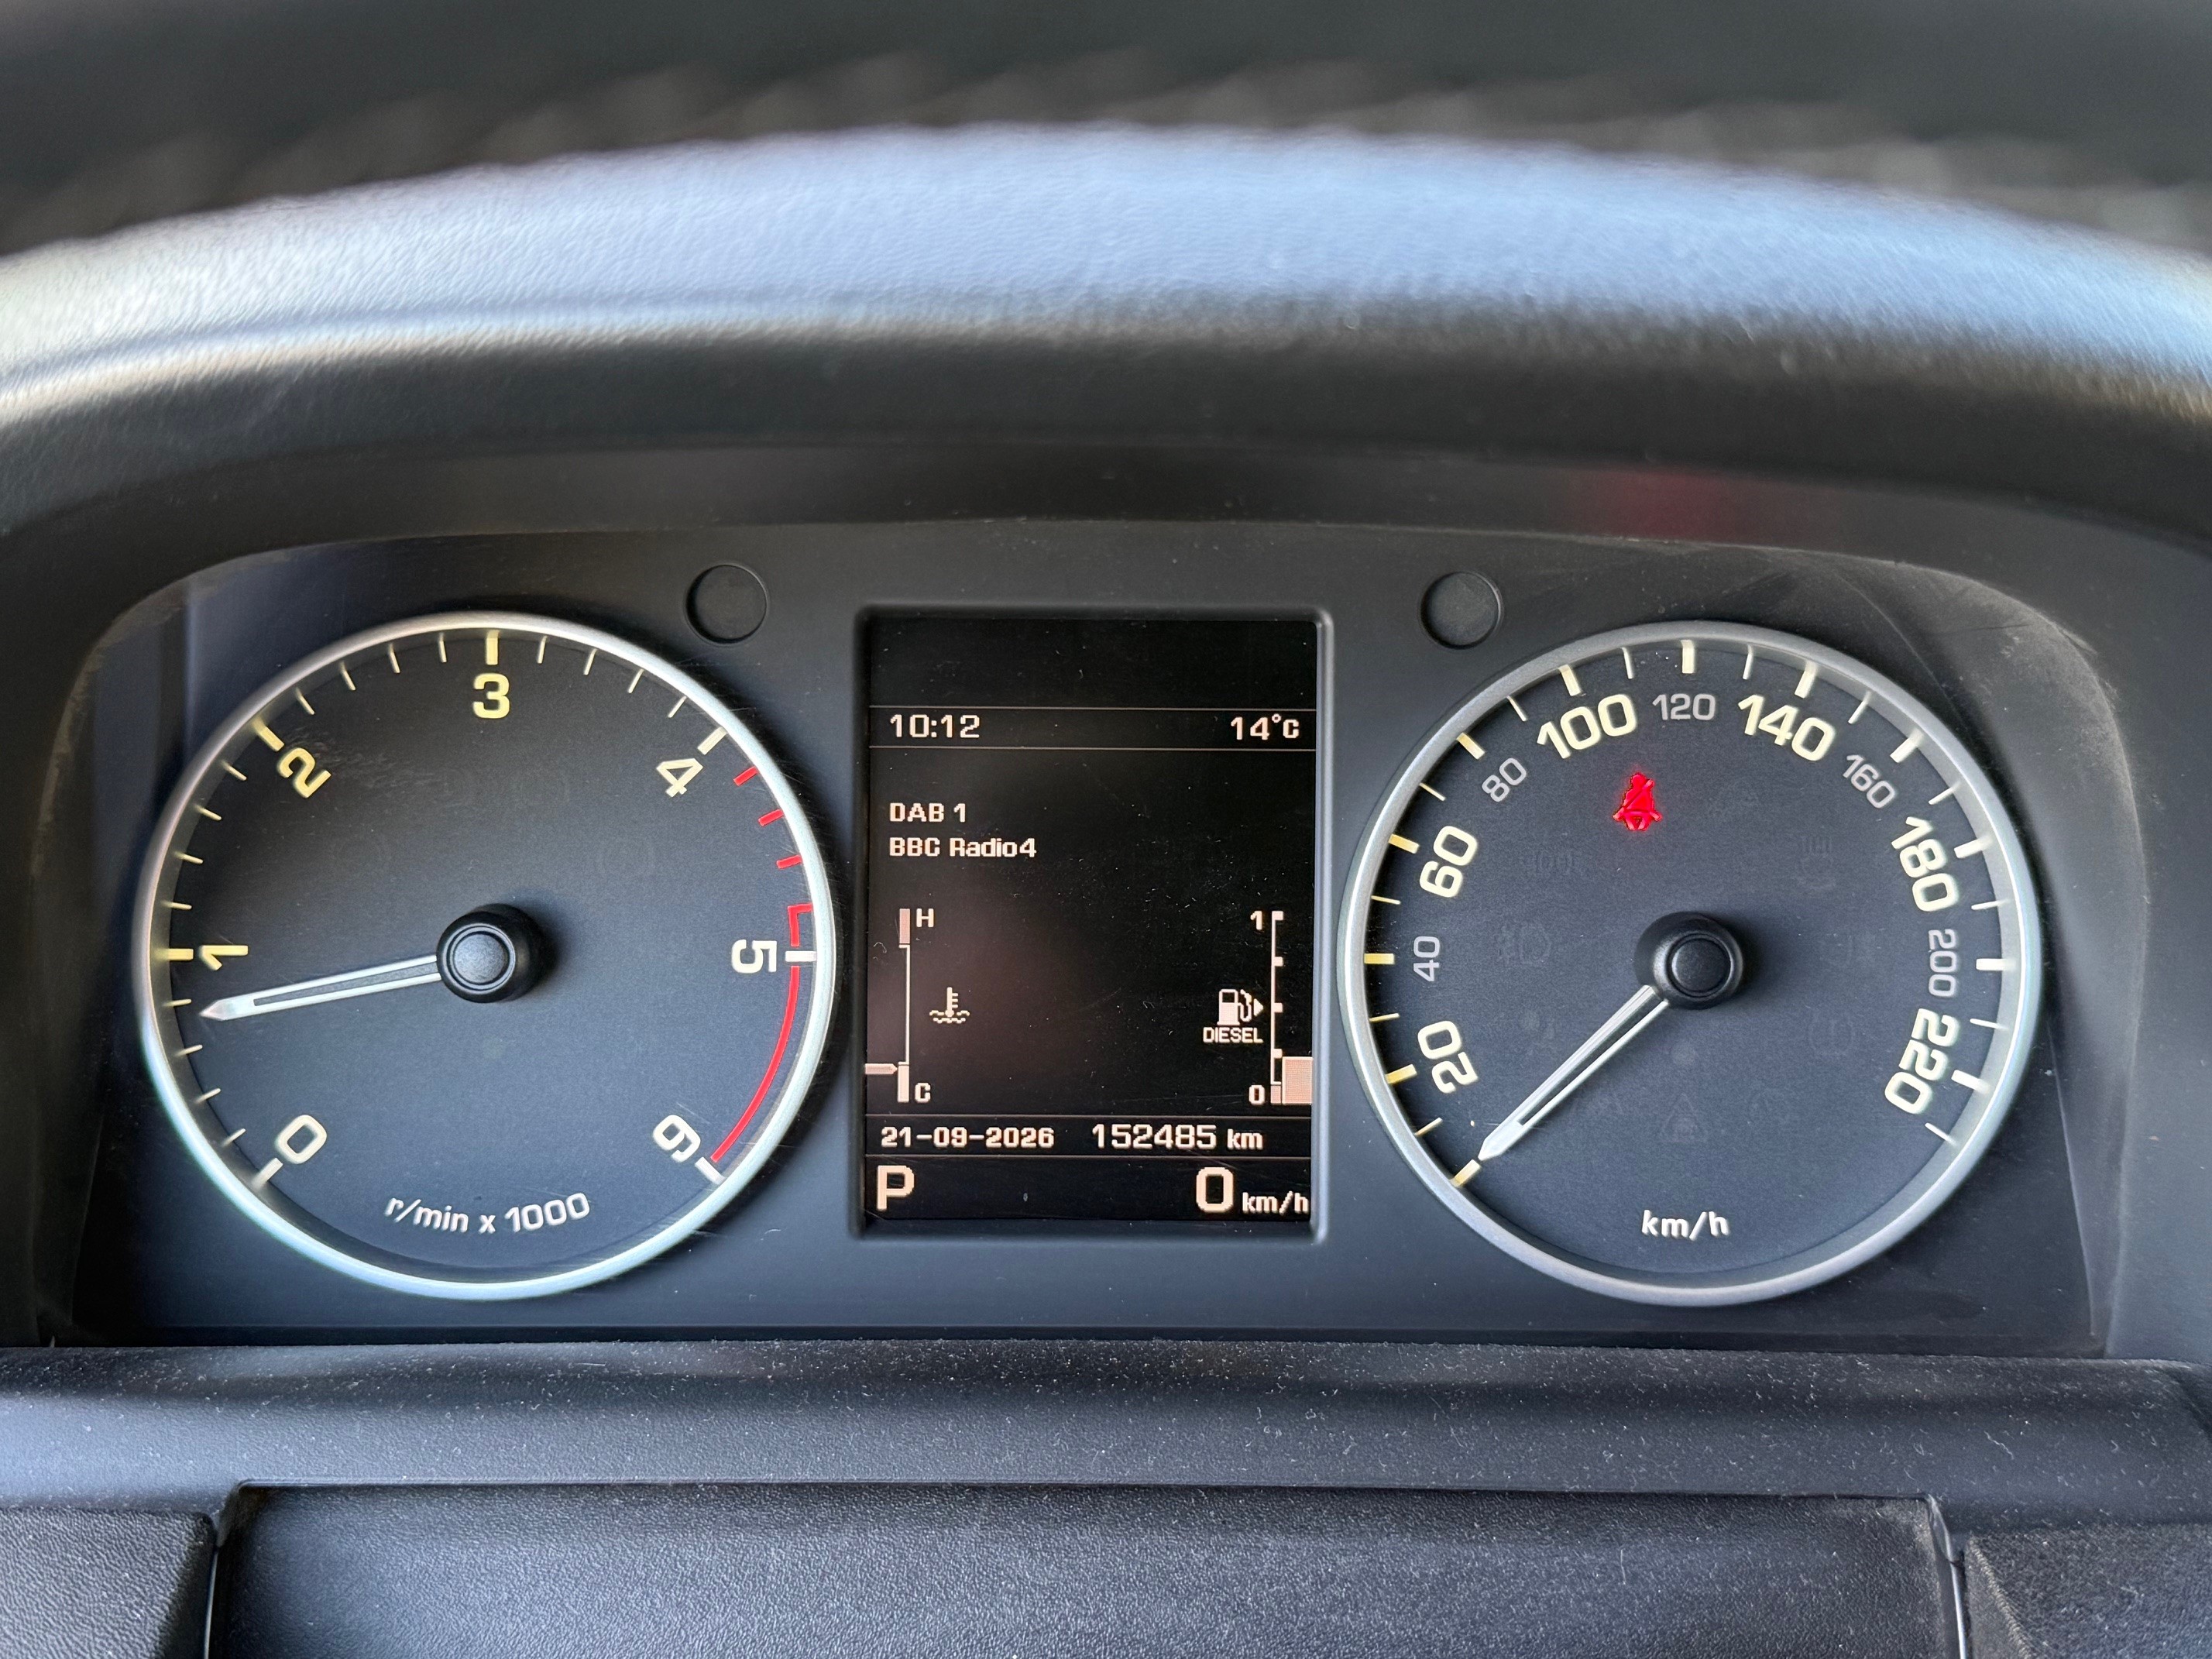
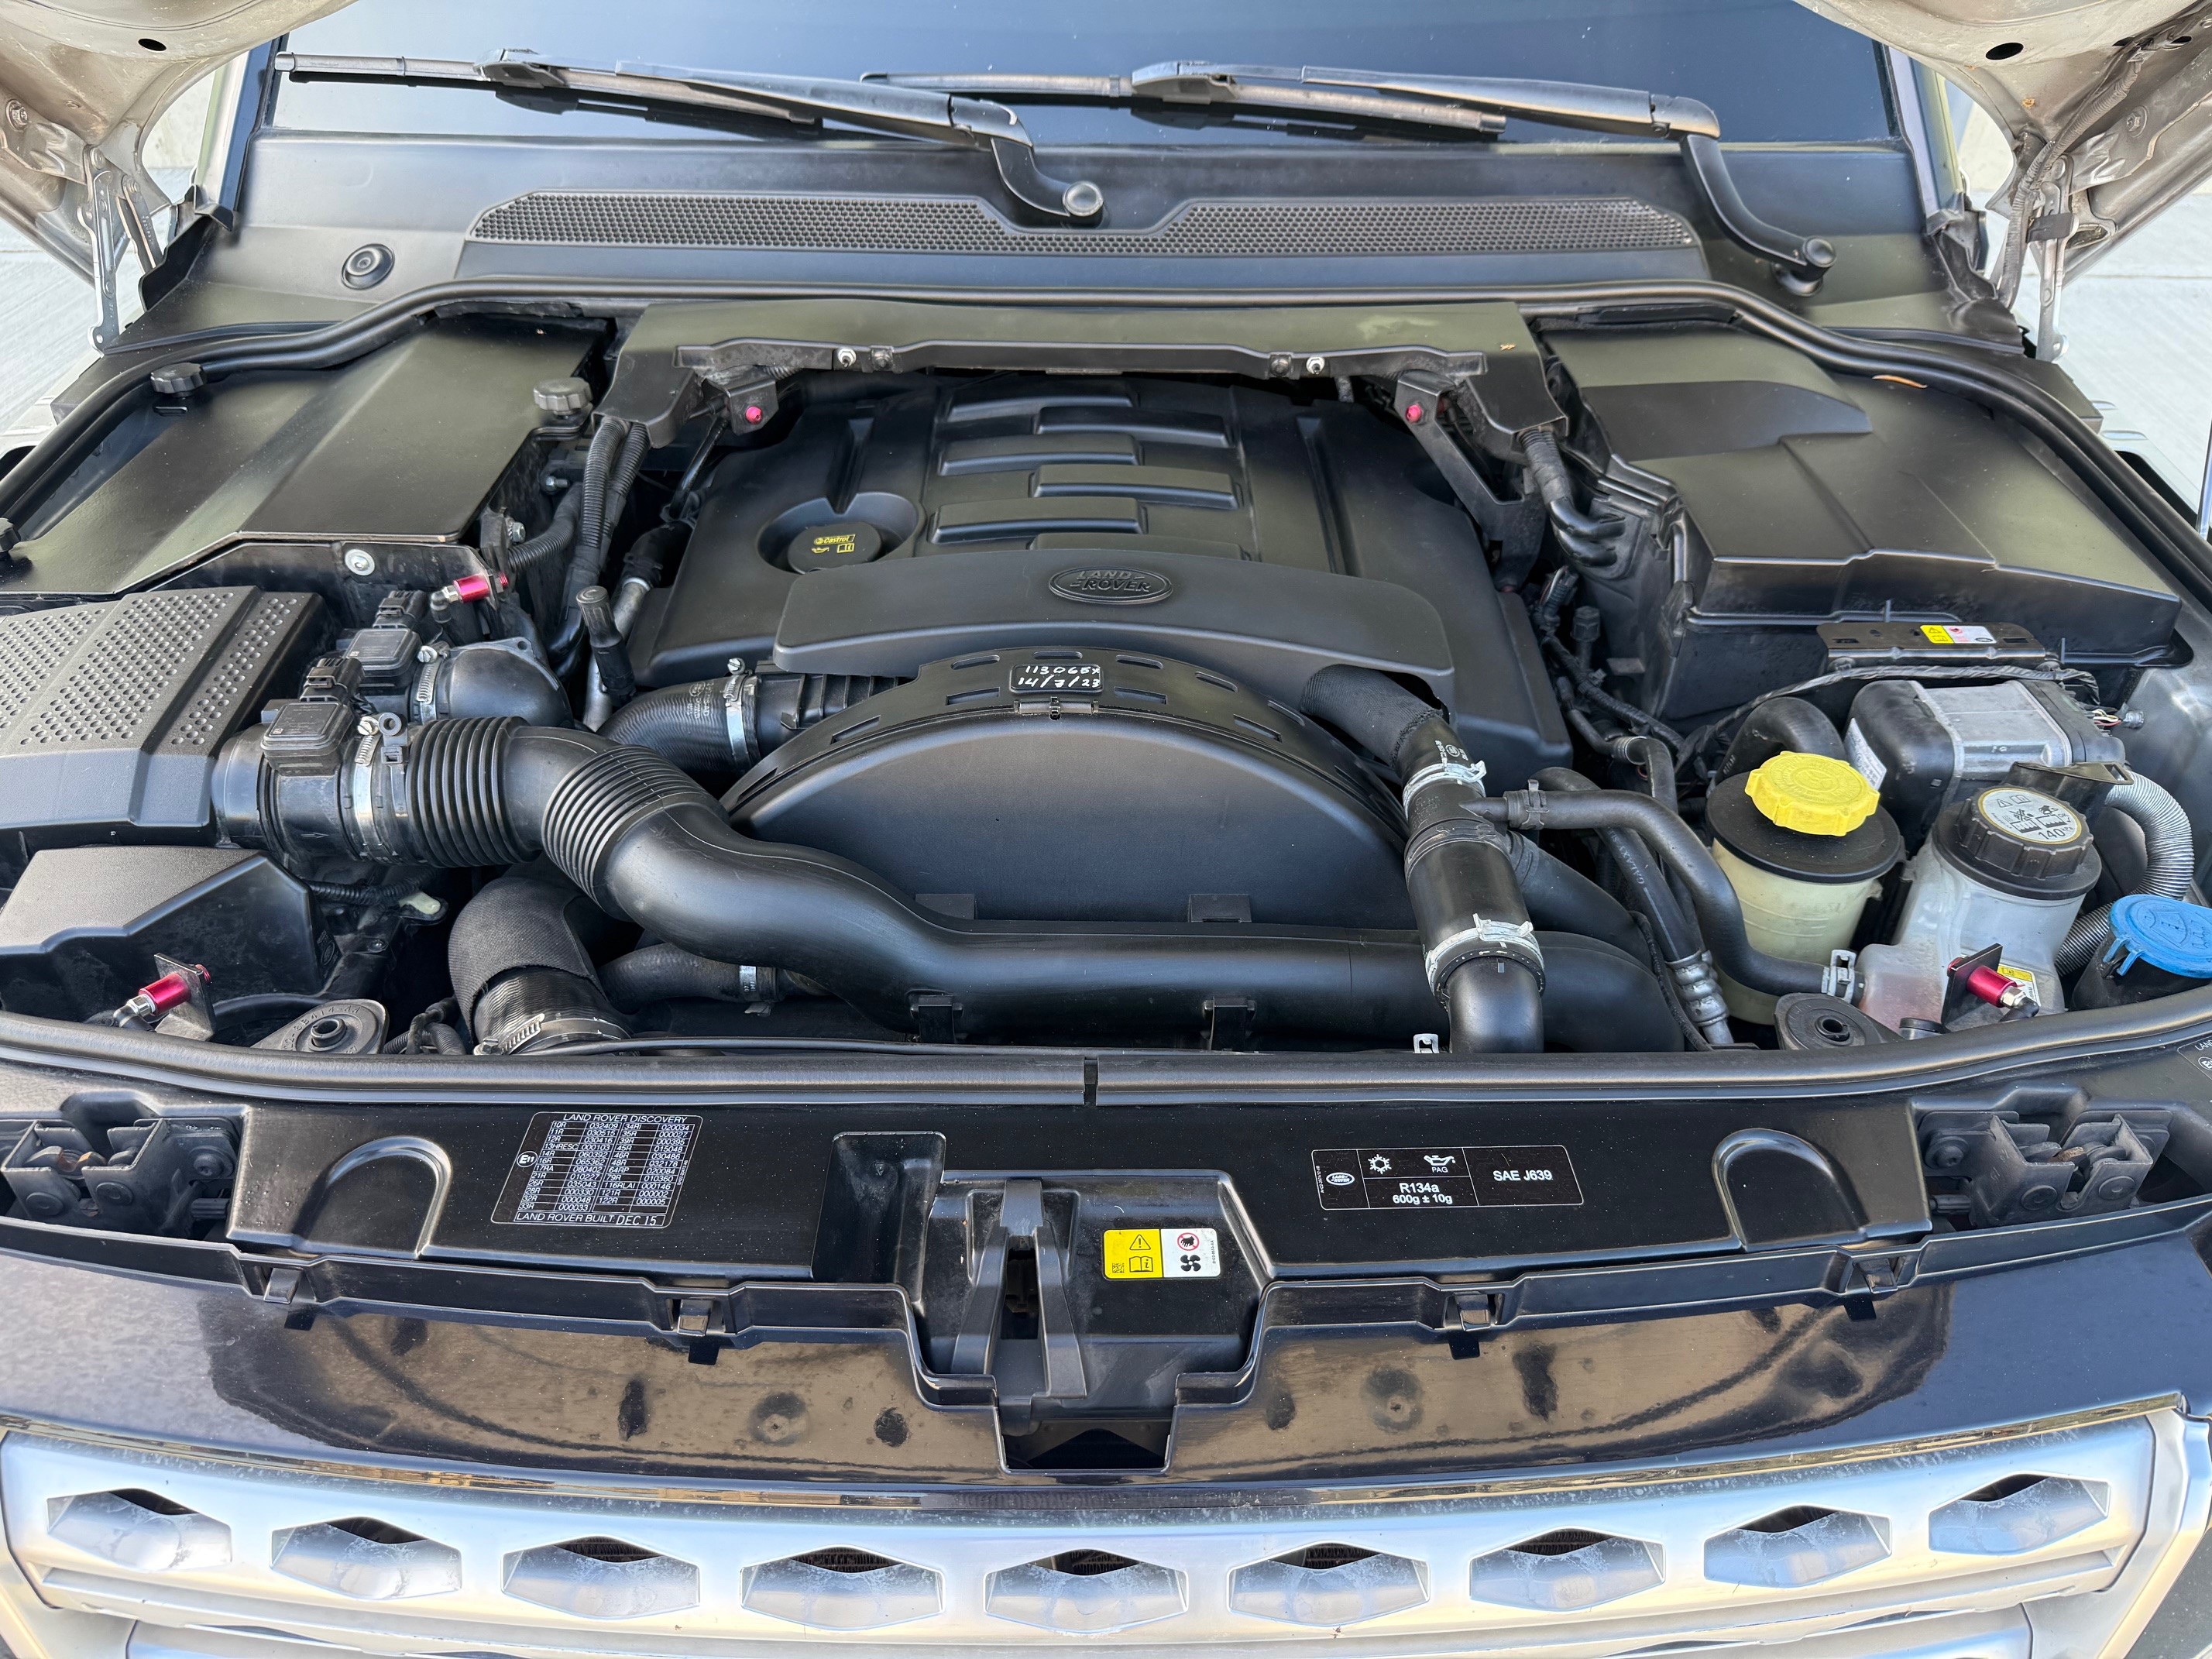
255hp 3.0 litre turbodiesel engine

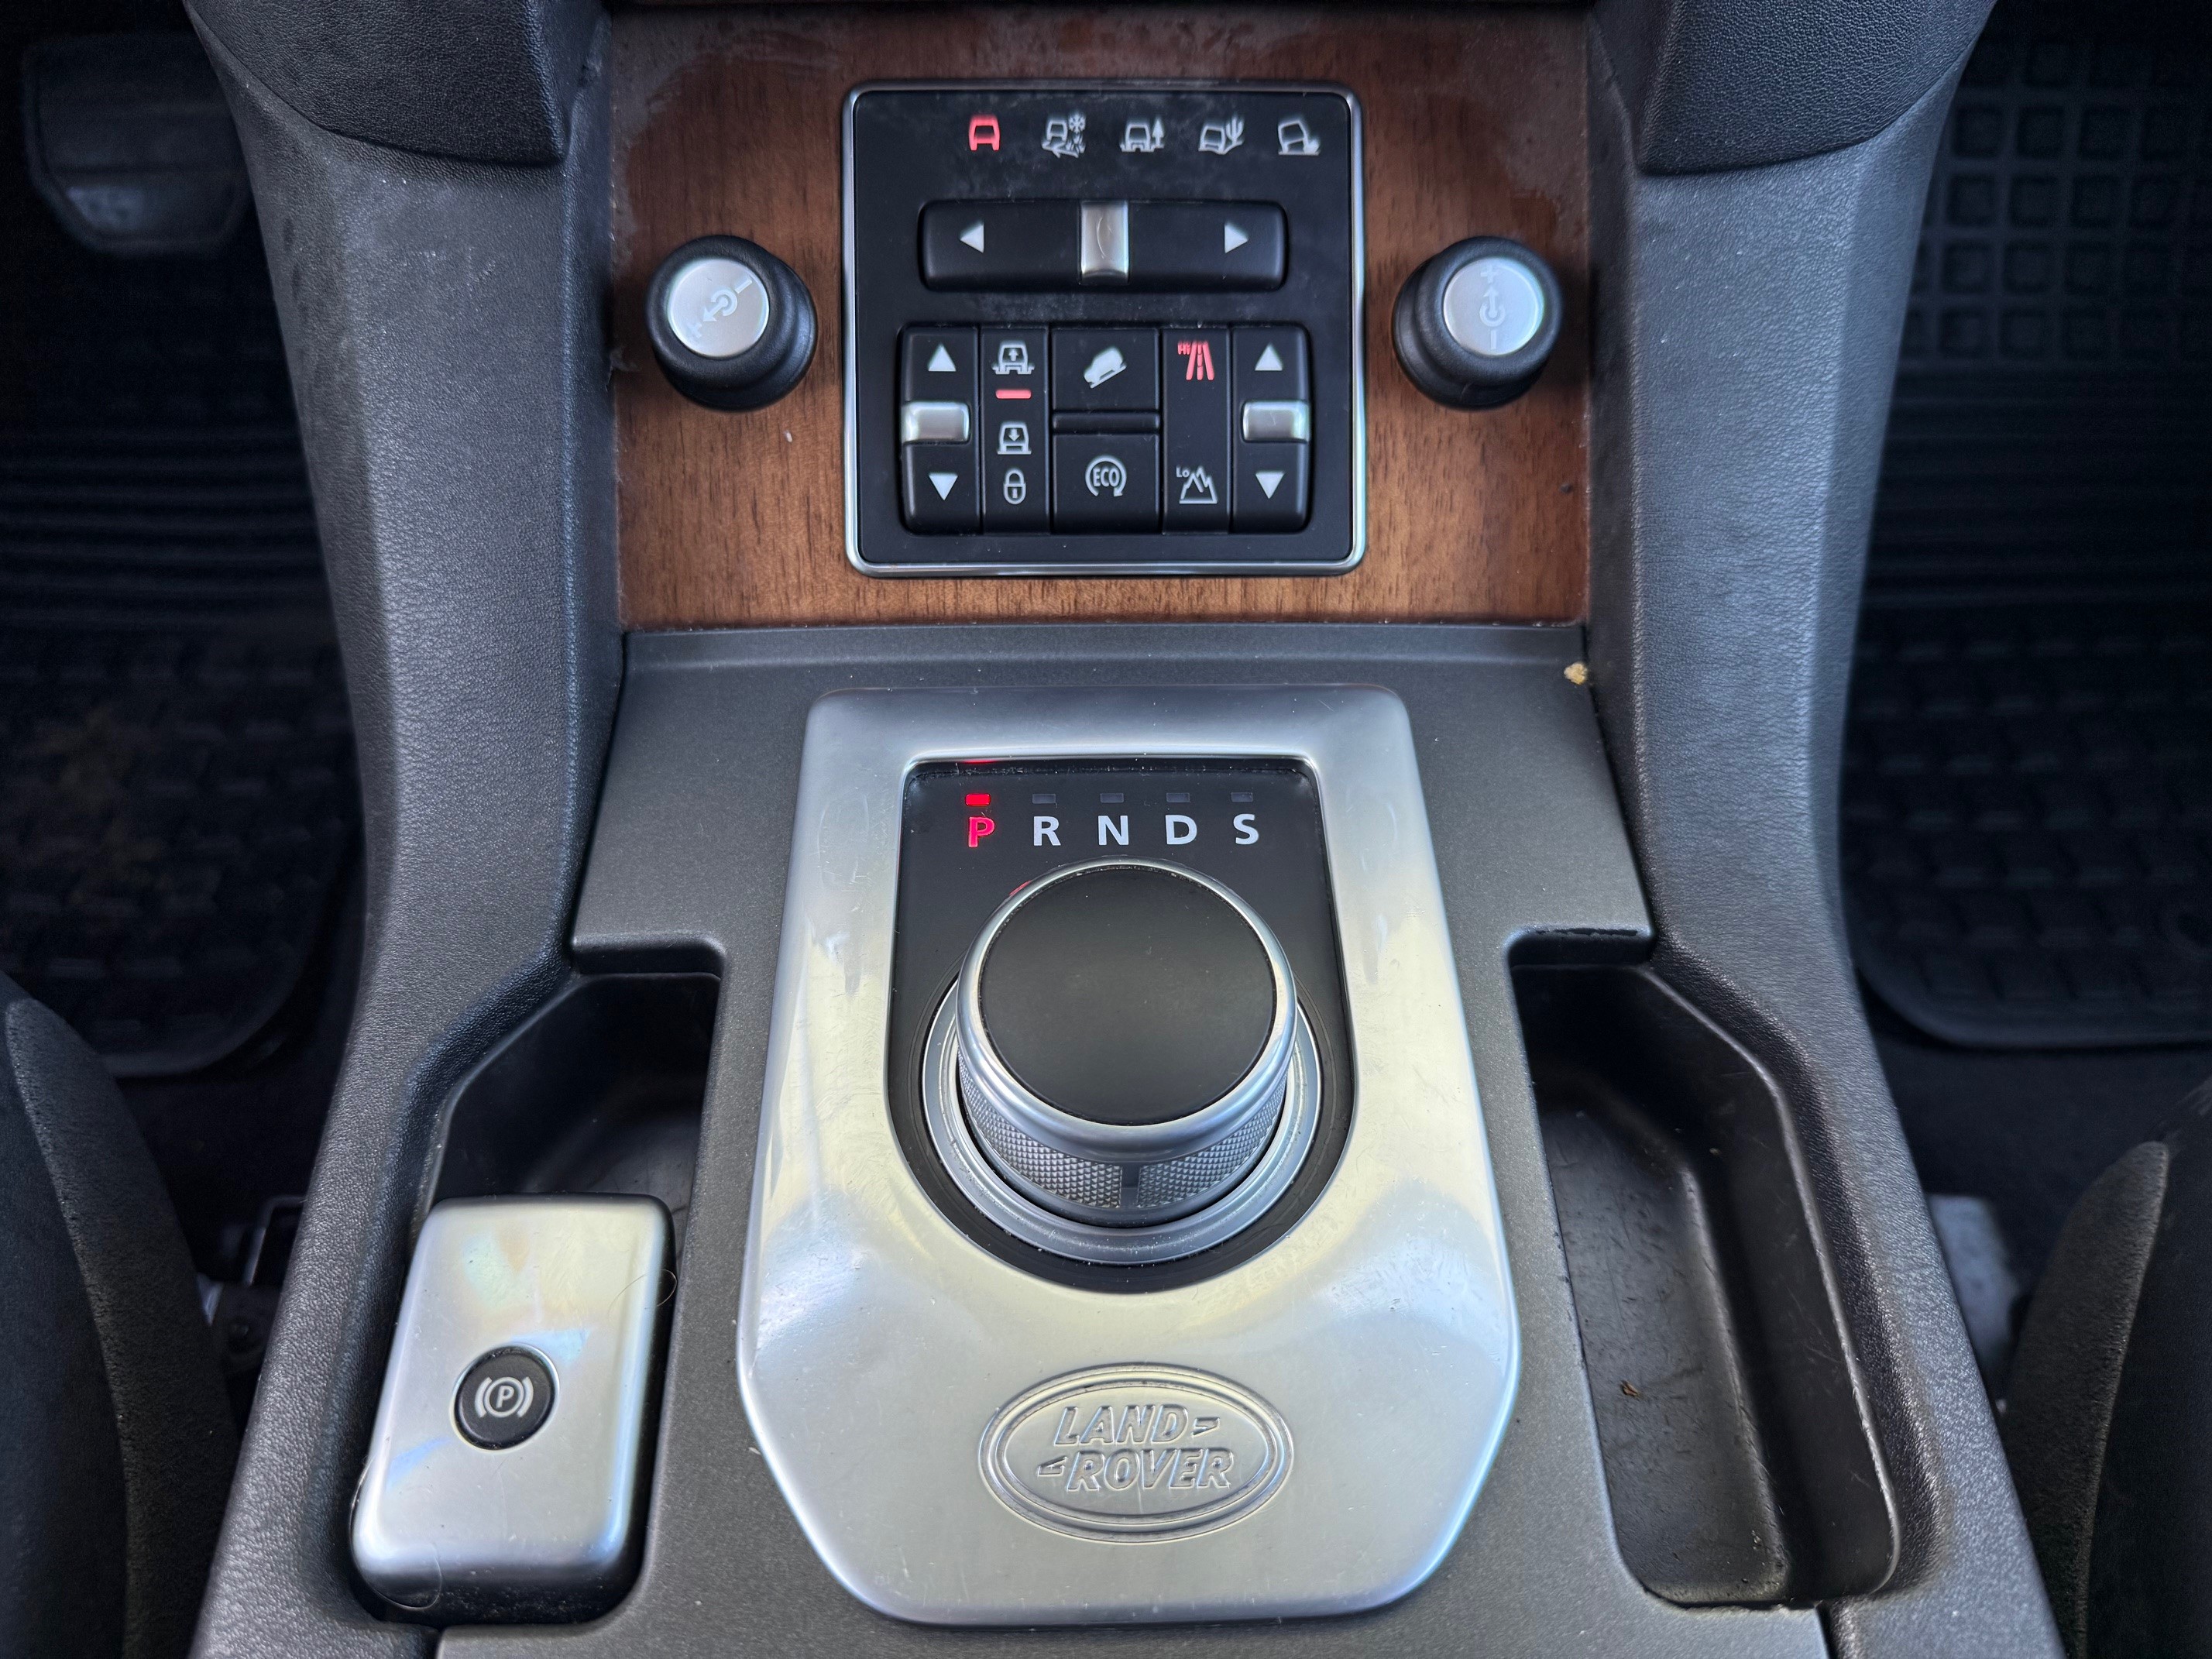
8 speed ZF transmission

2 speed High/Low transfer box

Electronic adjustable air suspension

Power steering

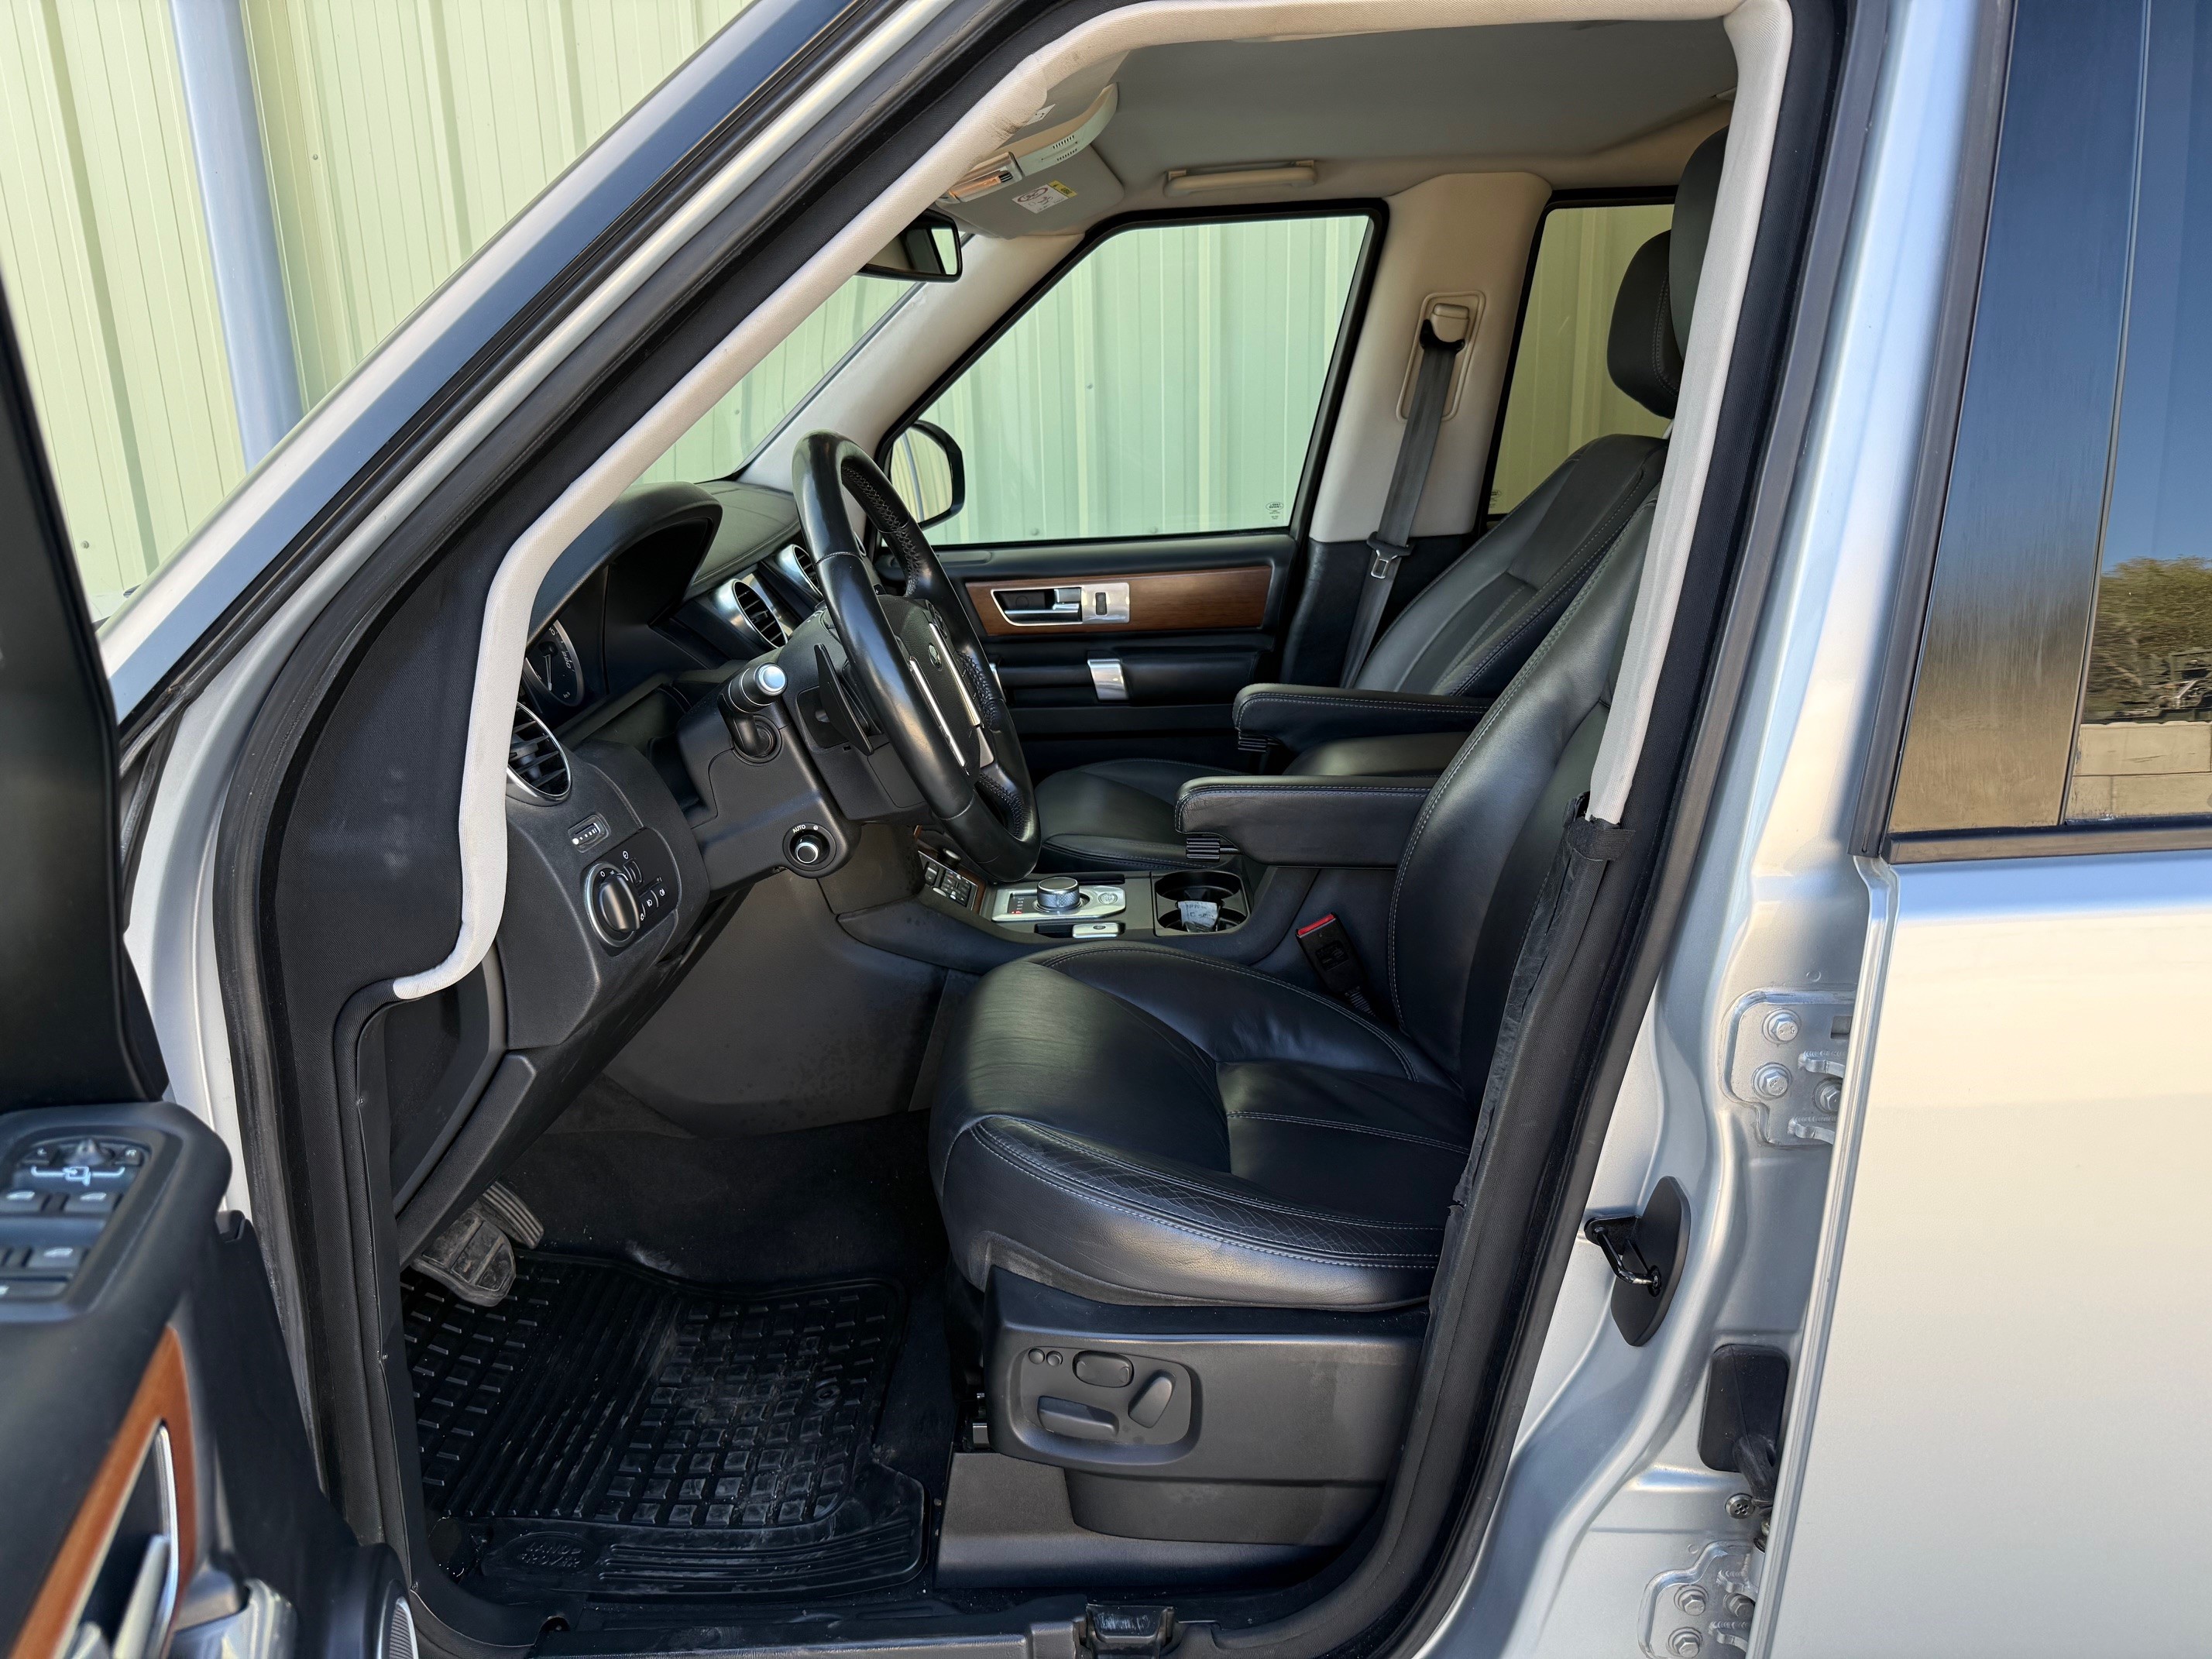
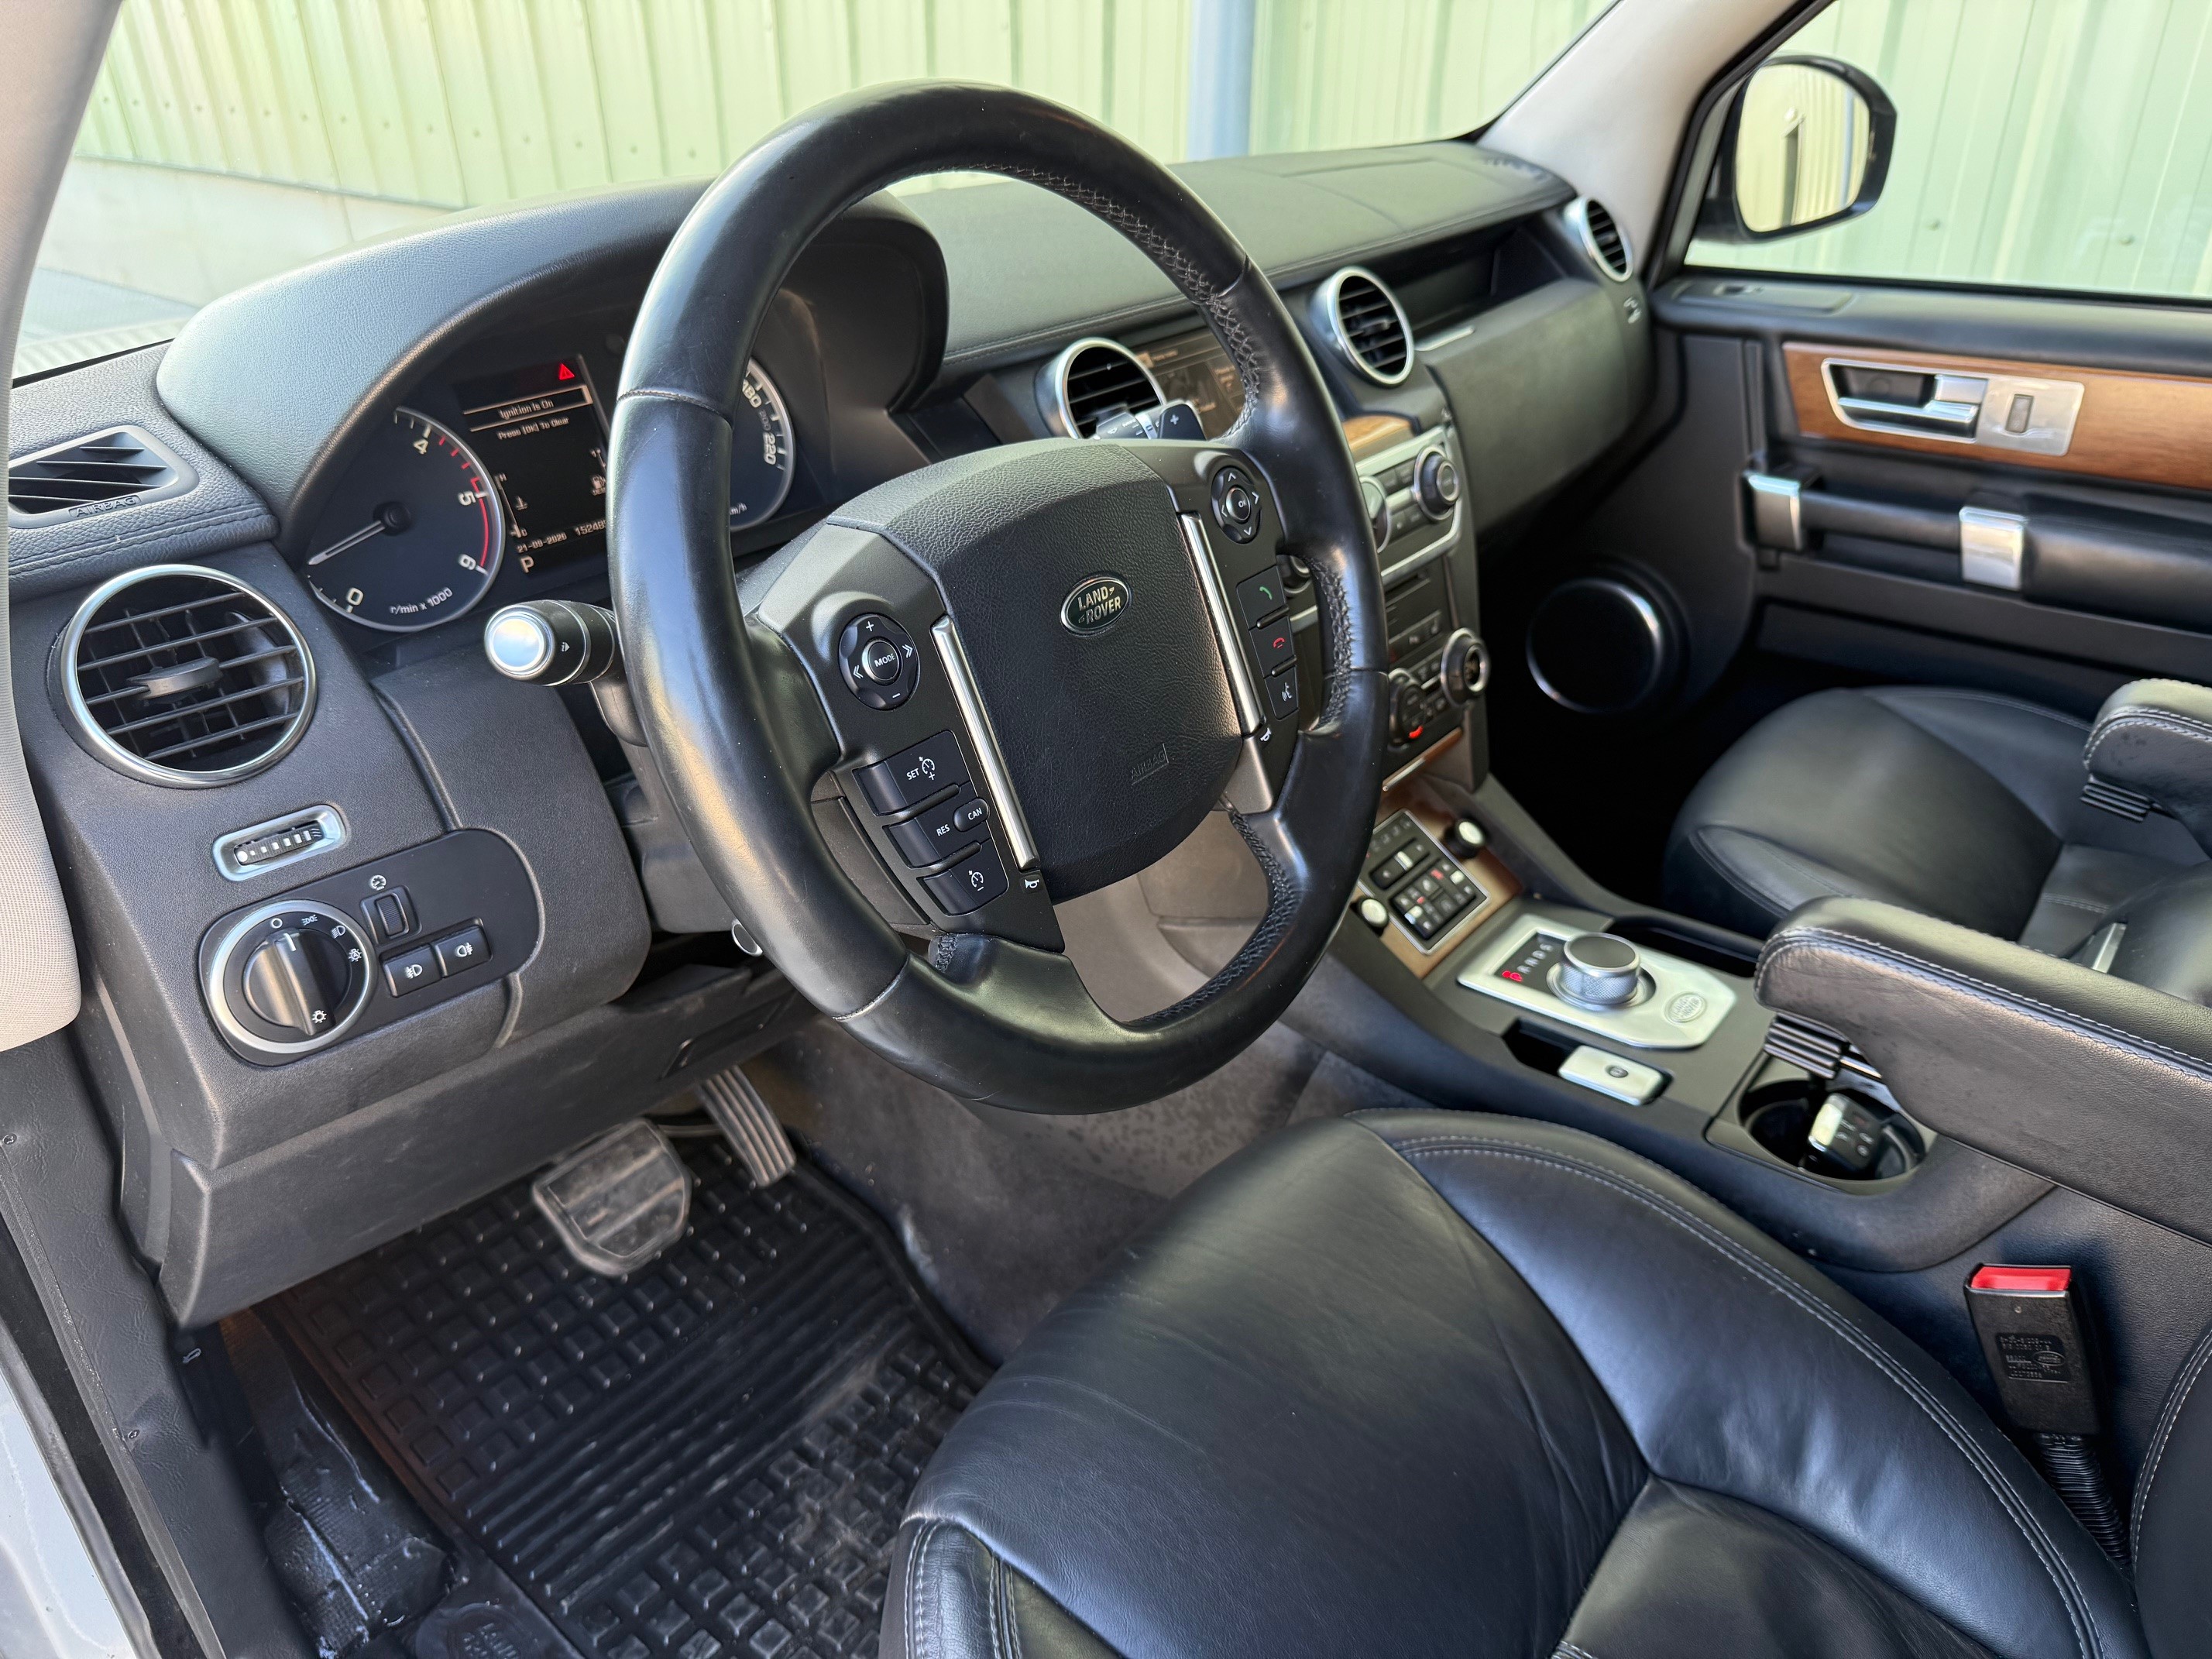
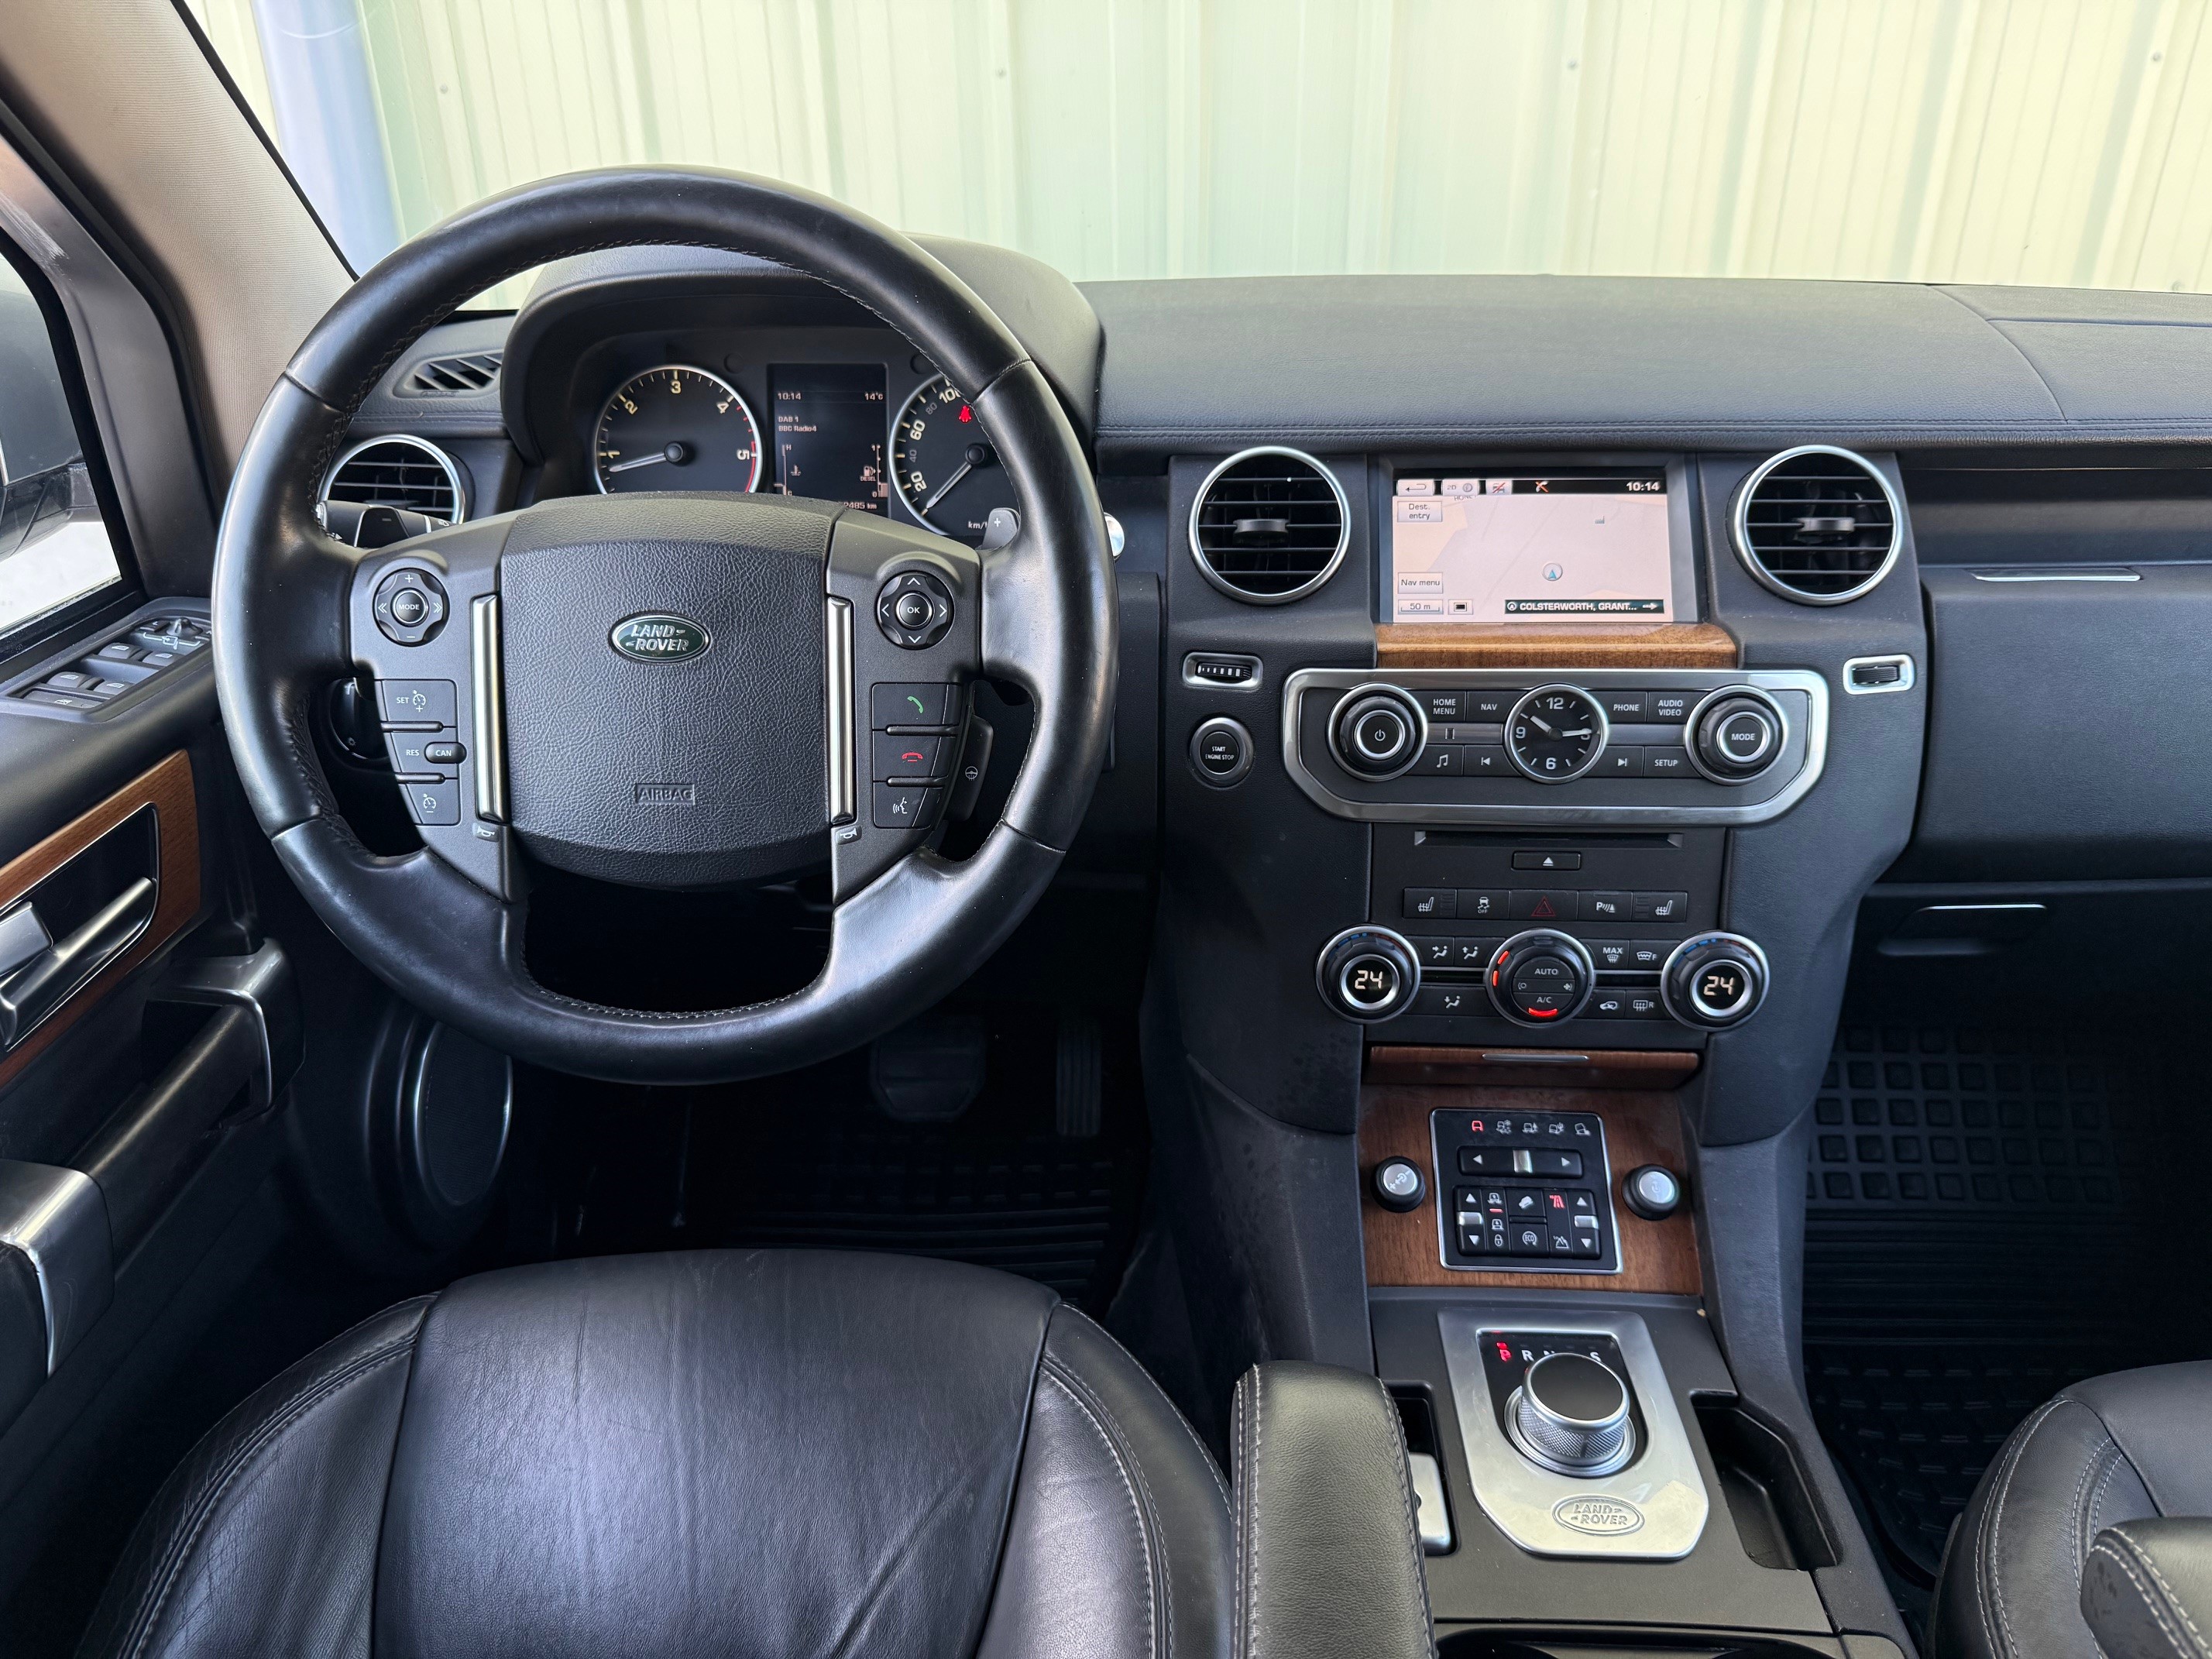
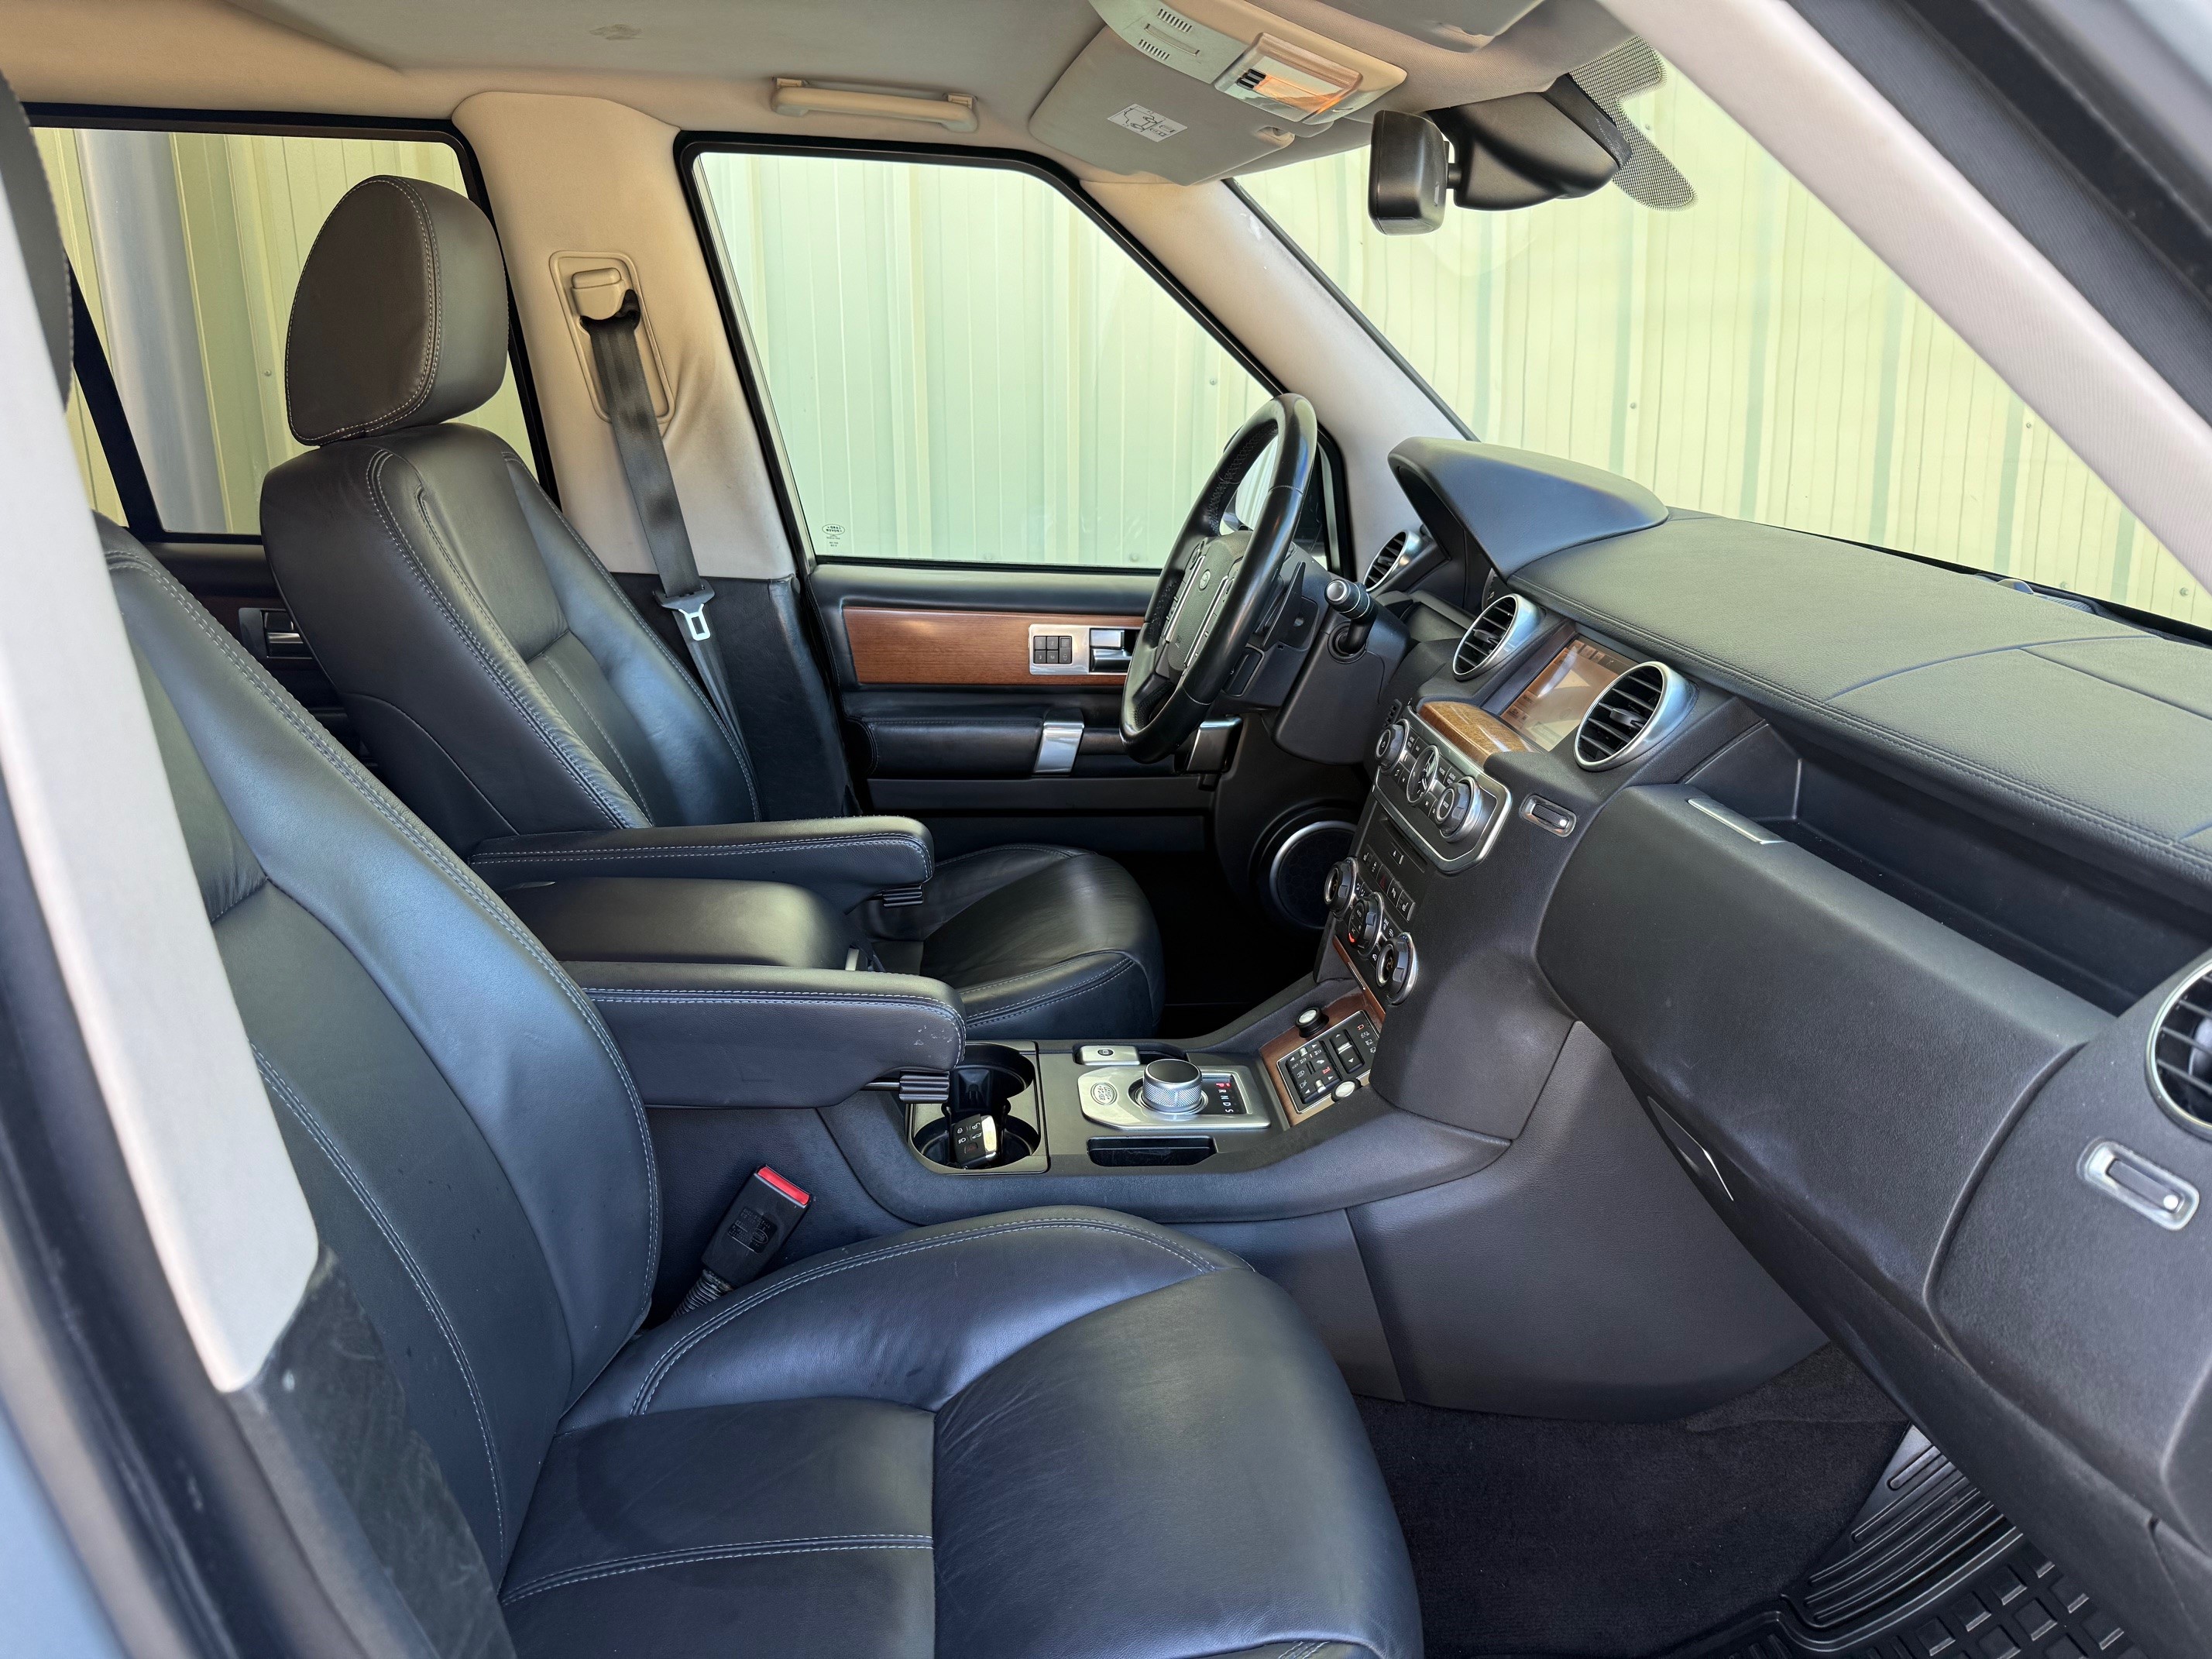
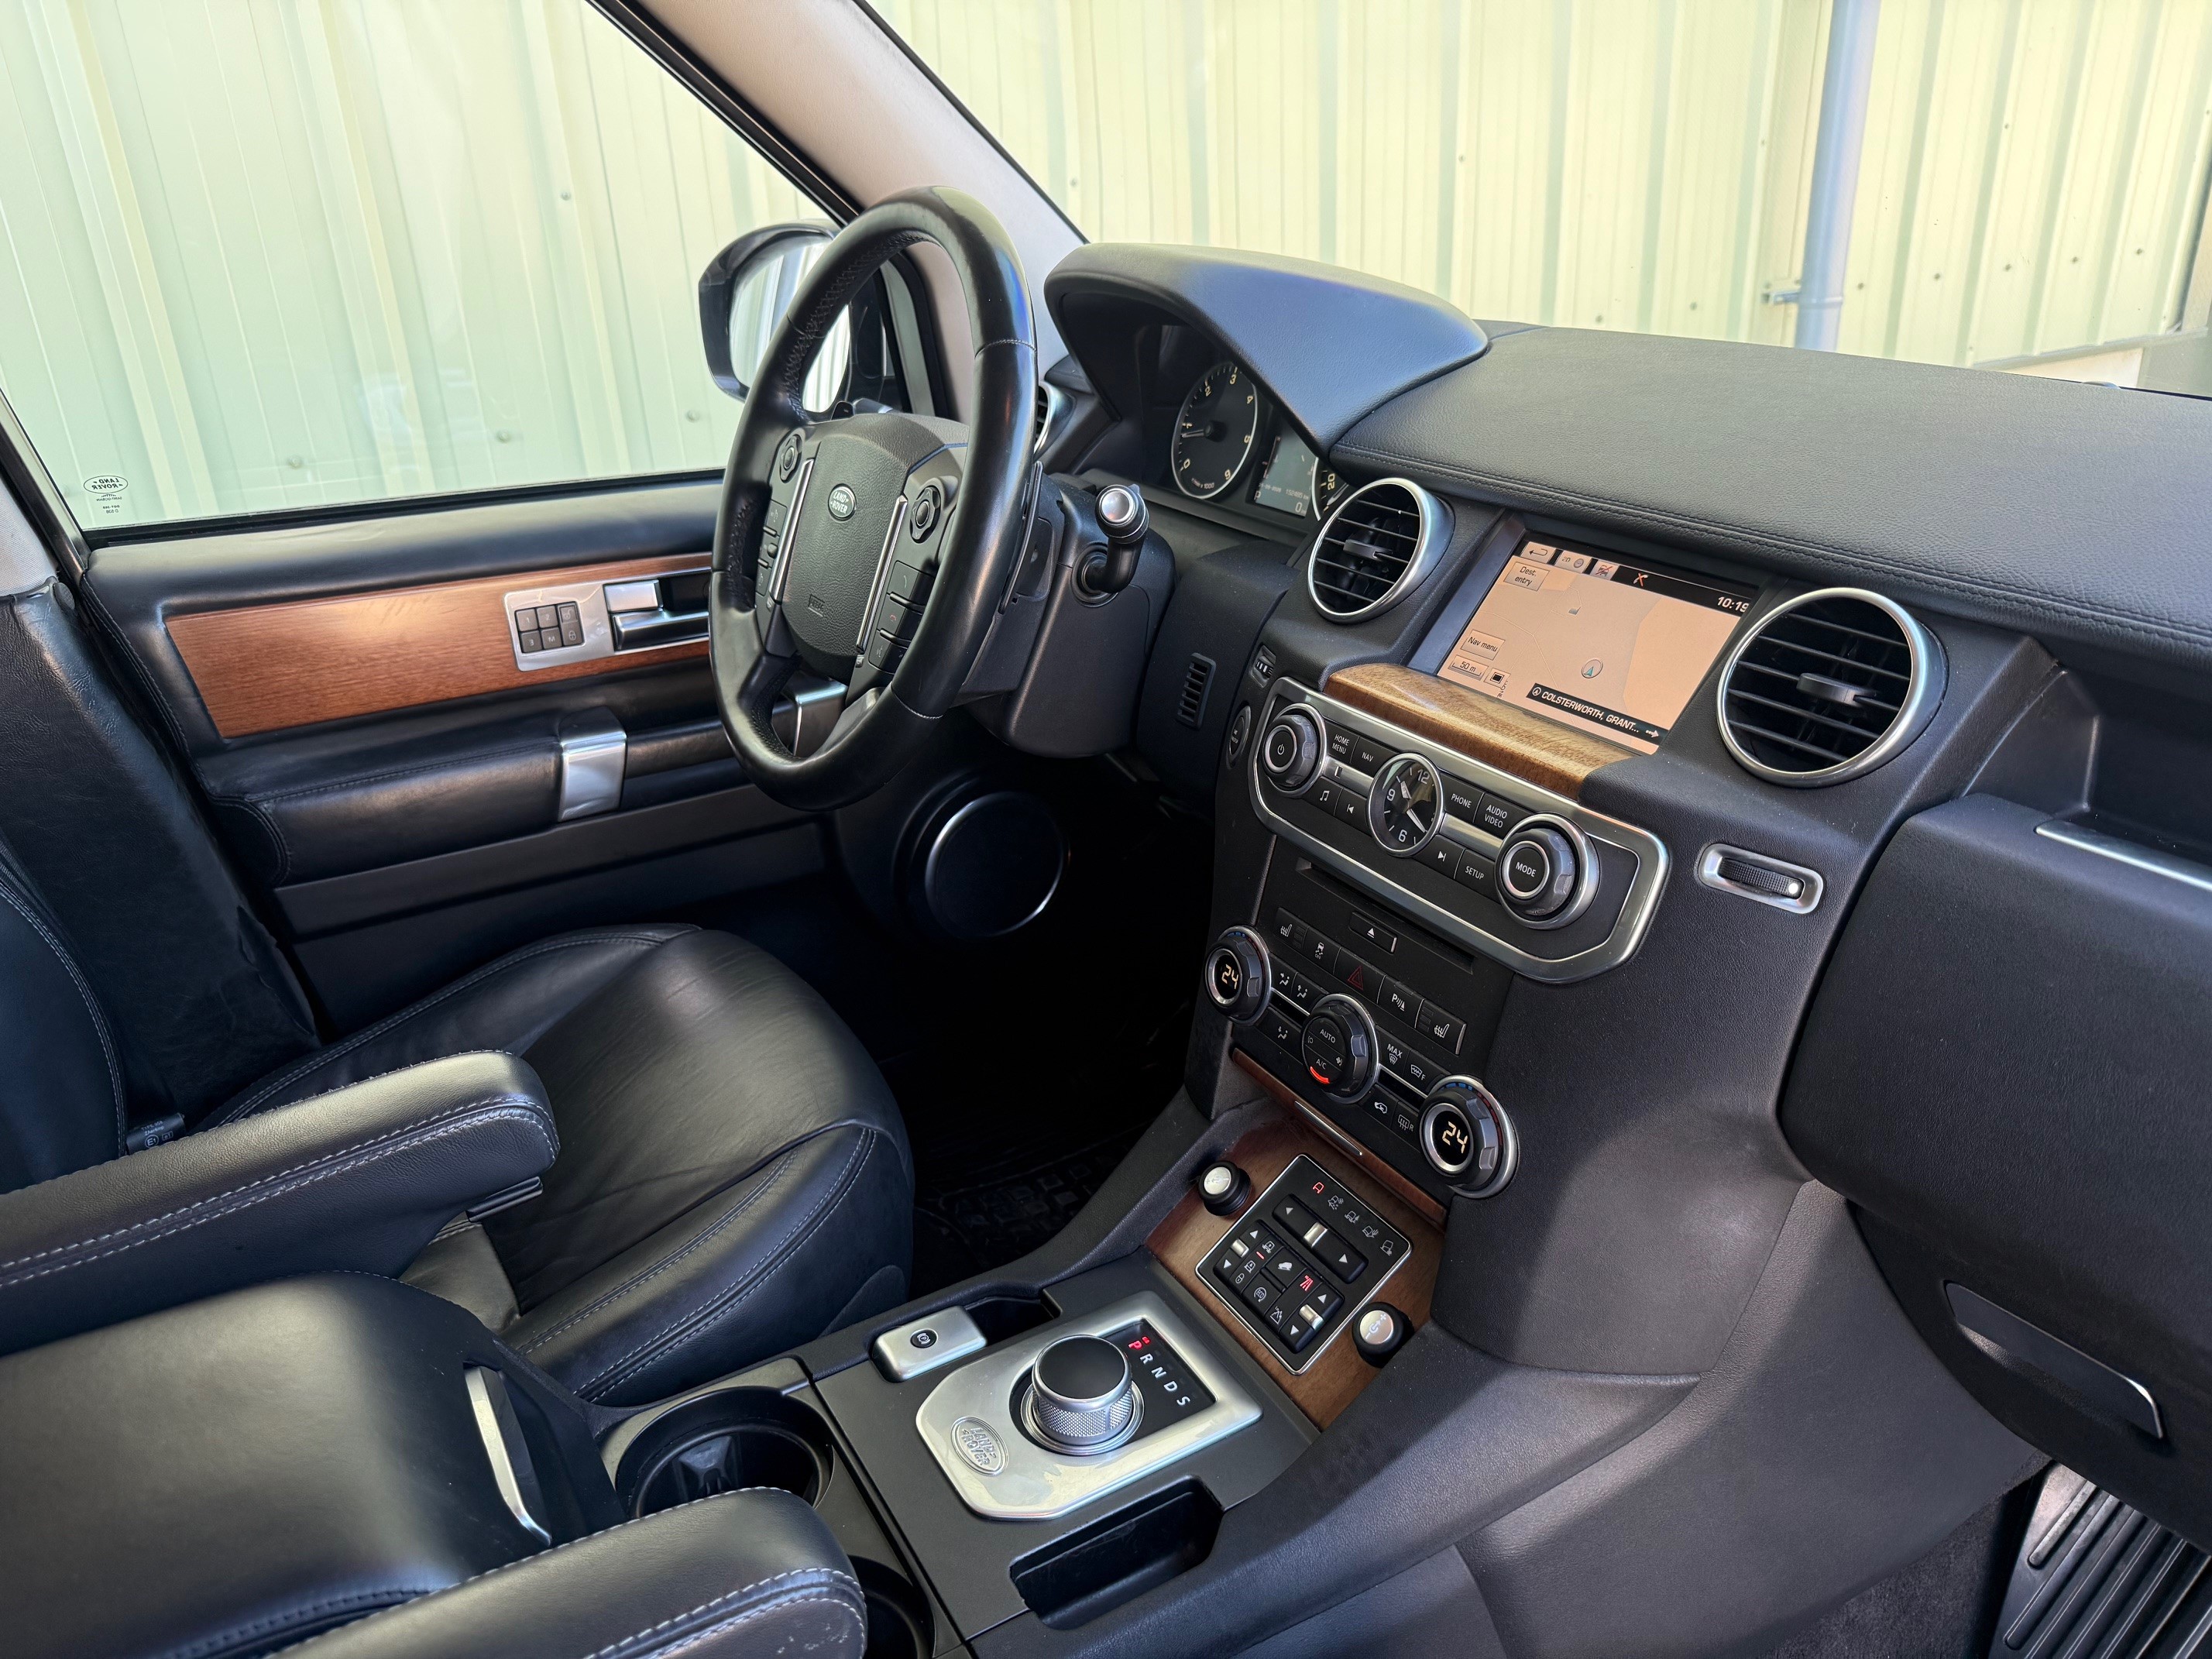
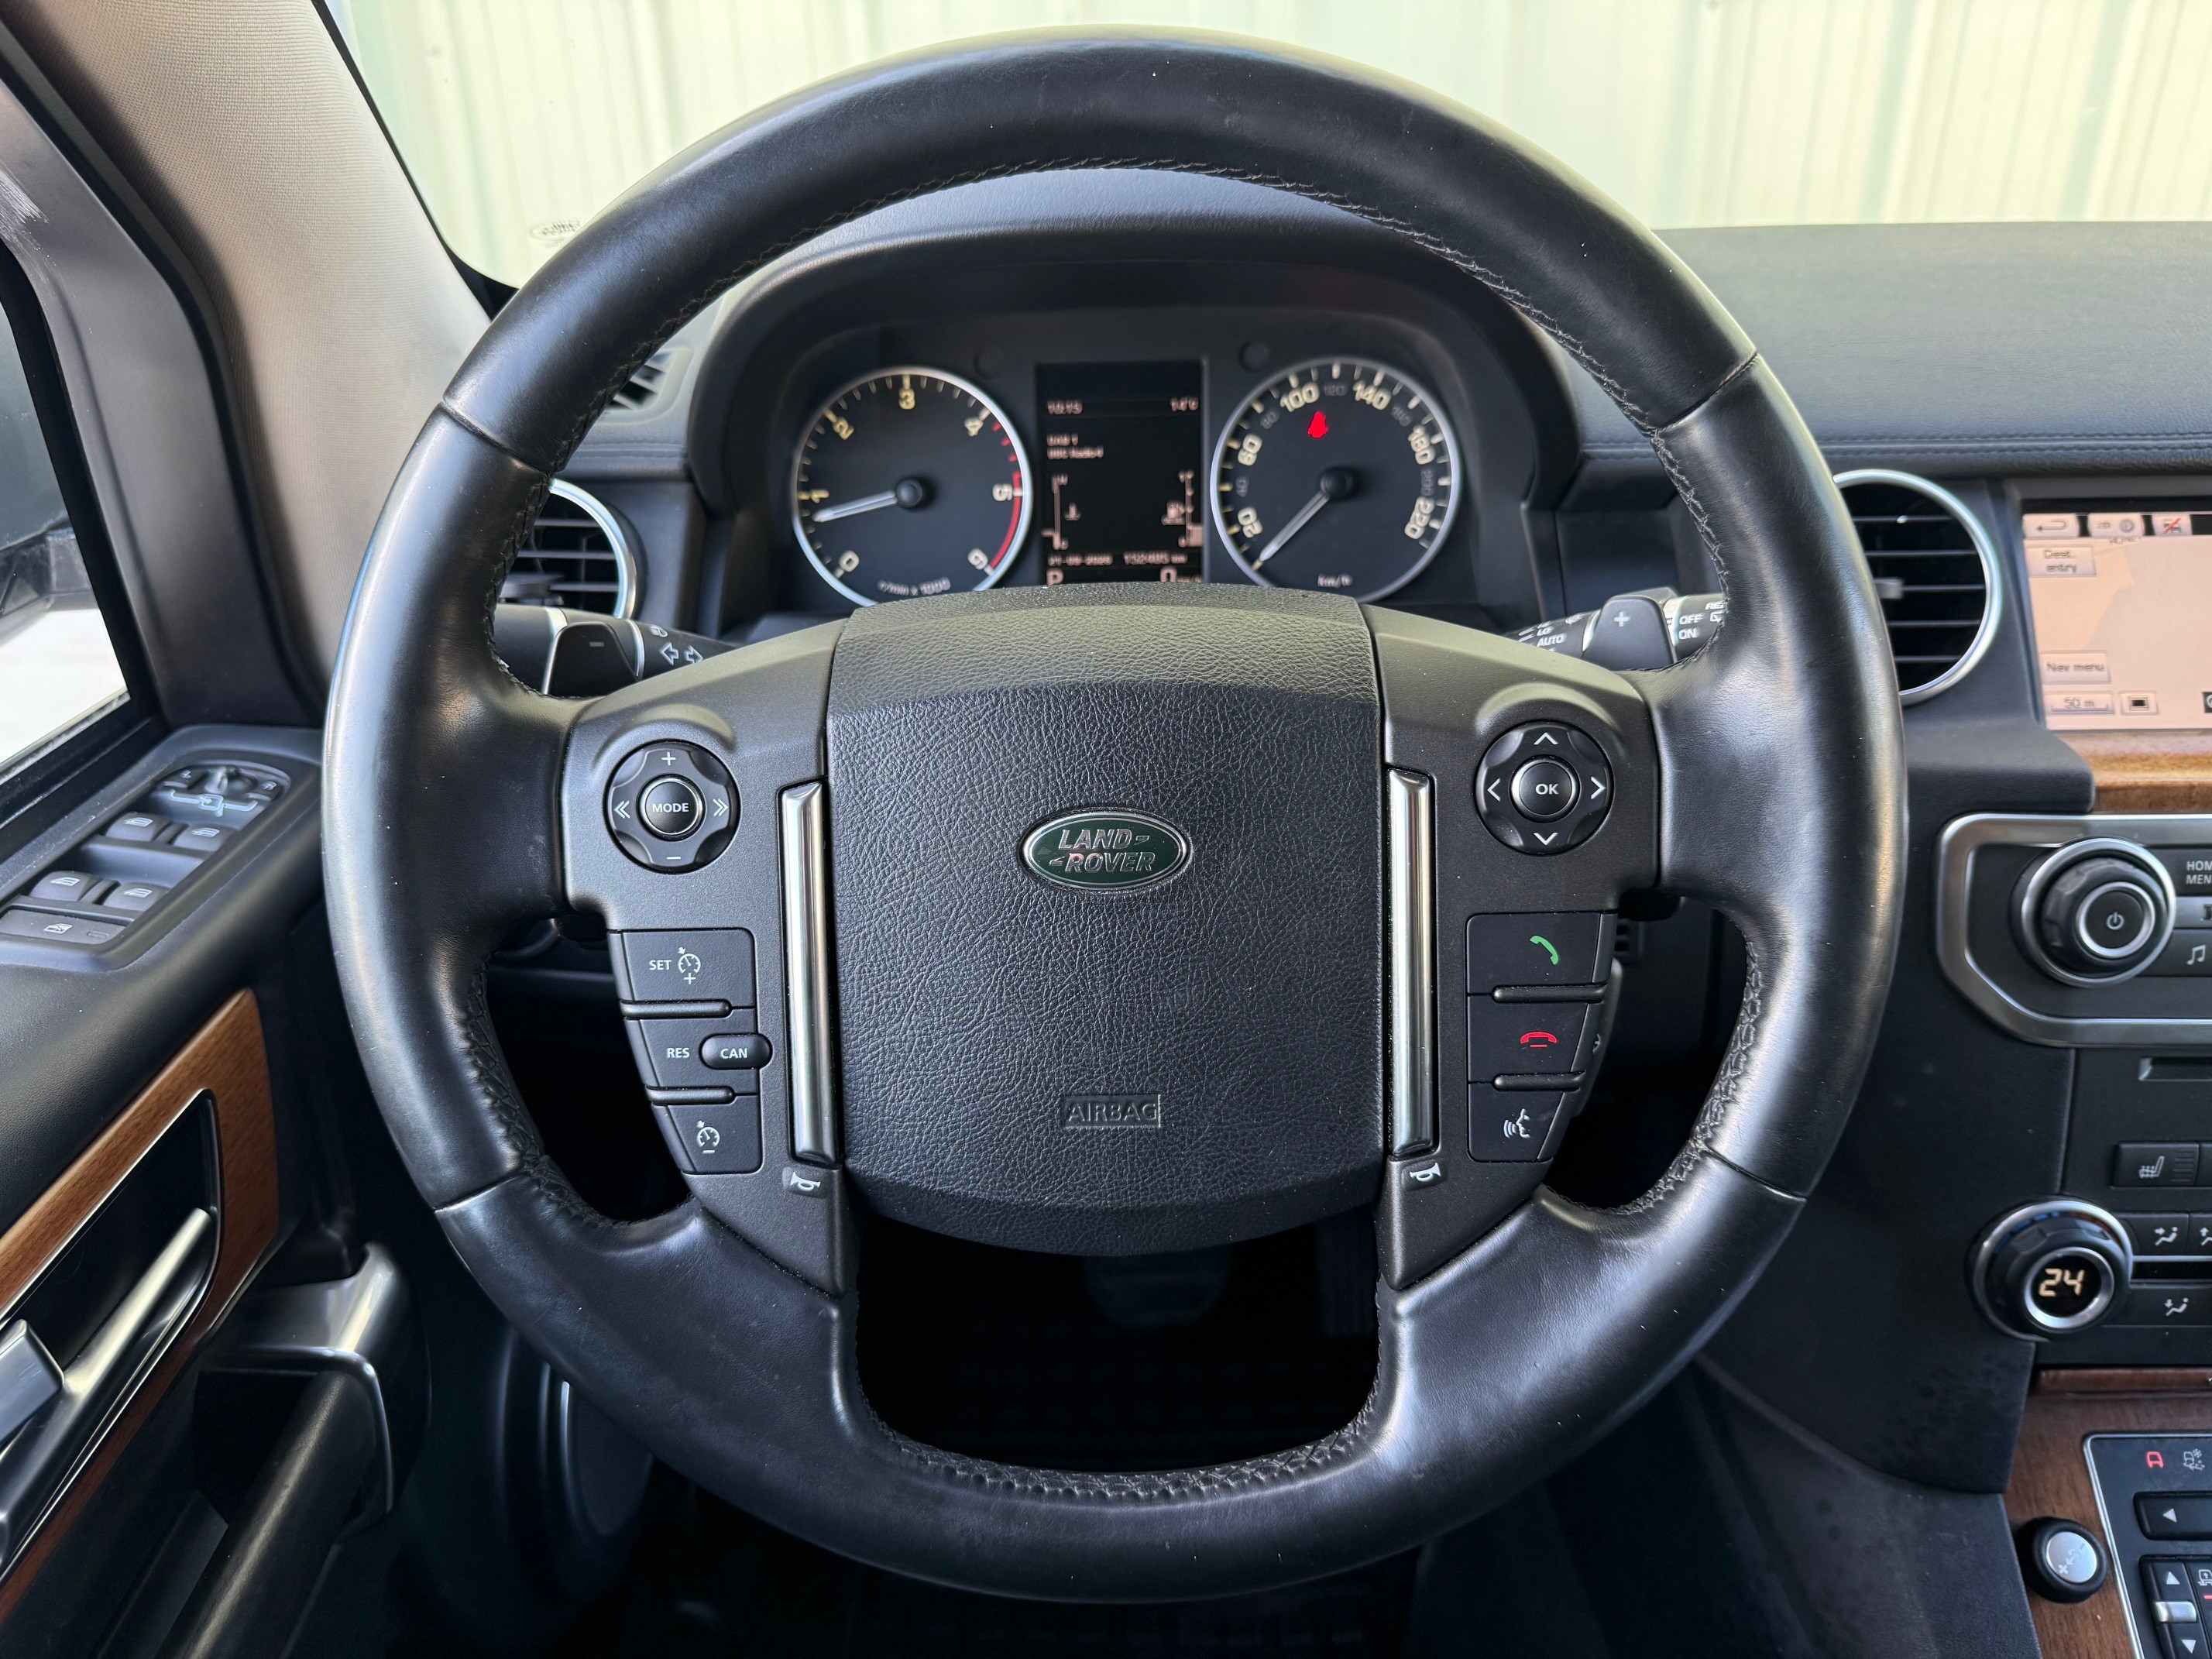
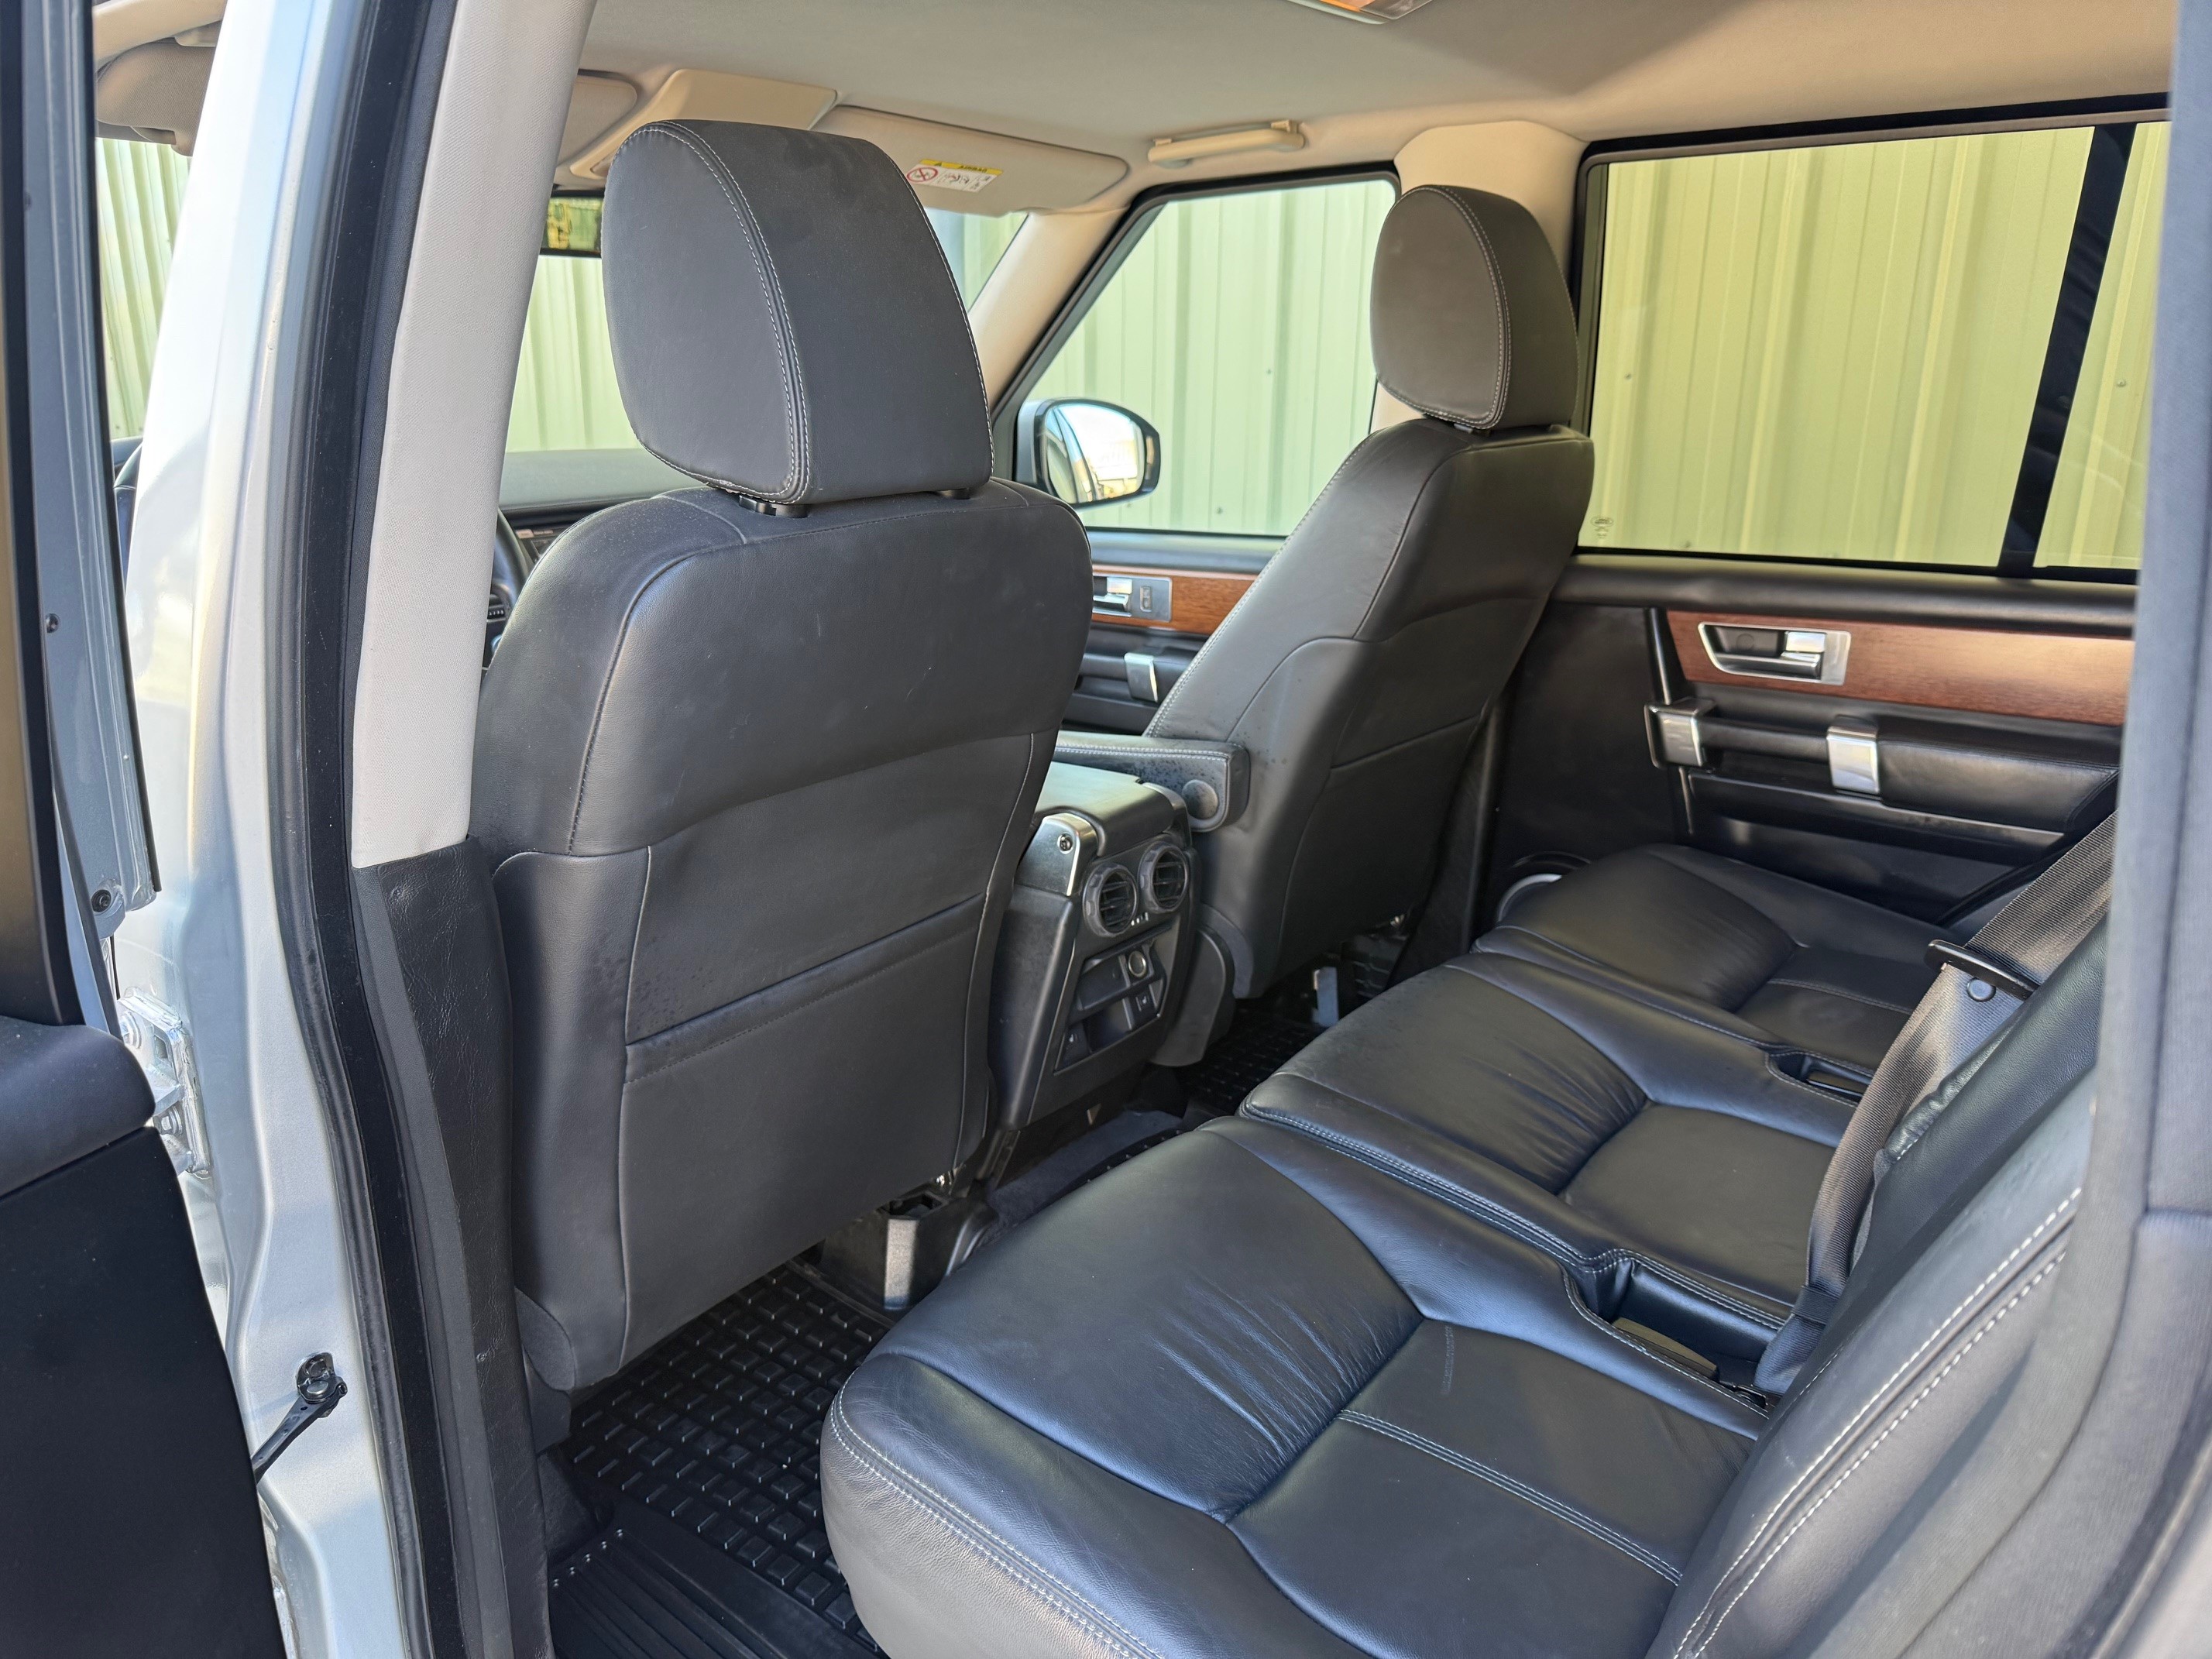
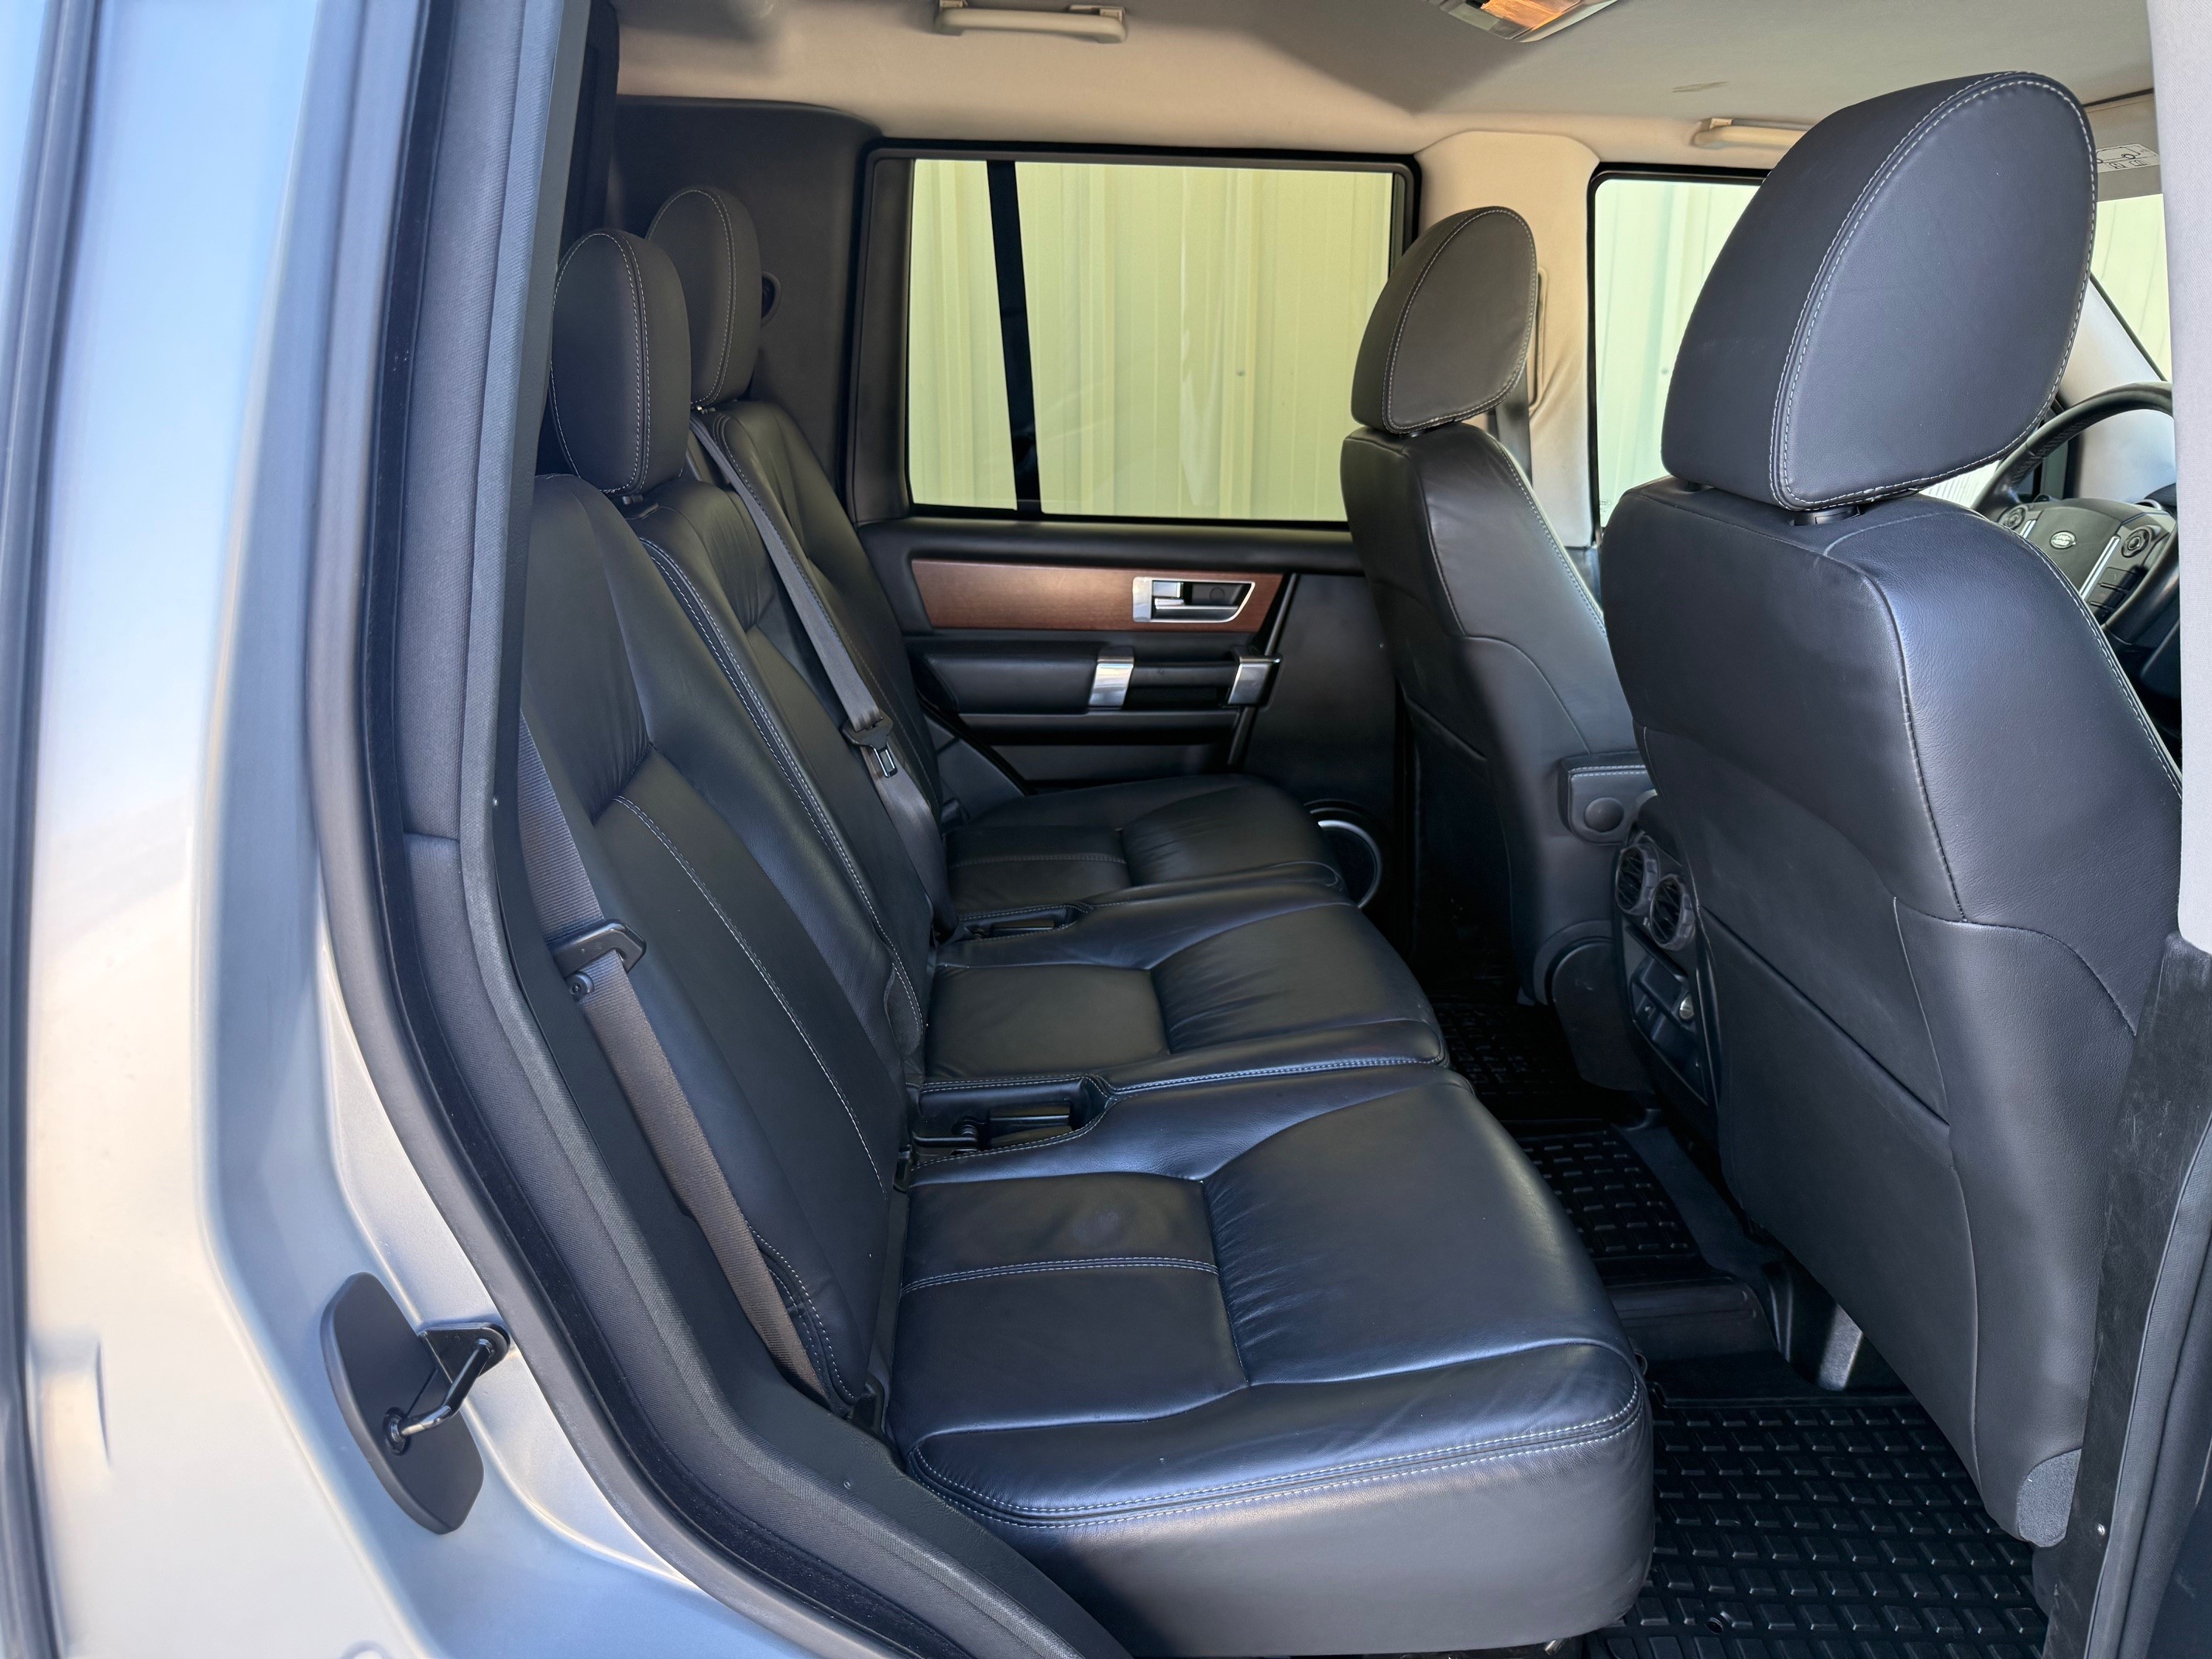
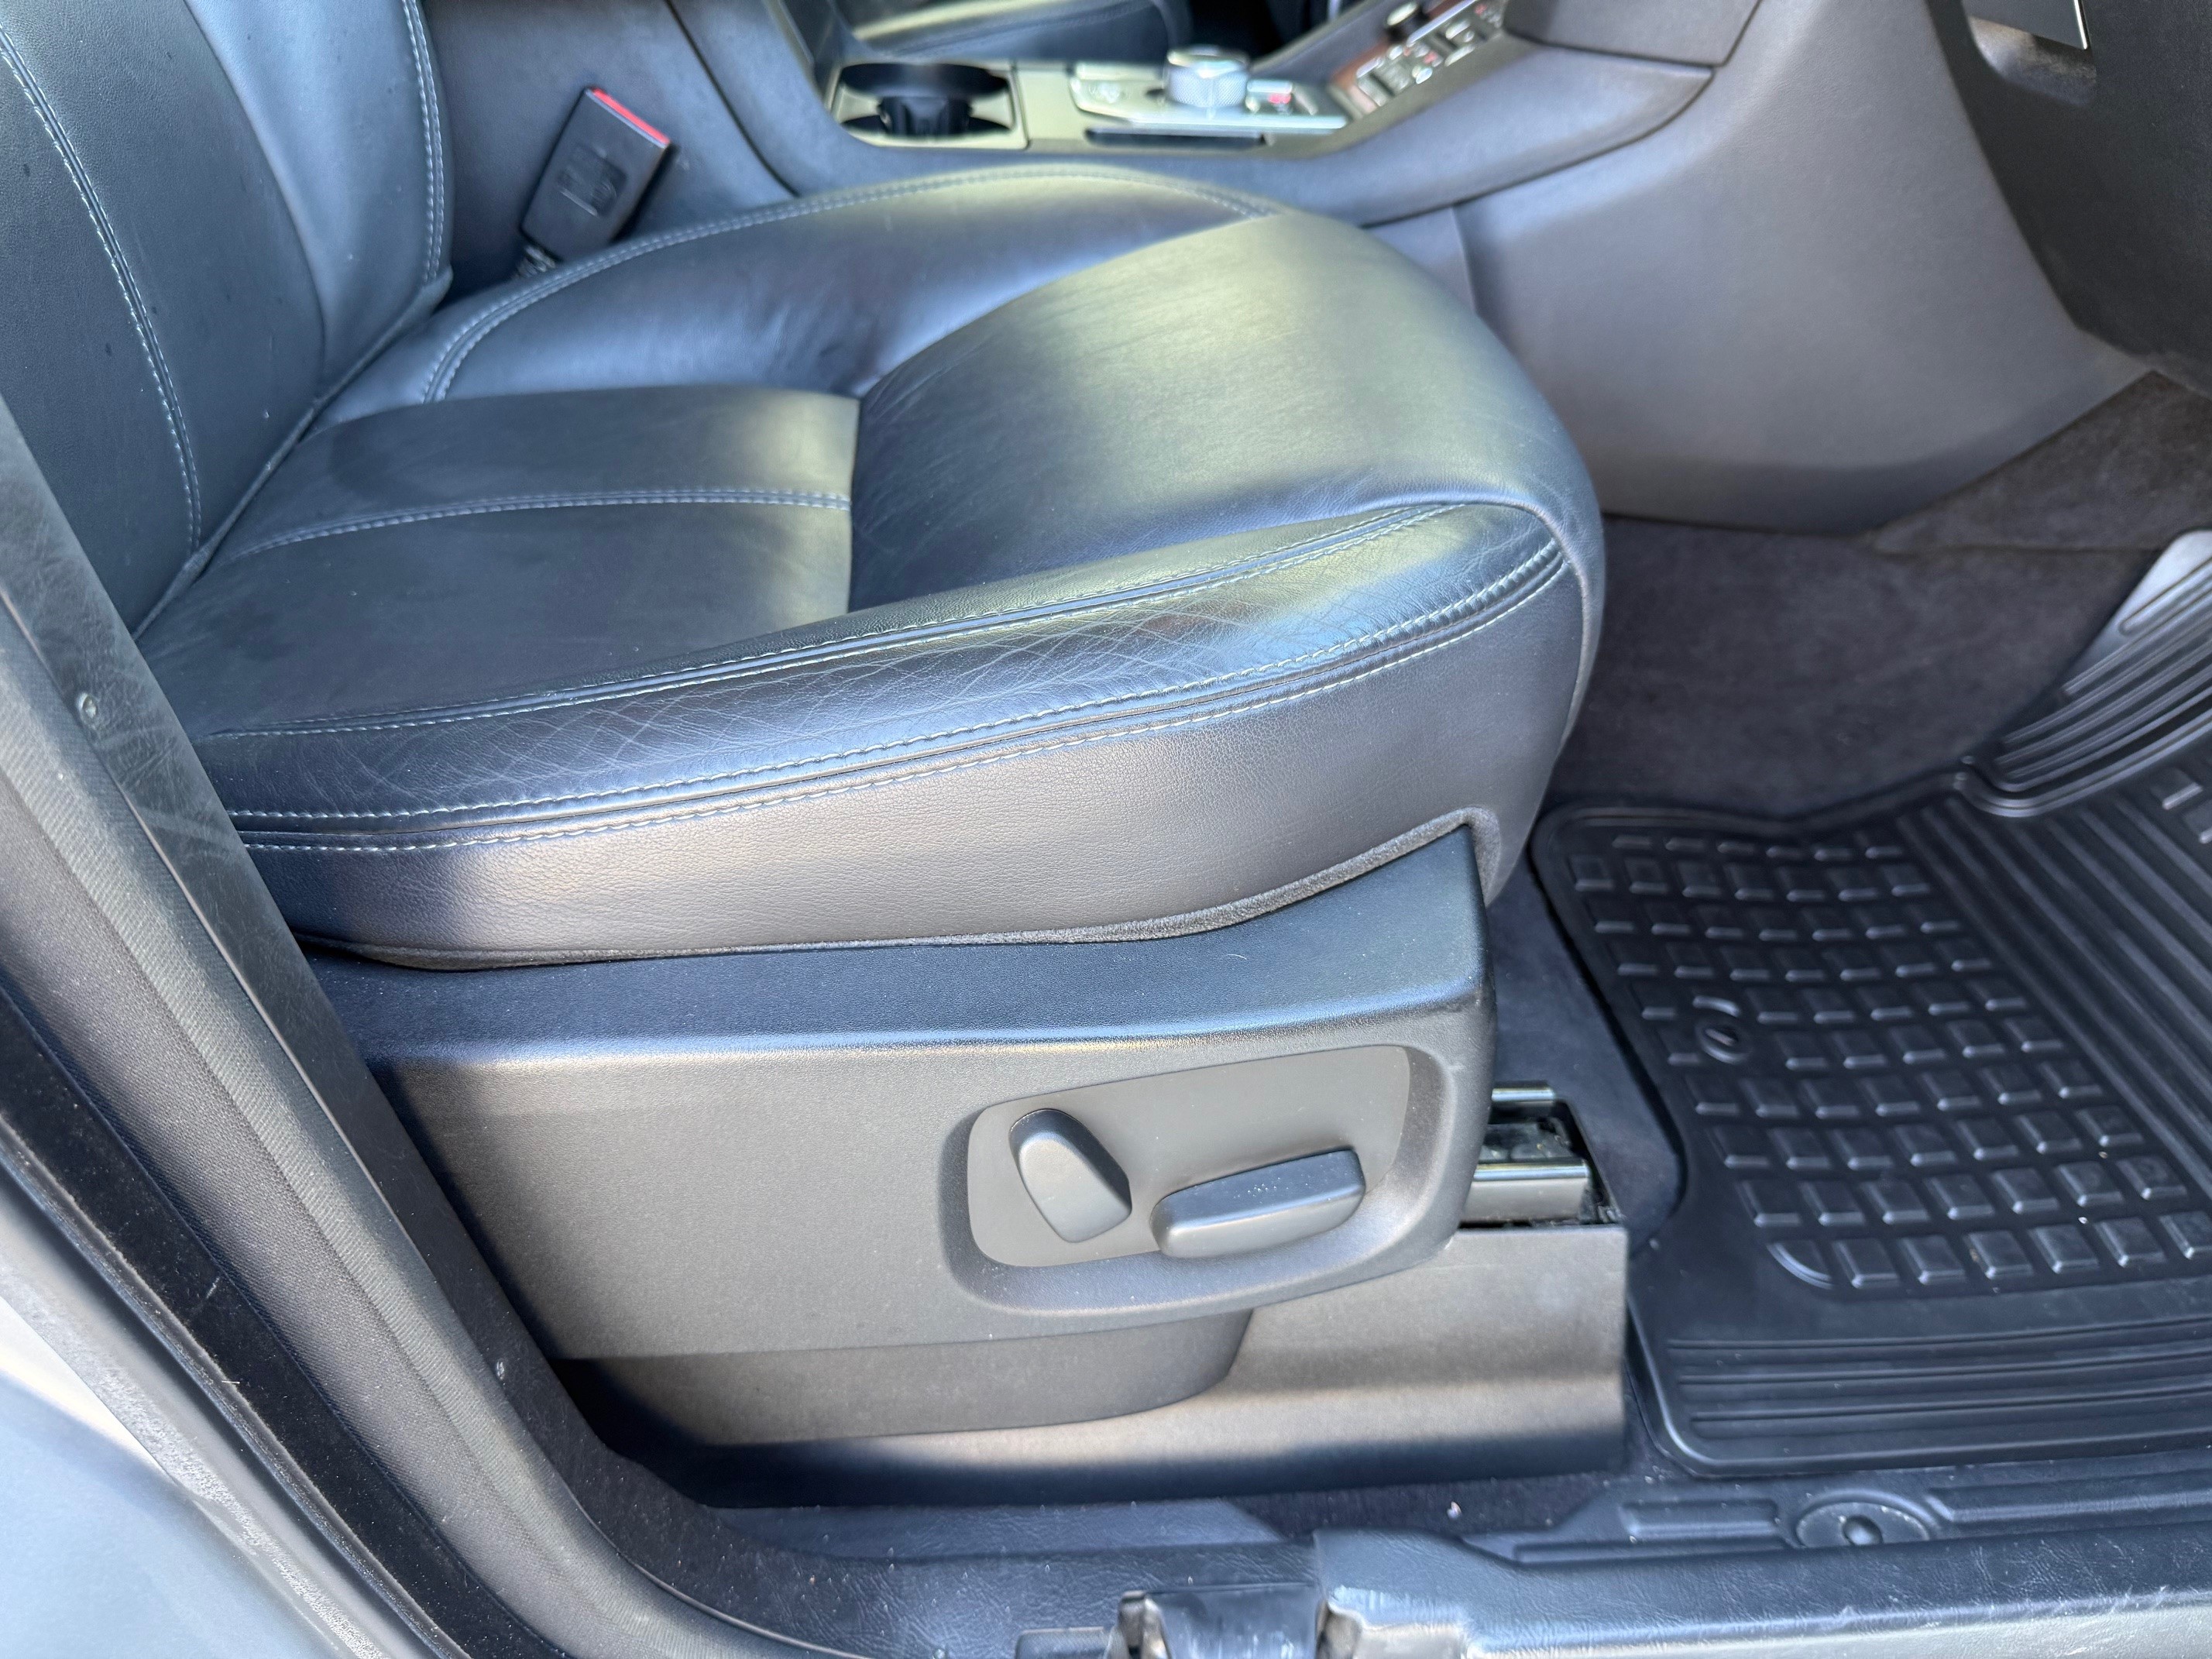
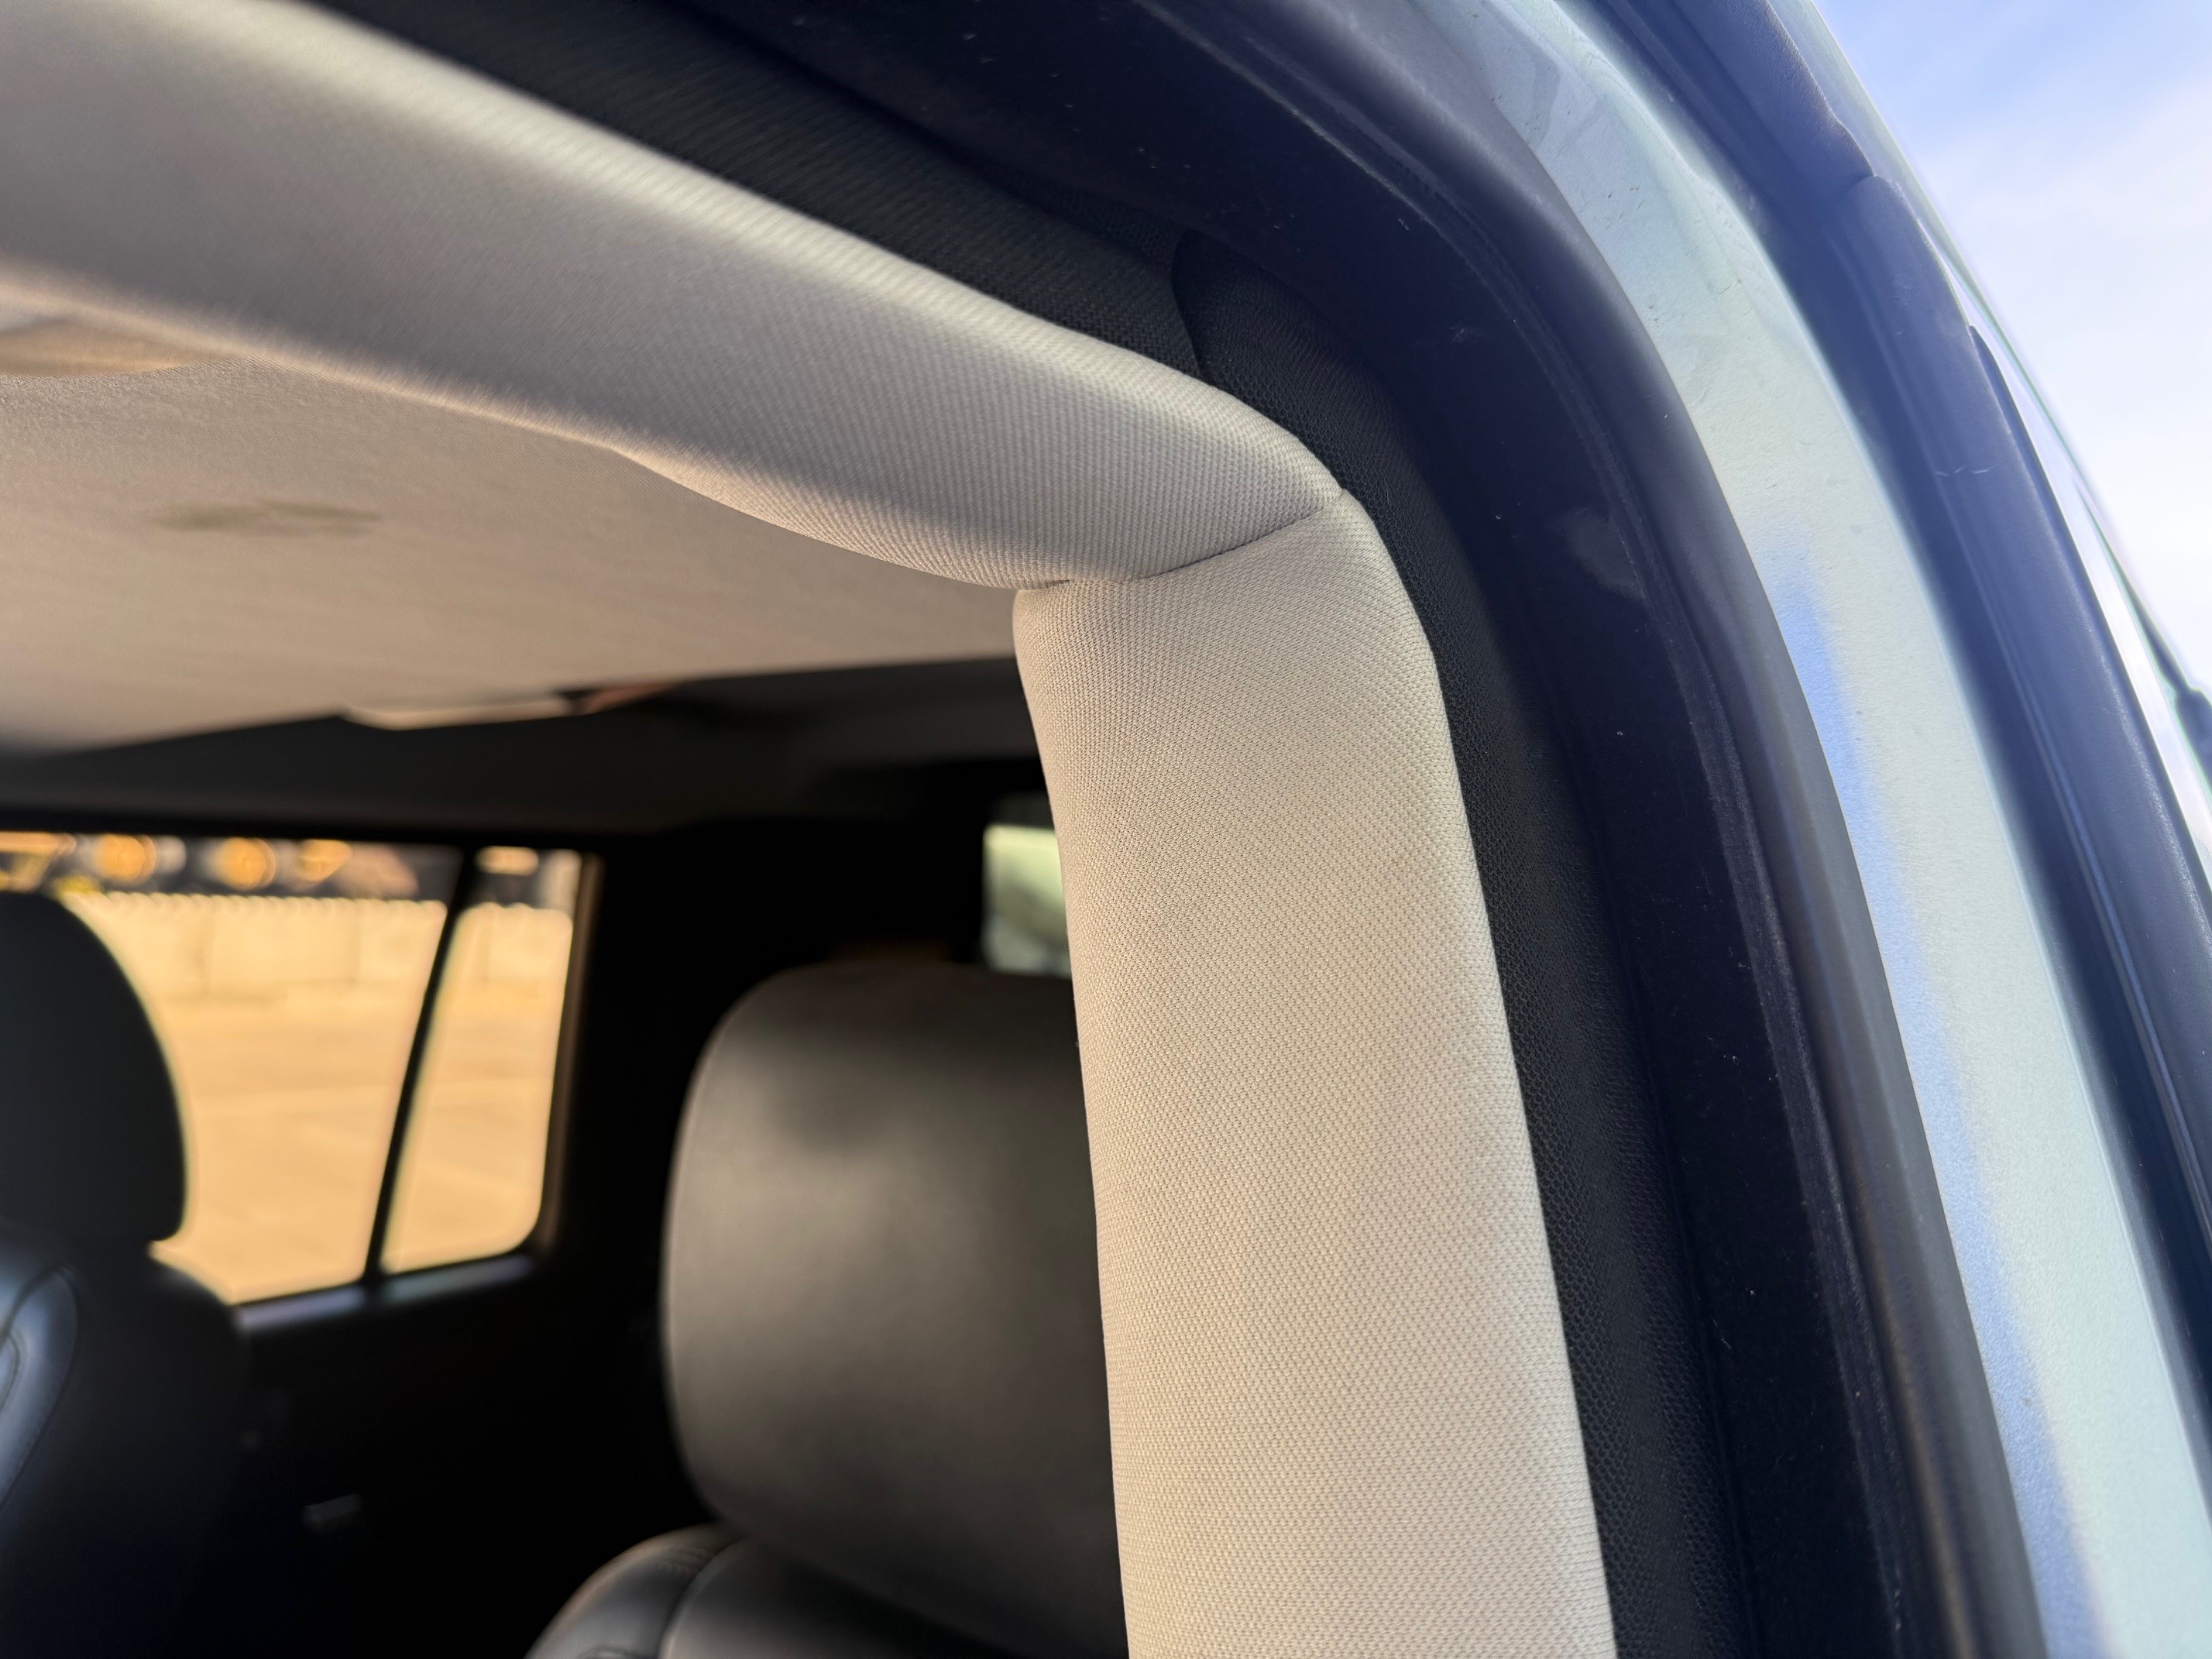
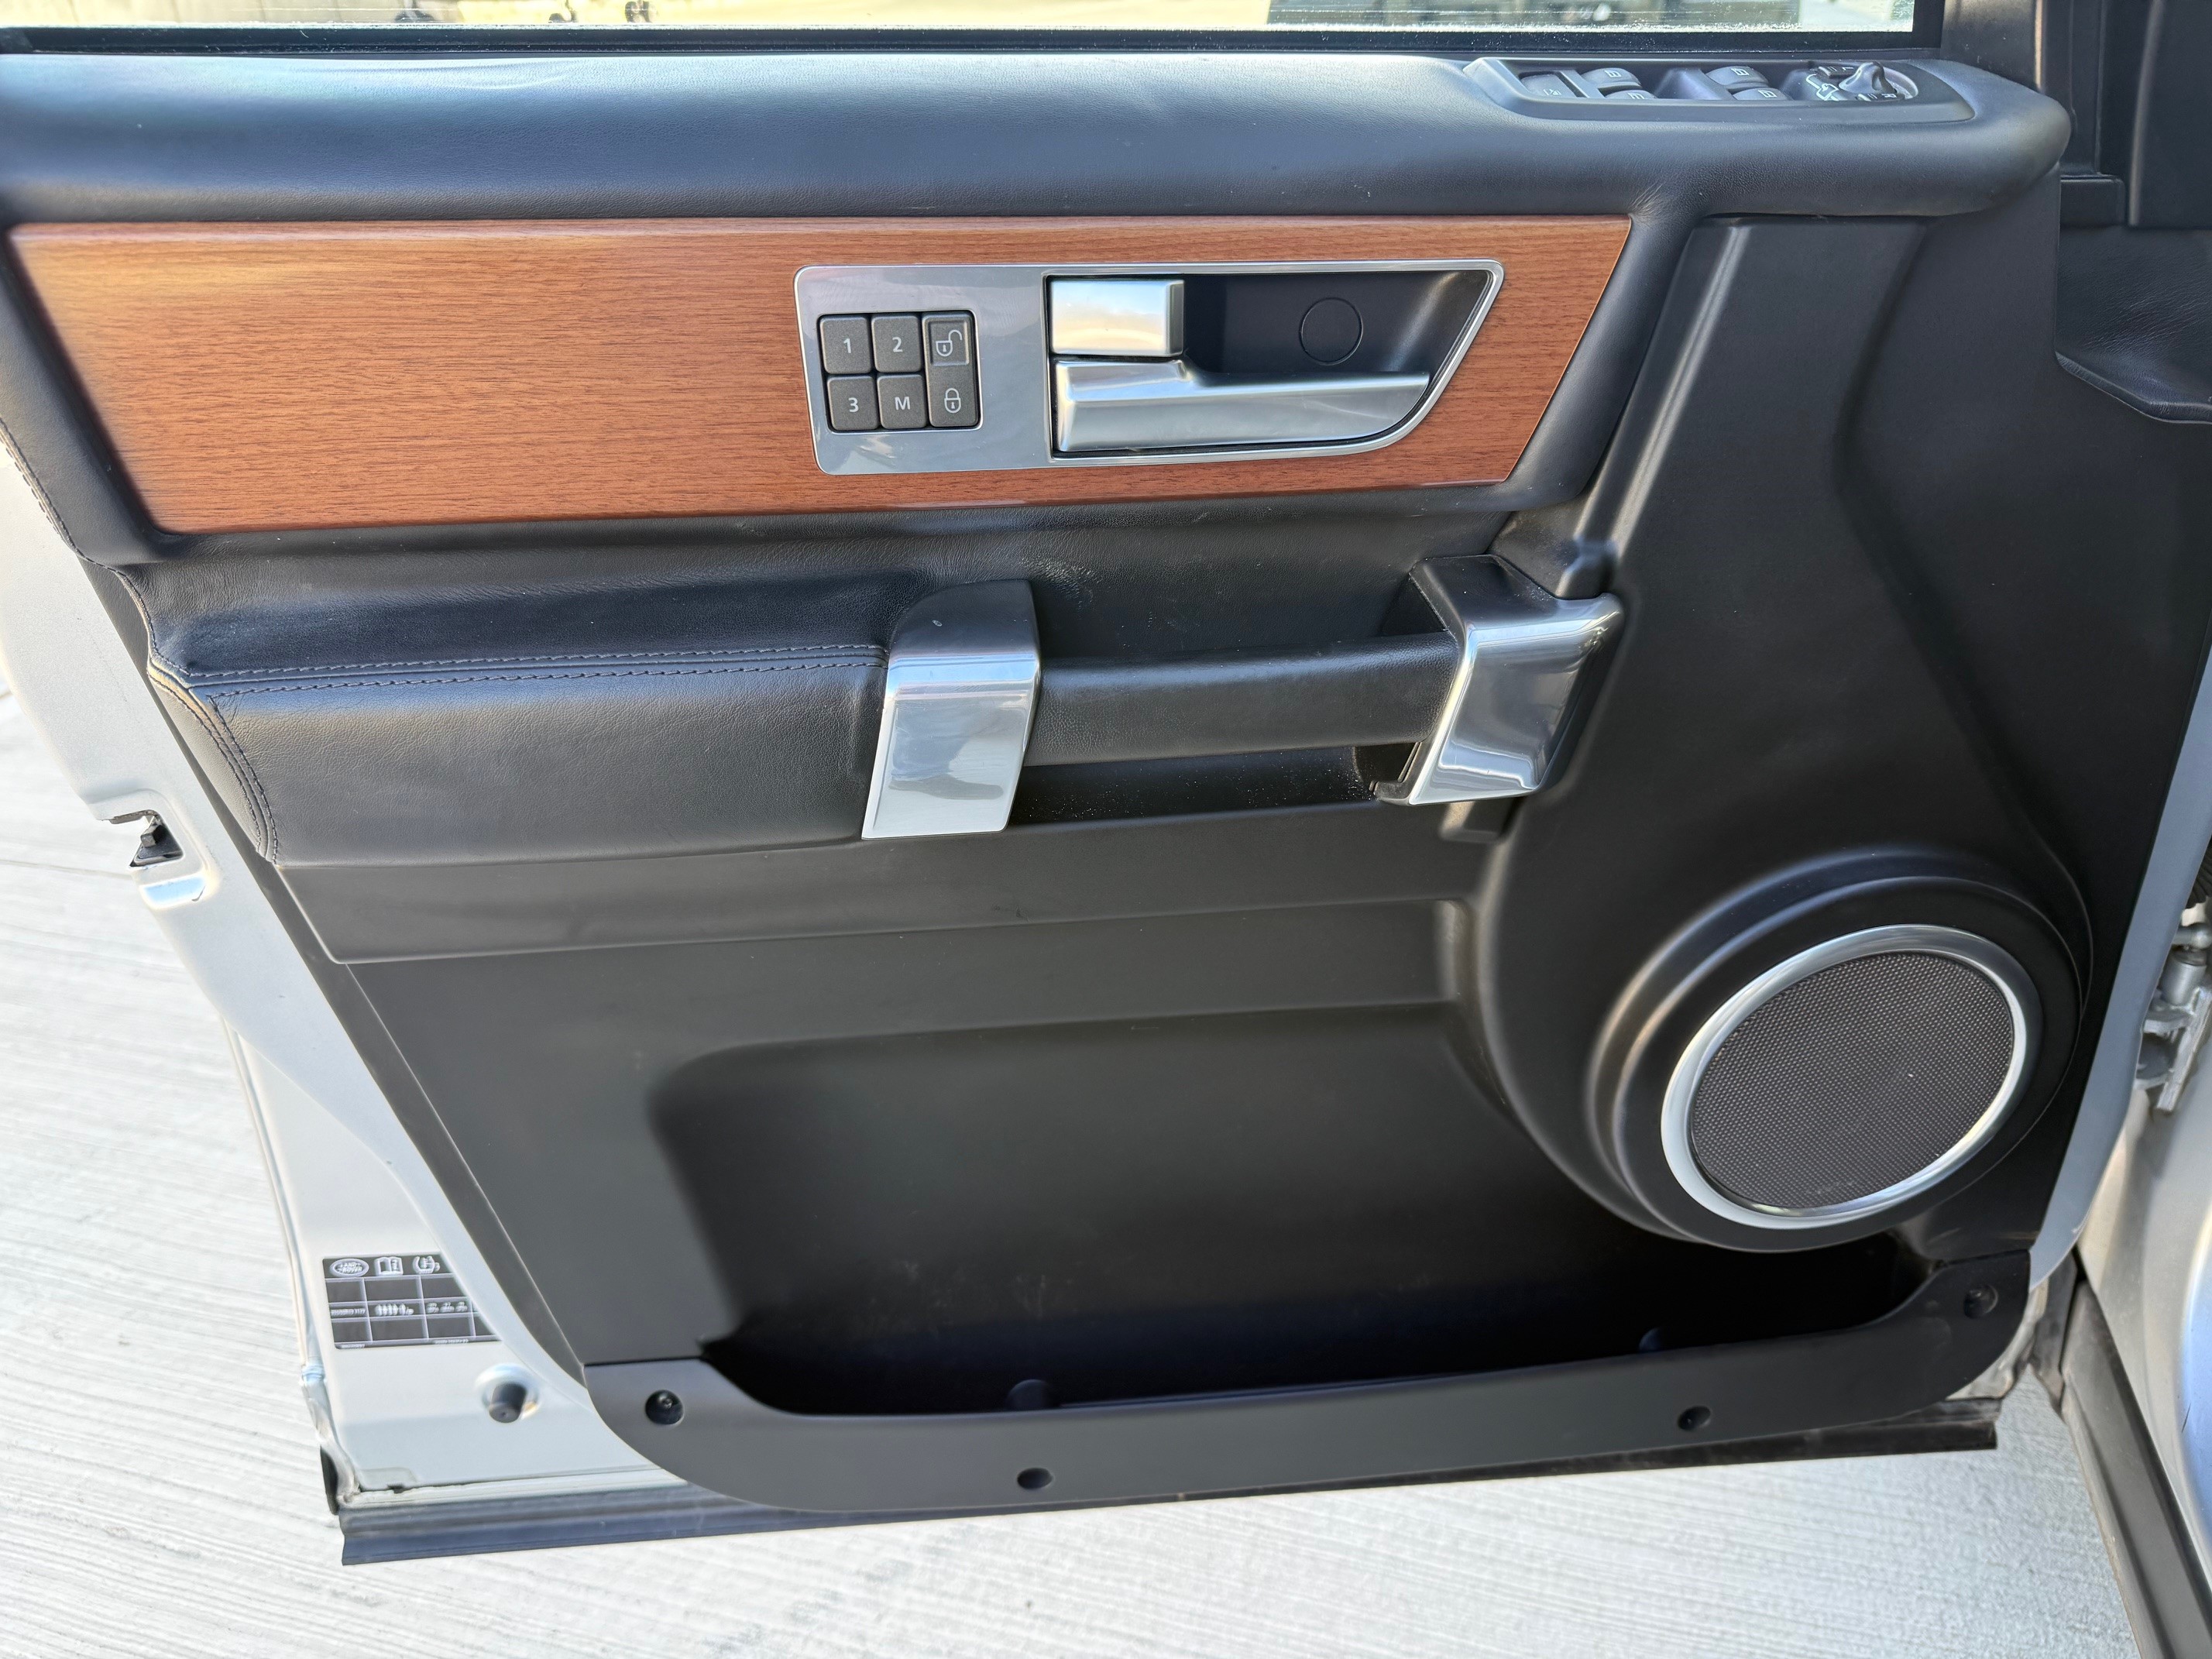
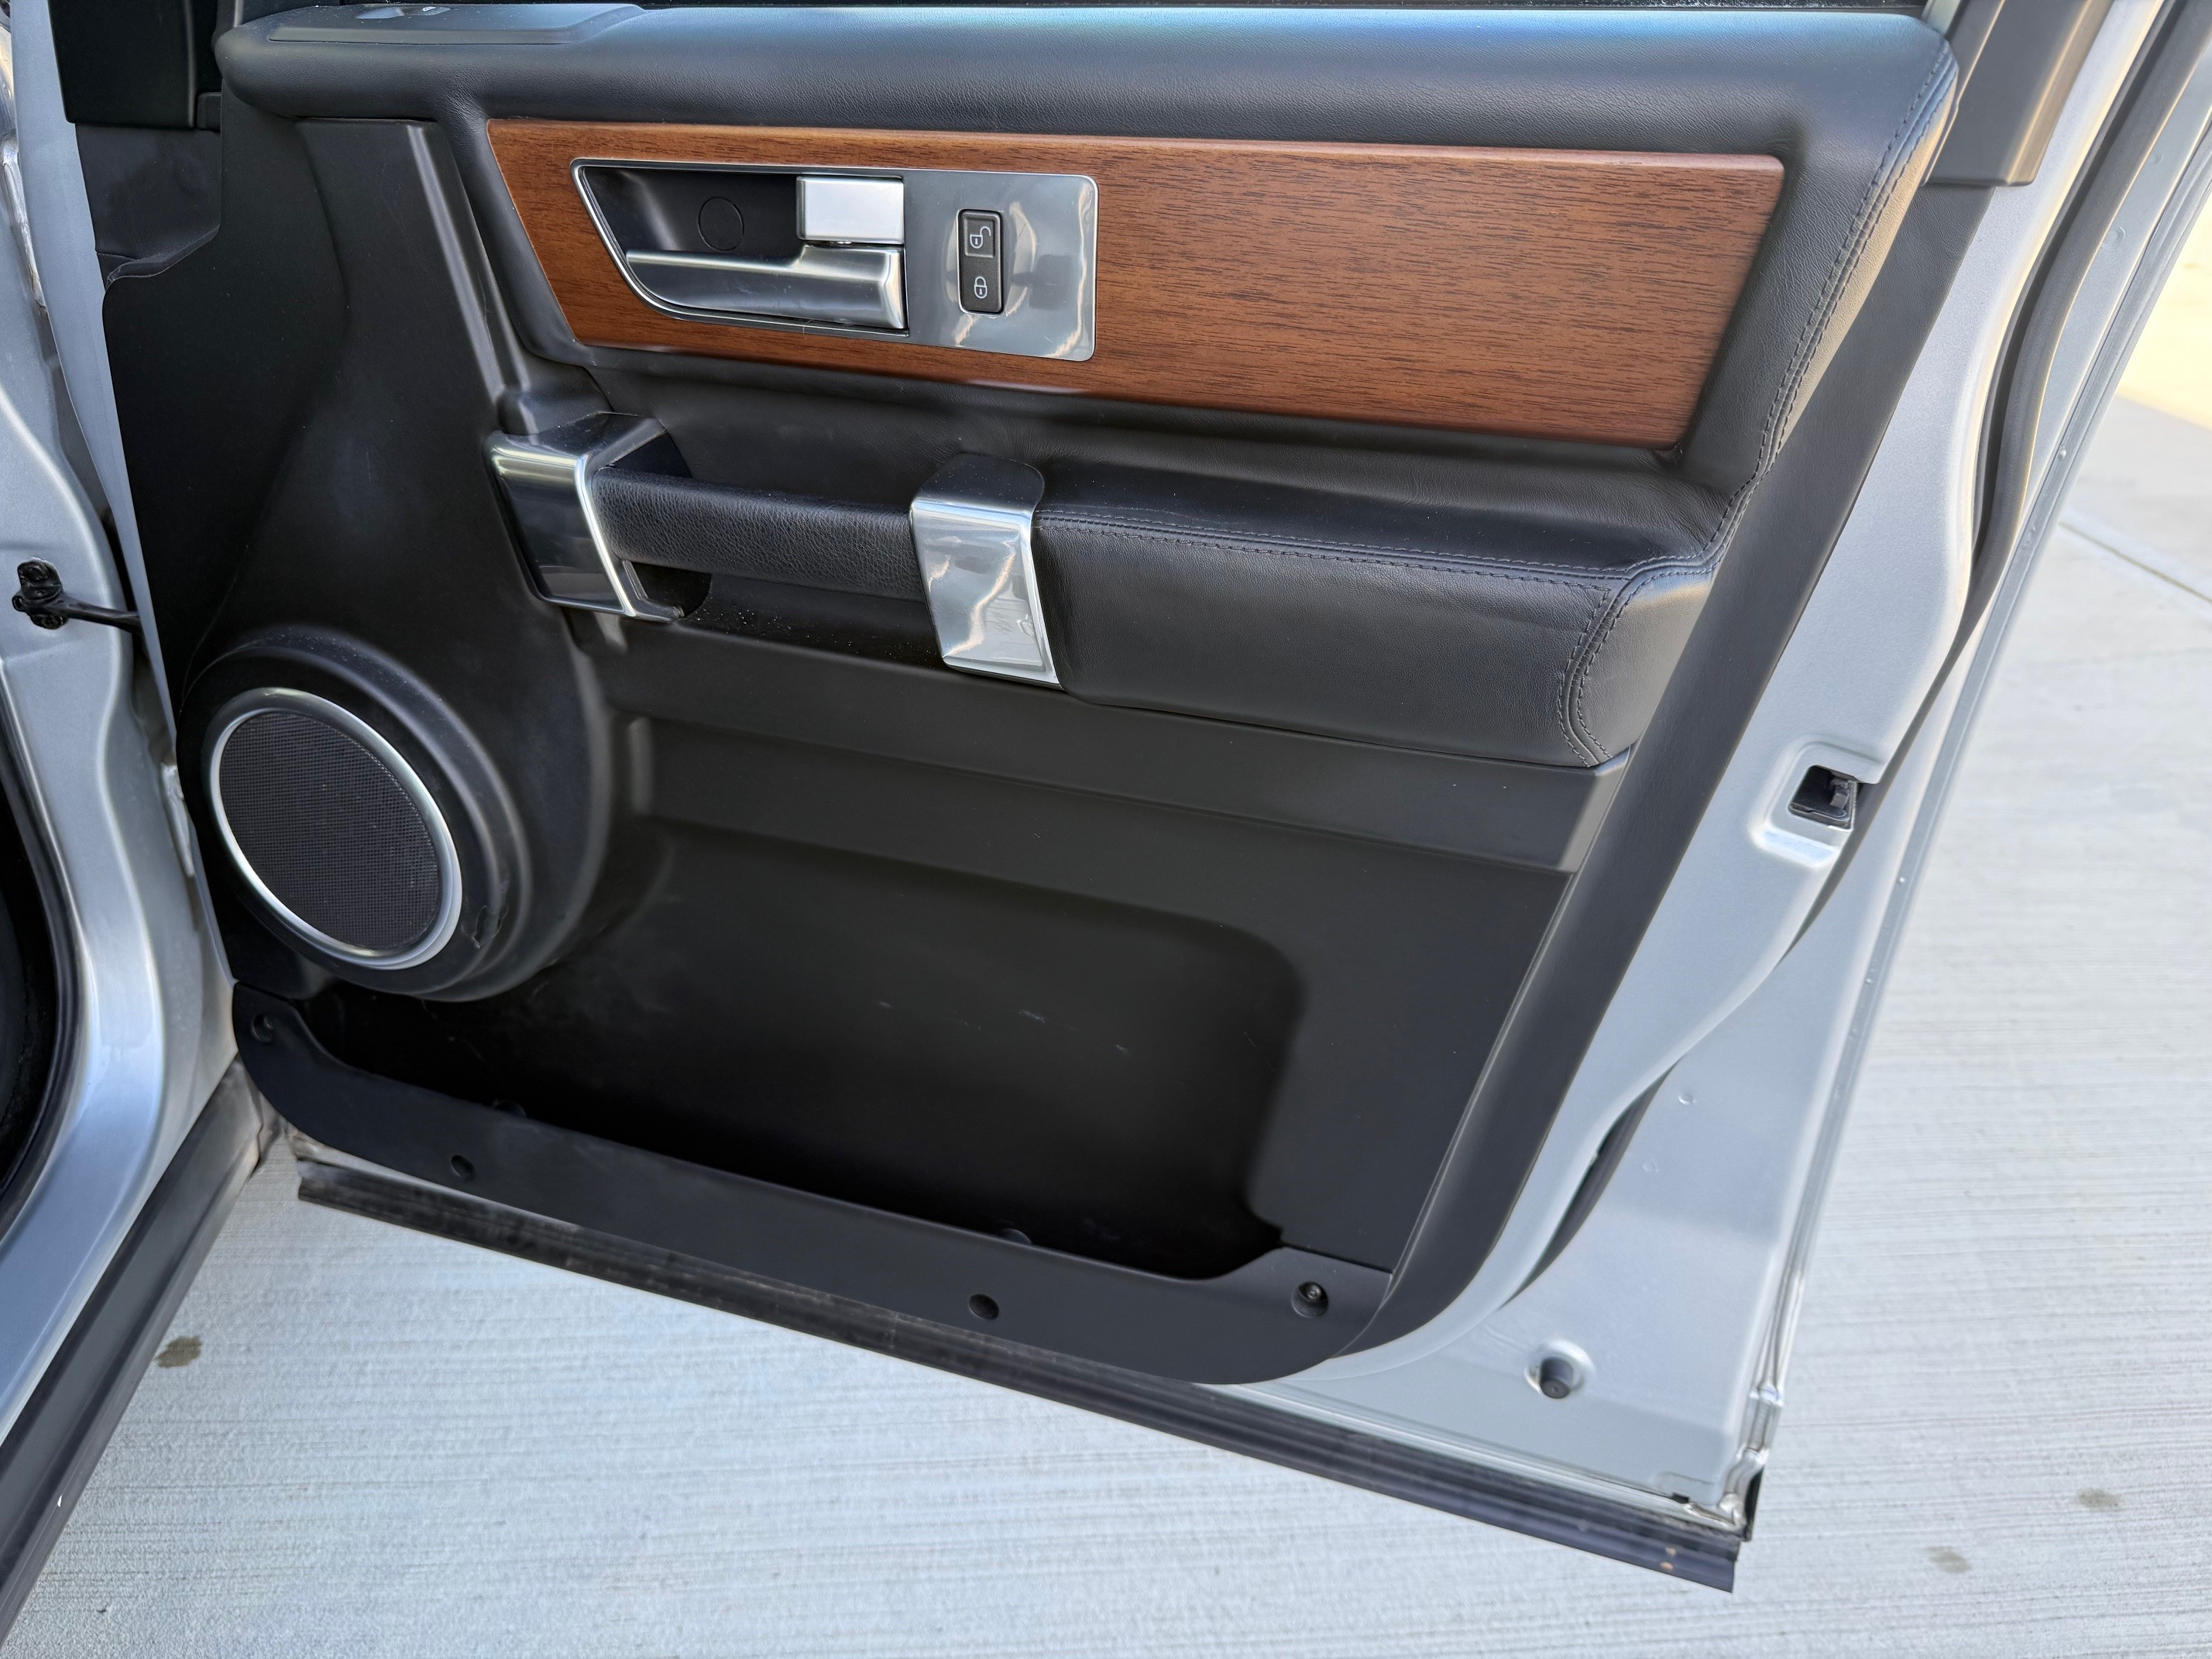
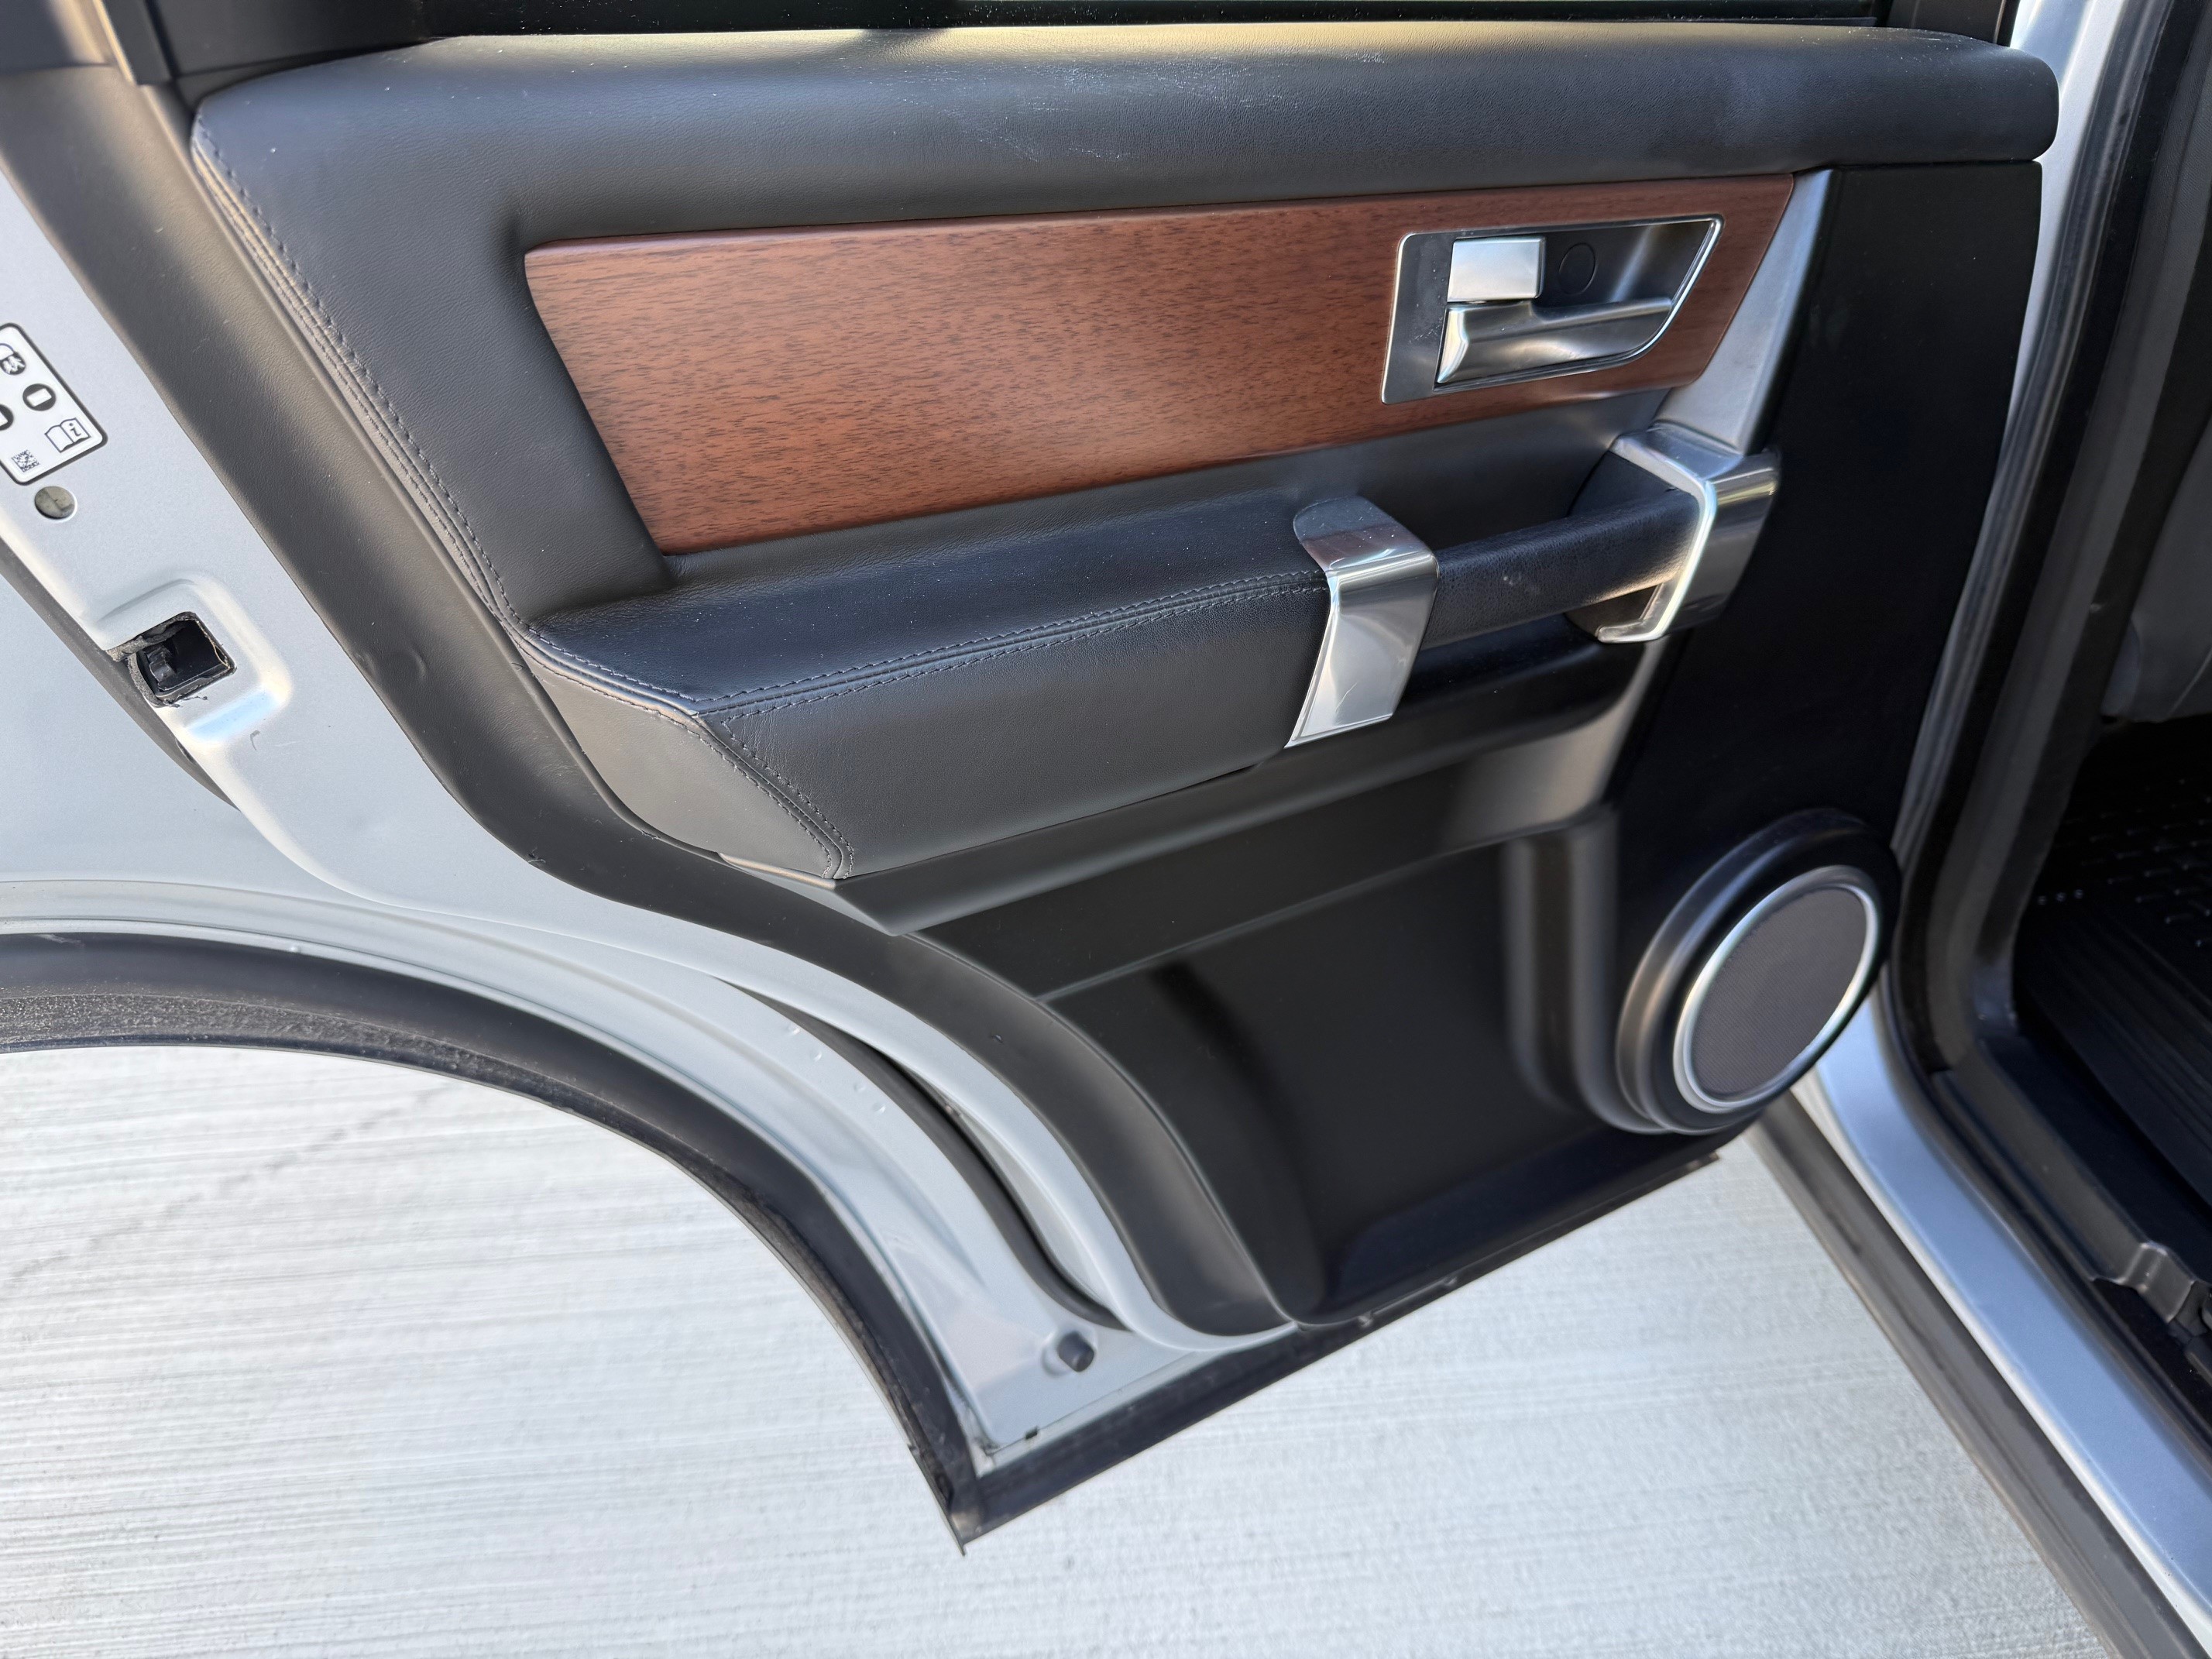
Ebony leather seats, front with armrests

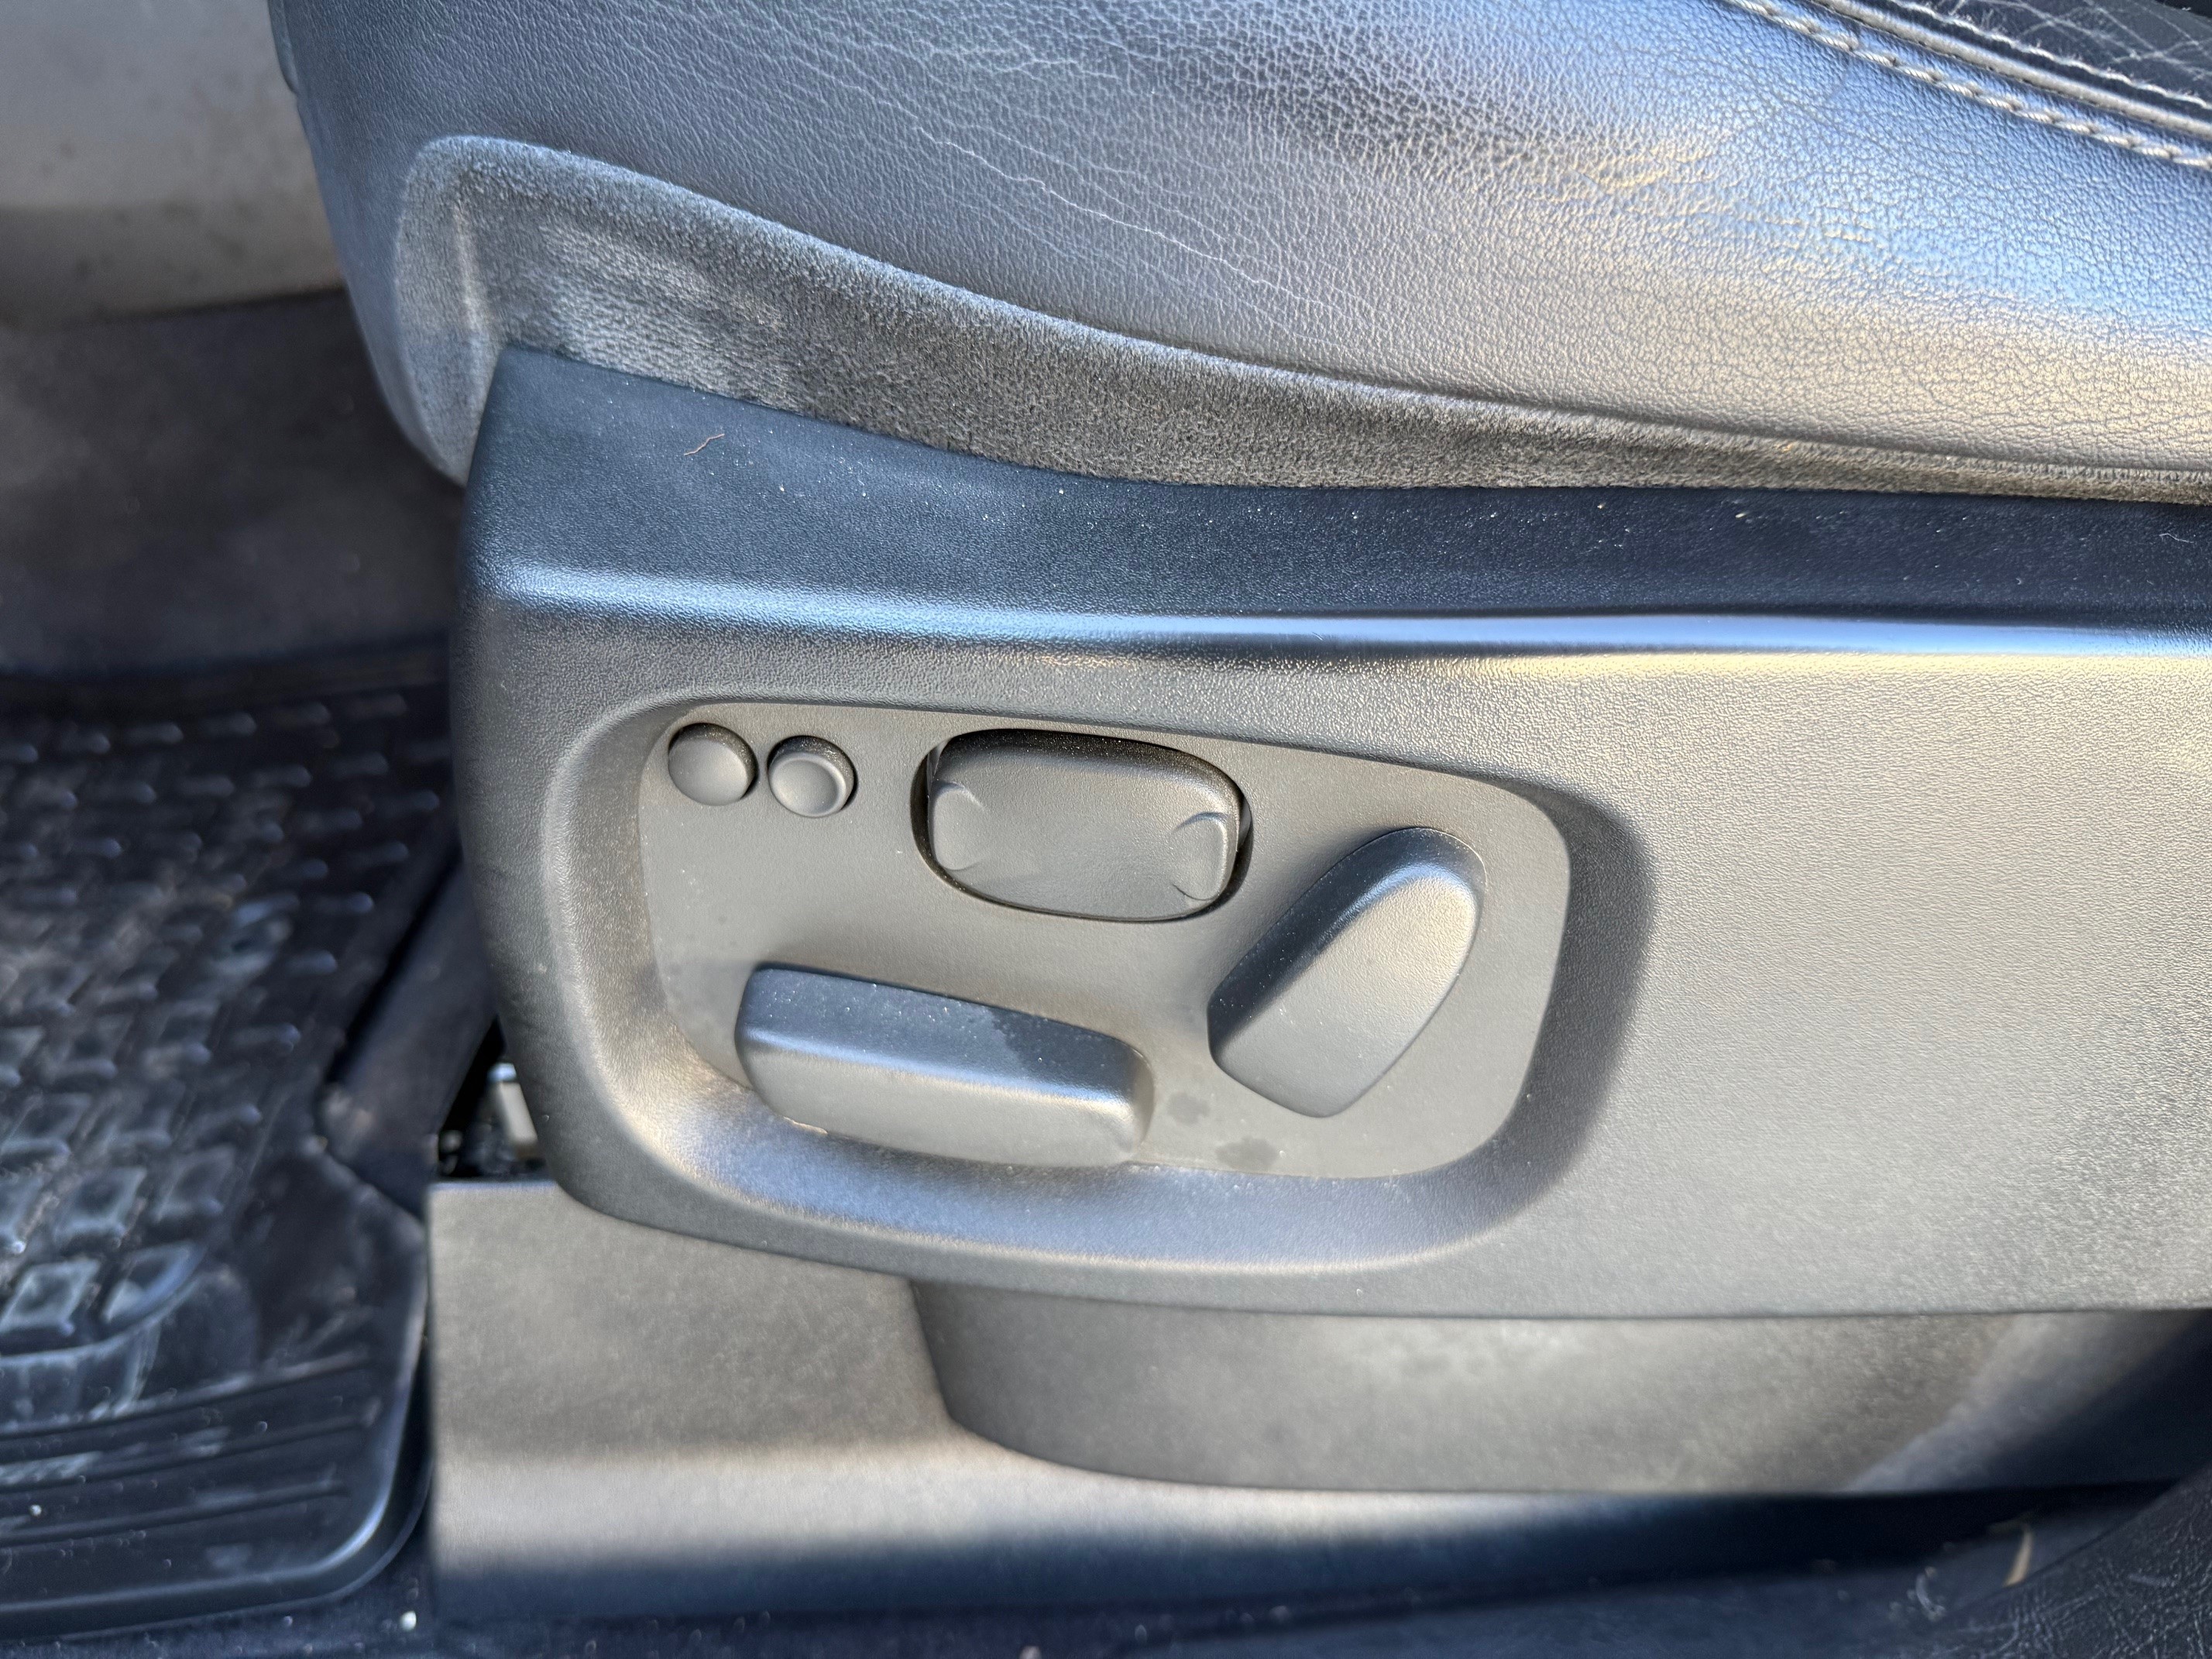
Full electric pack to include windows, mirrors, front seats with memory, electrically adjustable steering column.

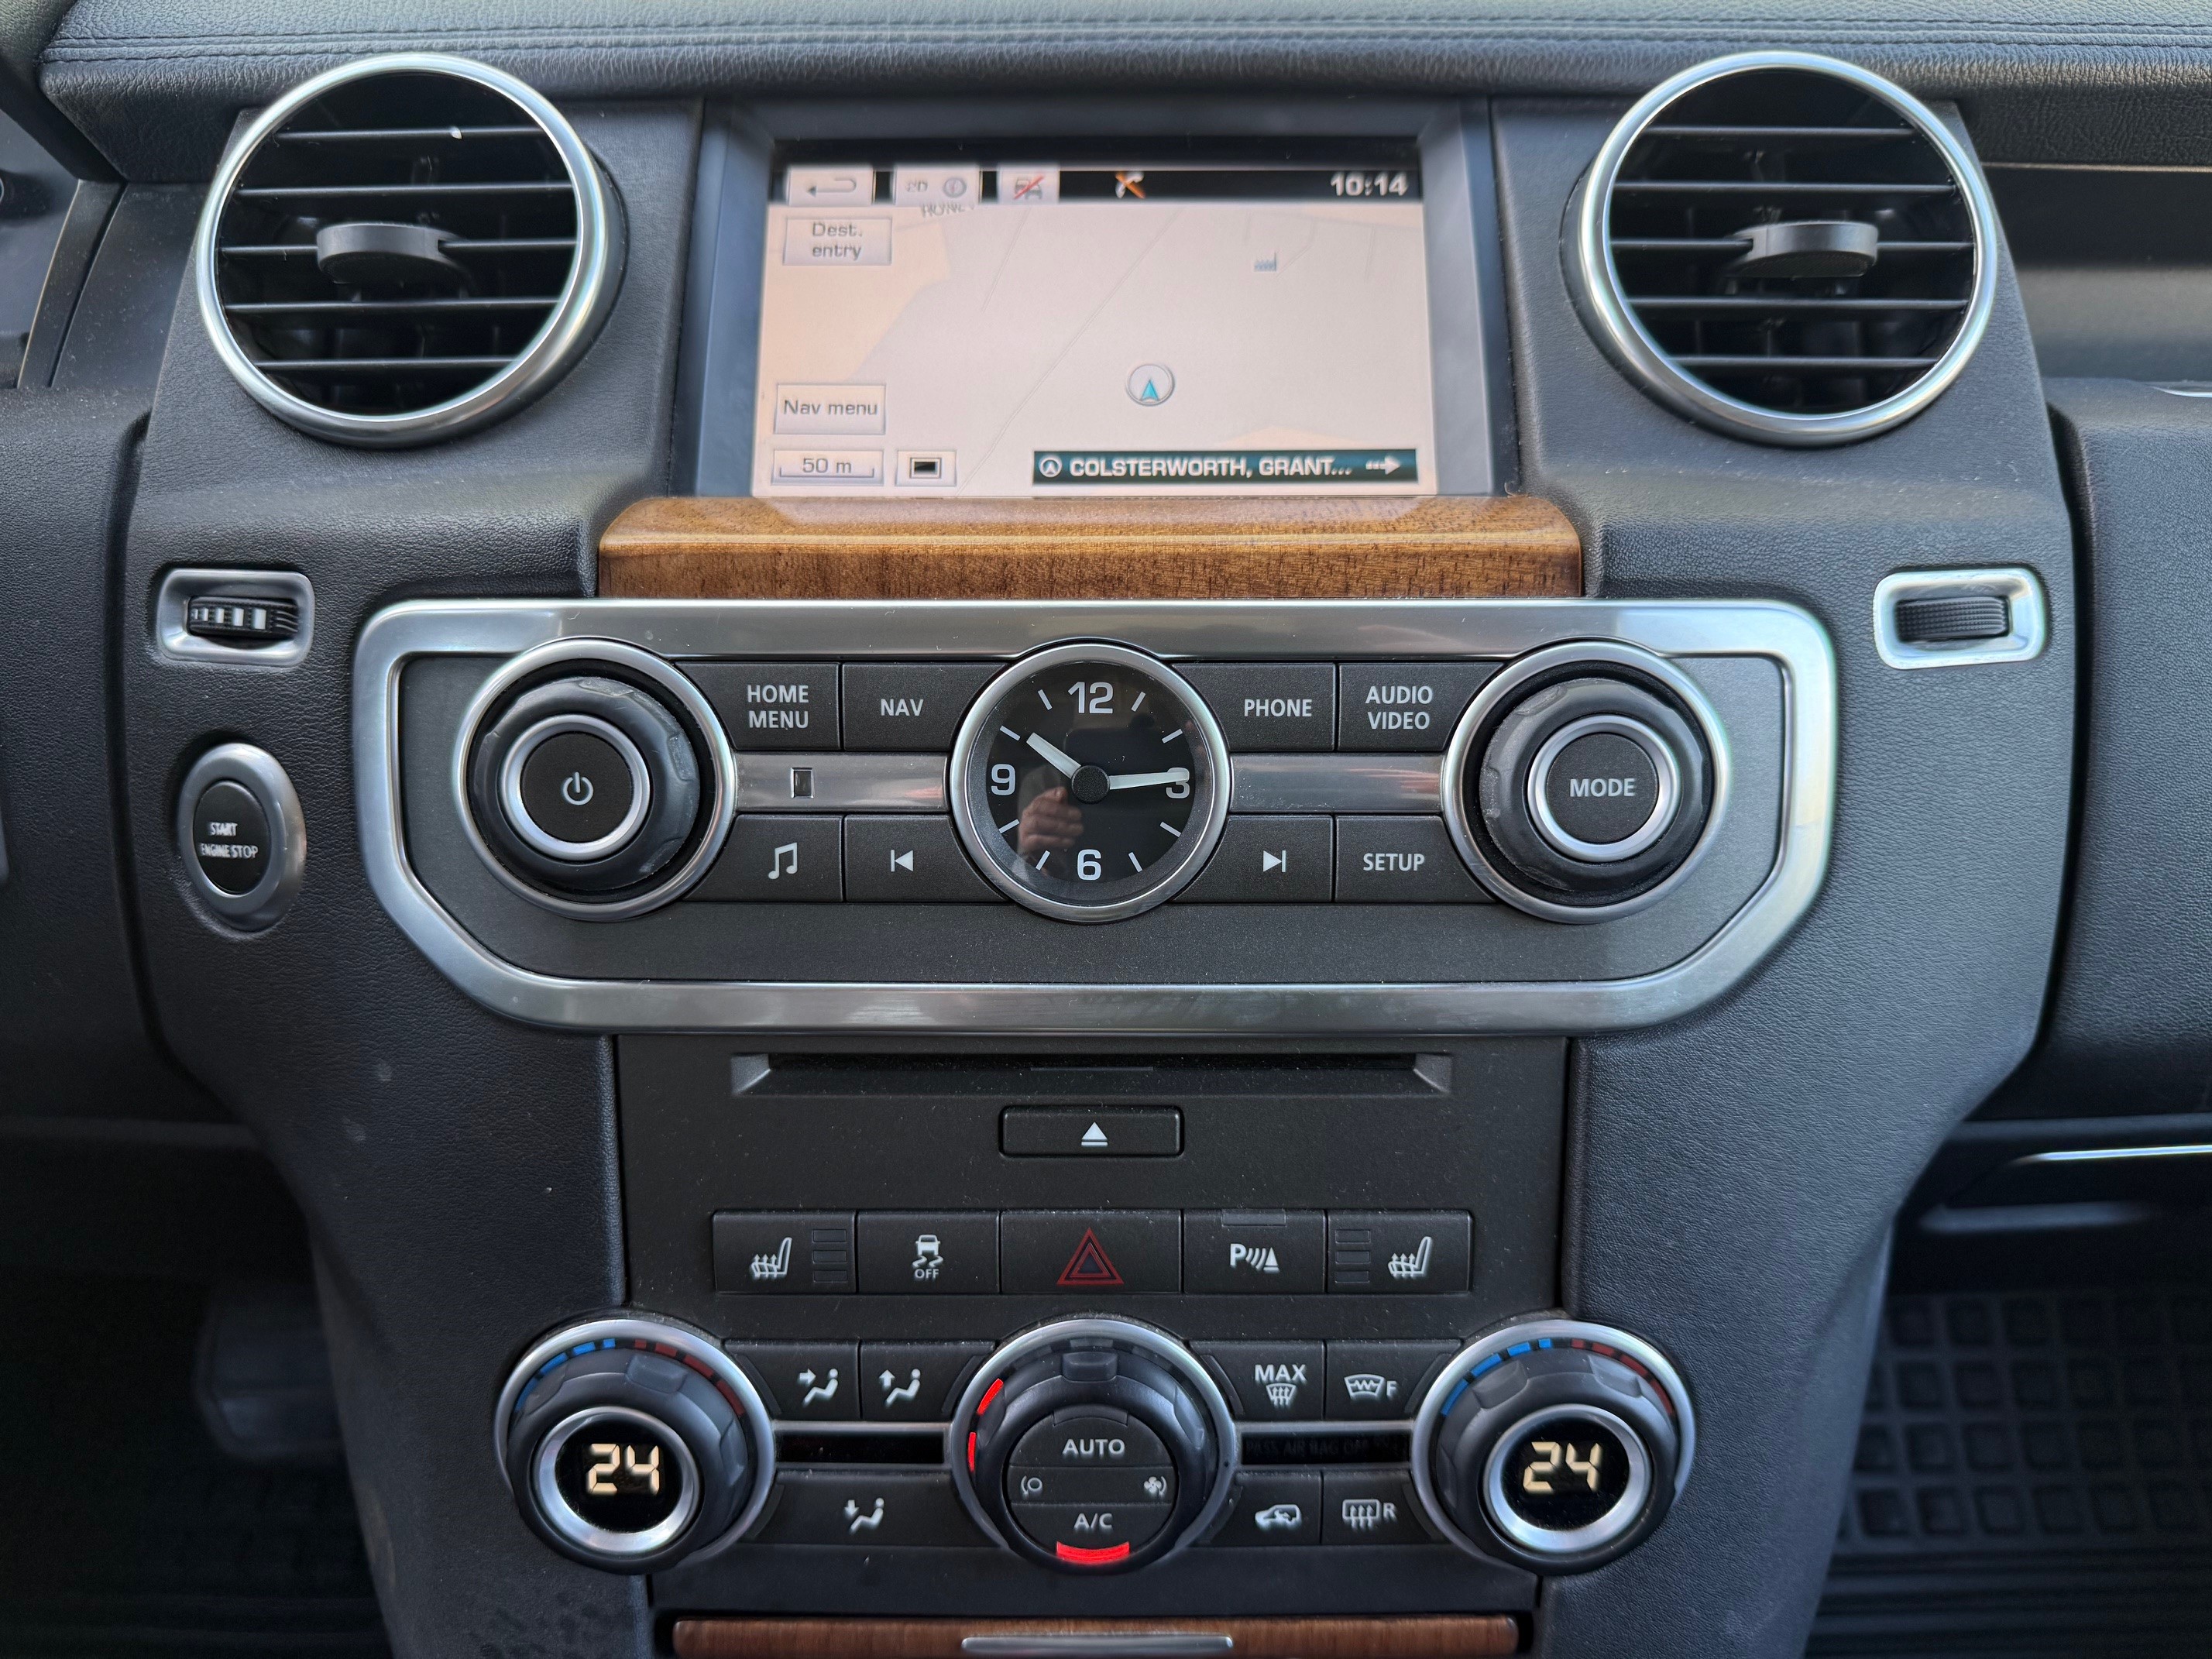
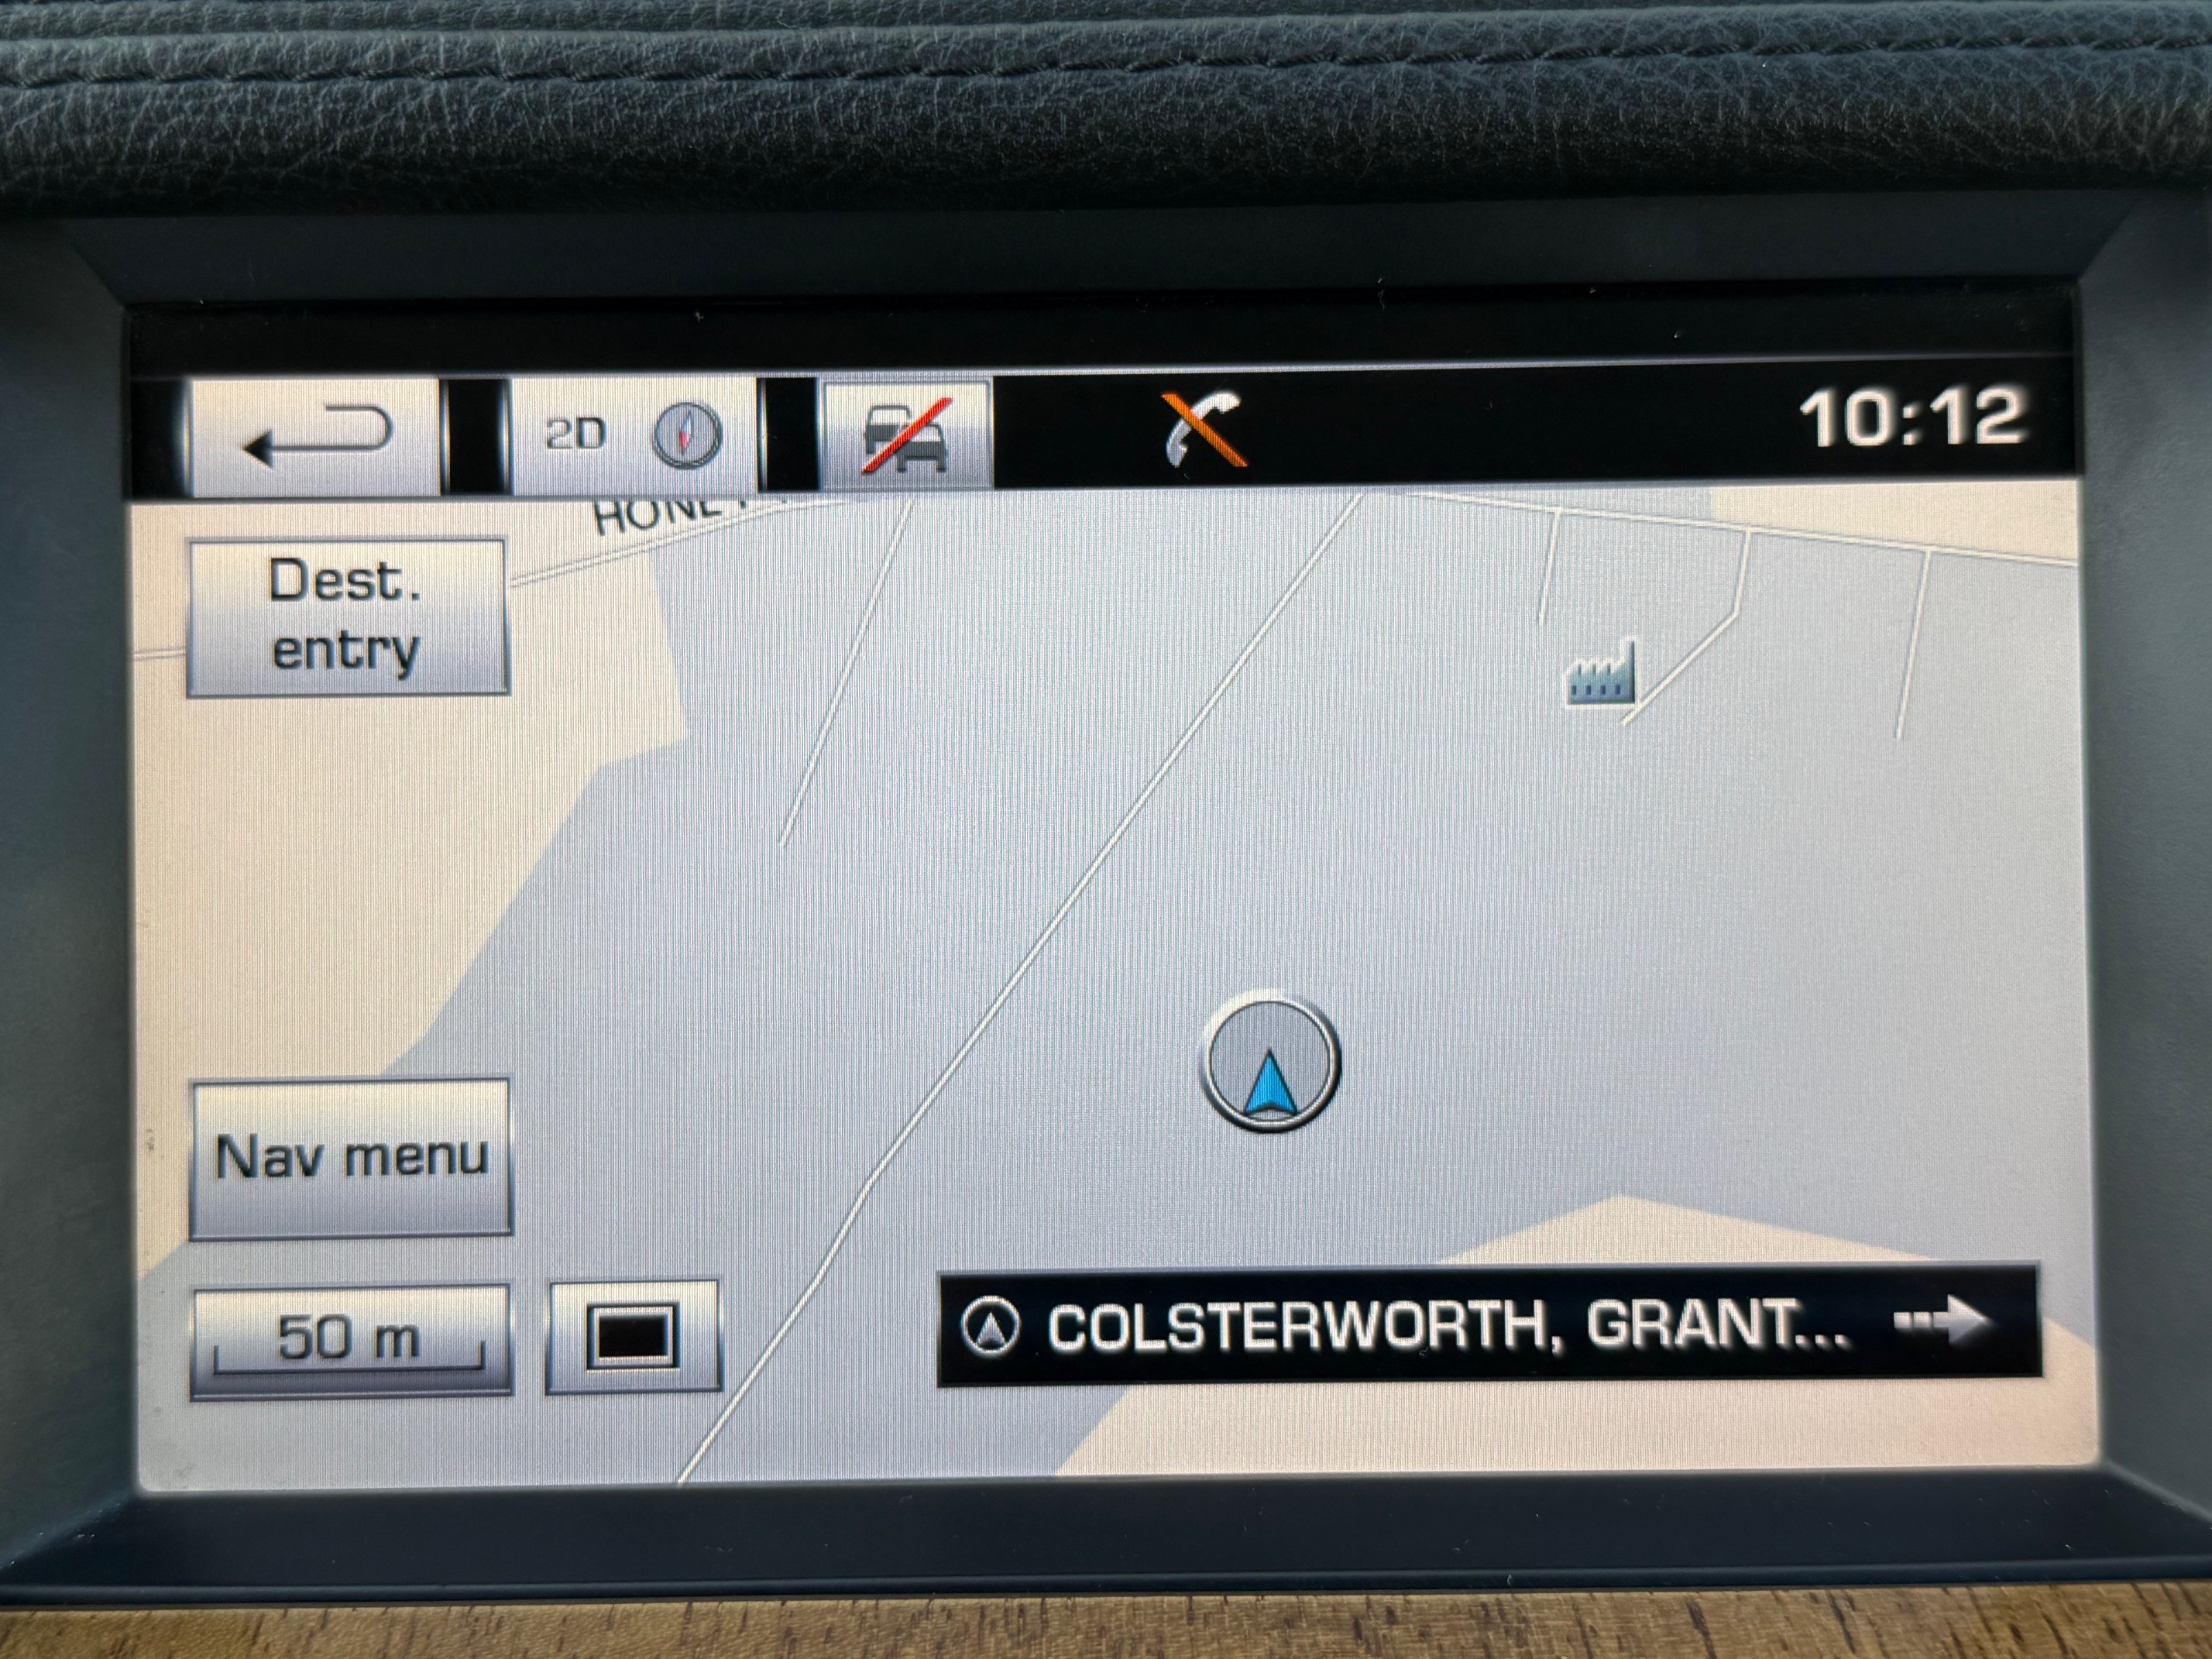
Satellite Navigation

Heated front and rear seats, heated front windscreen and heated steering wheel

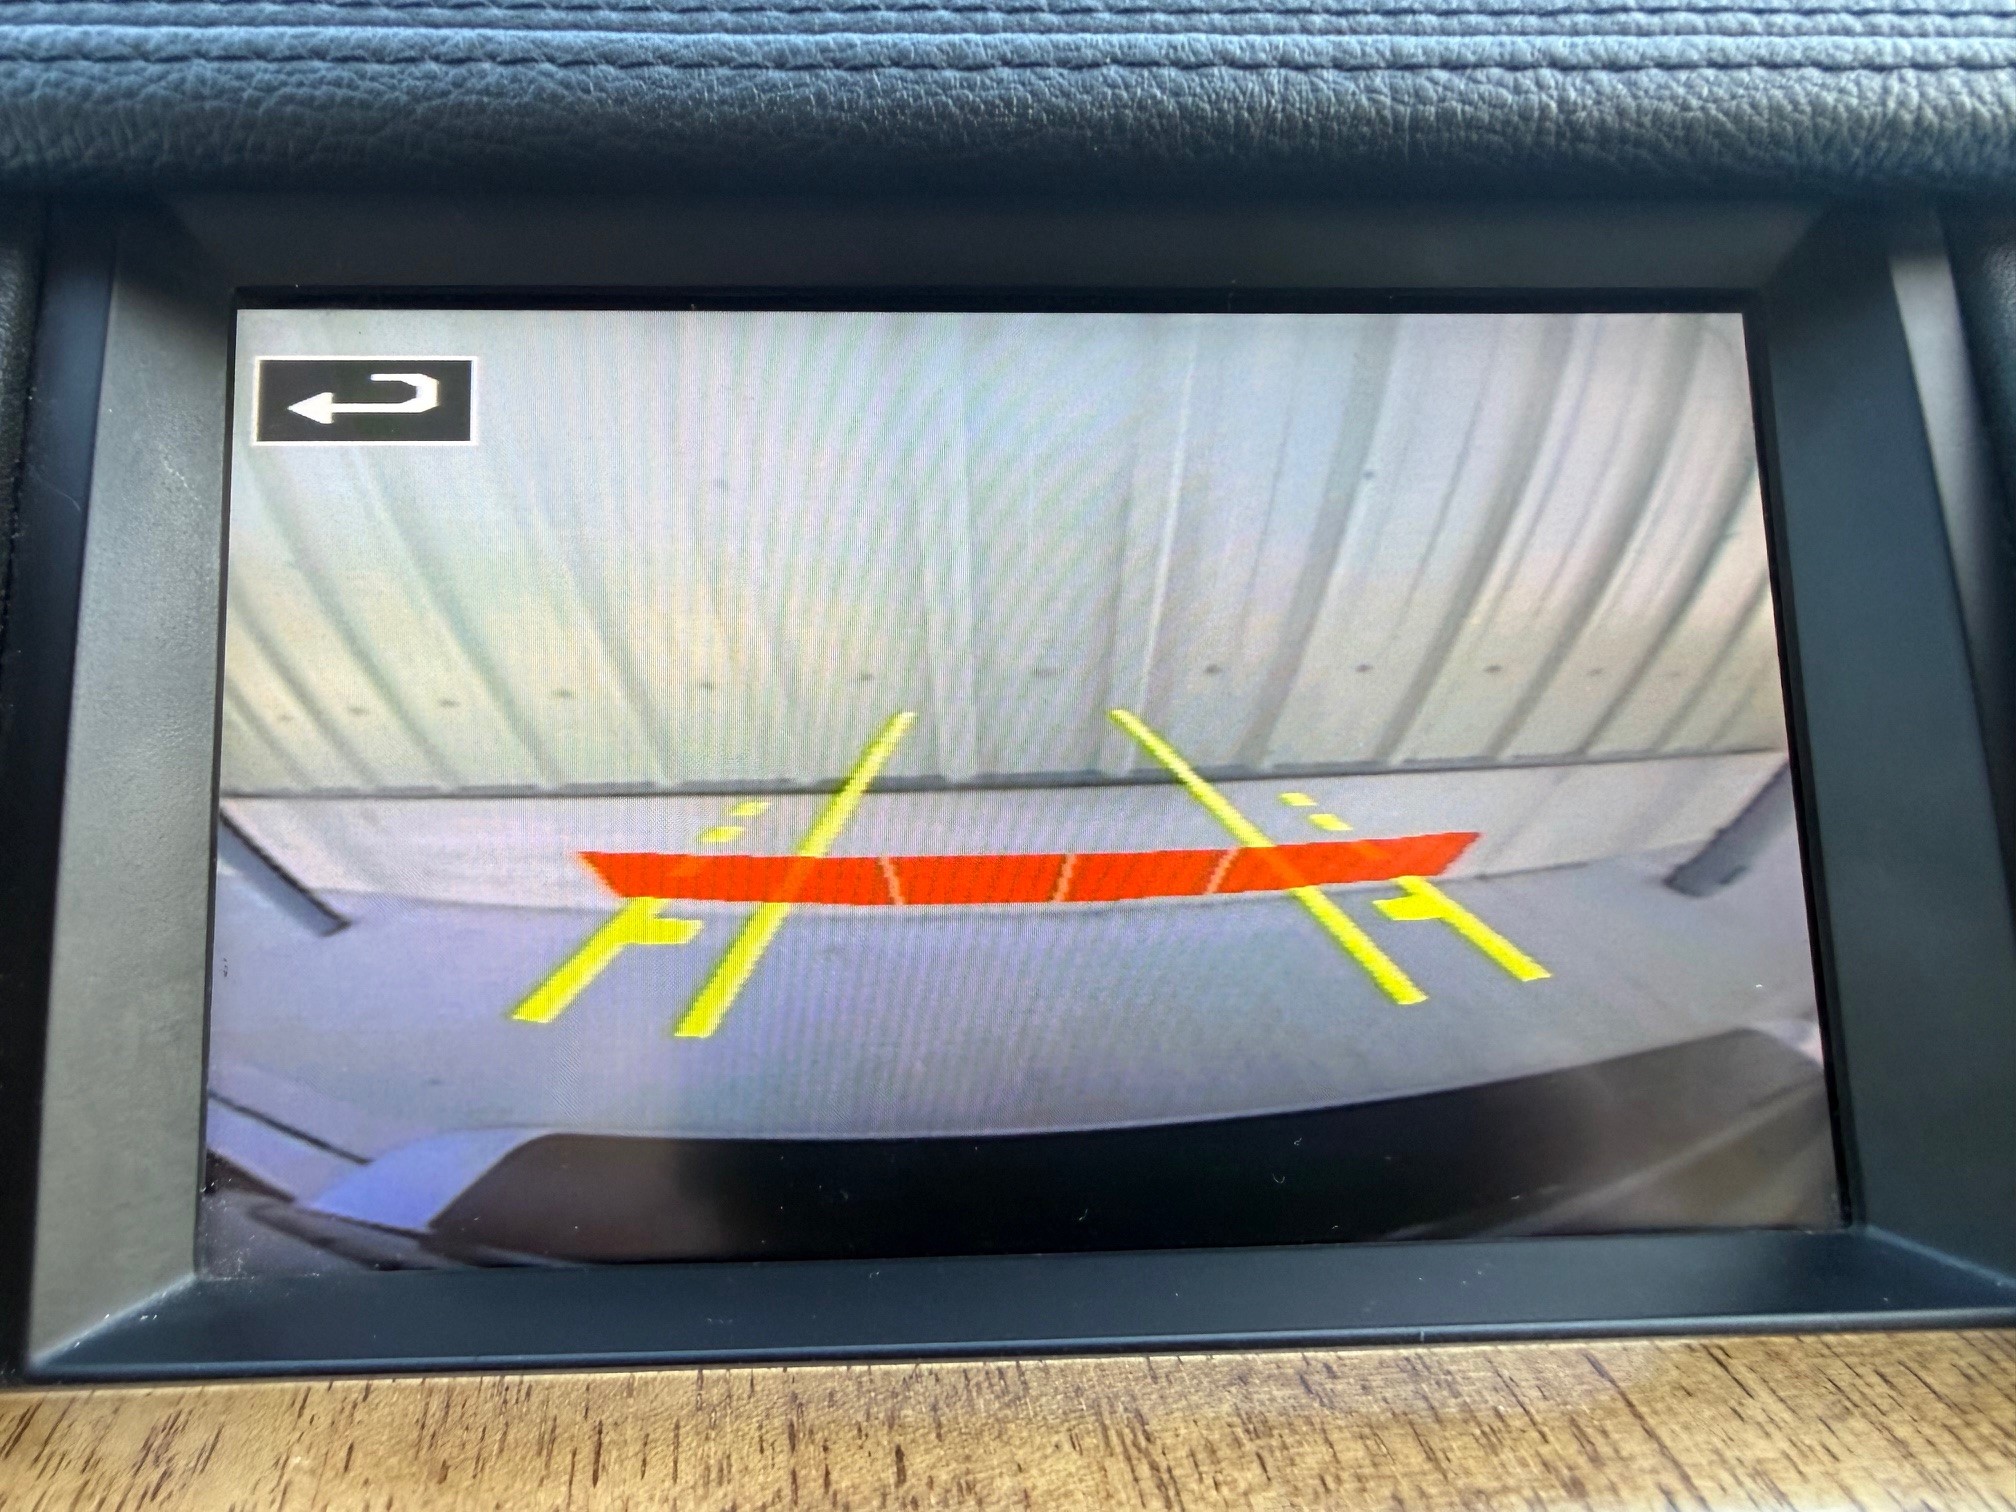
Reversing camera and front and rear park sensors

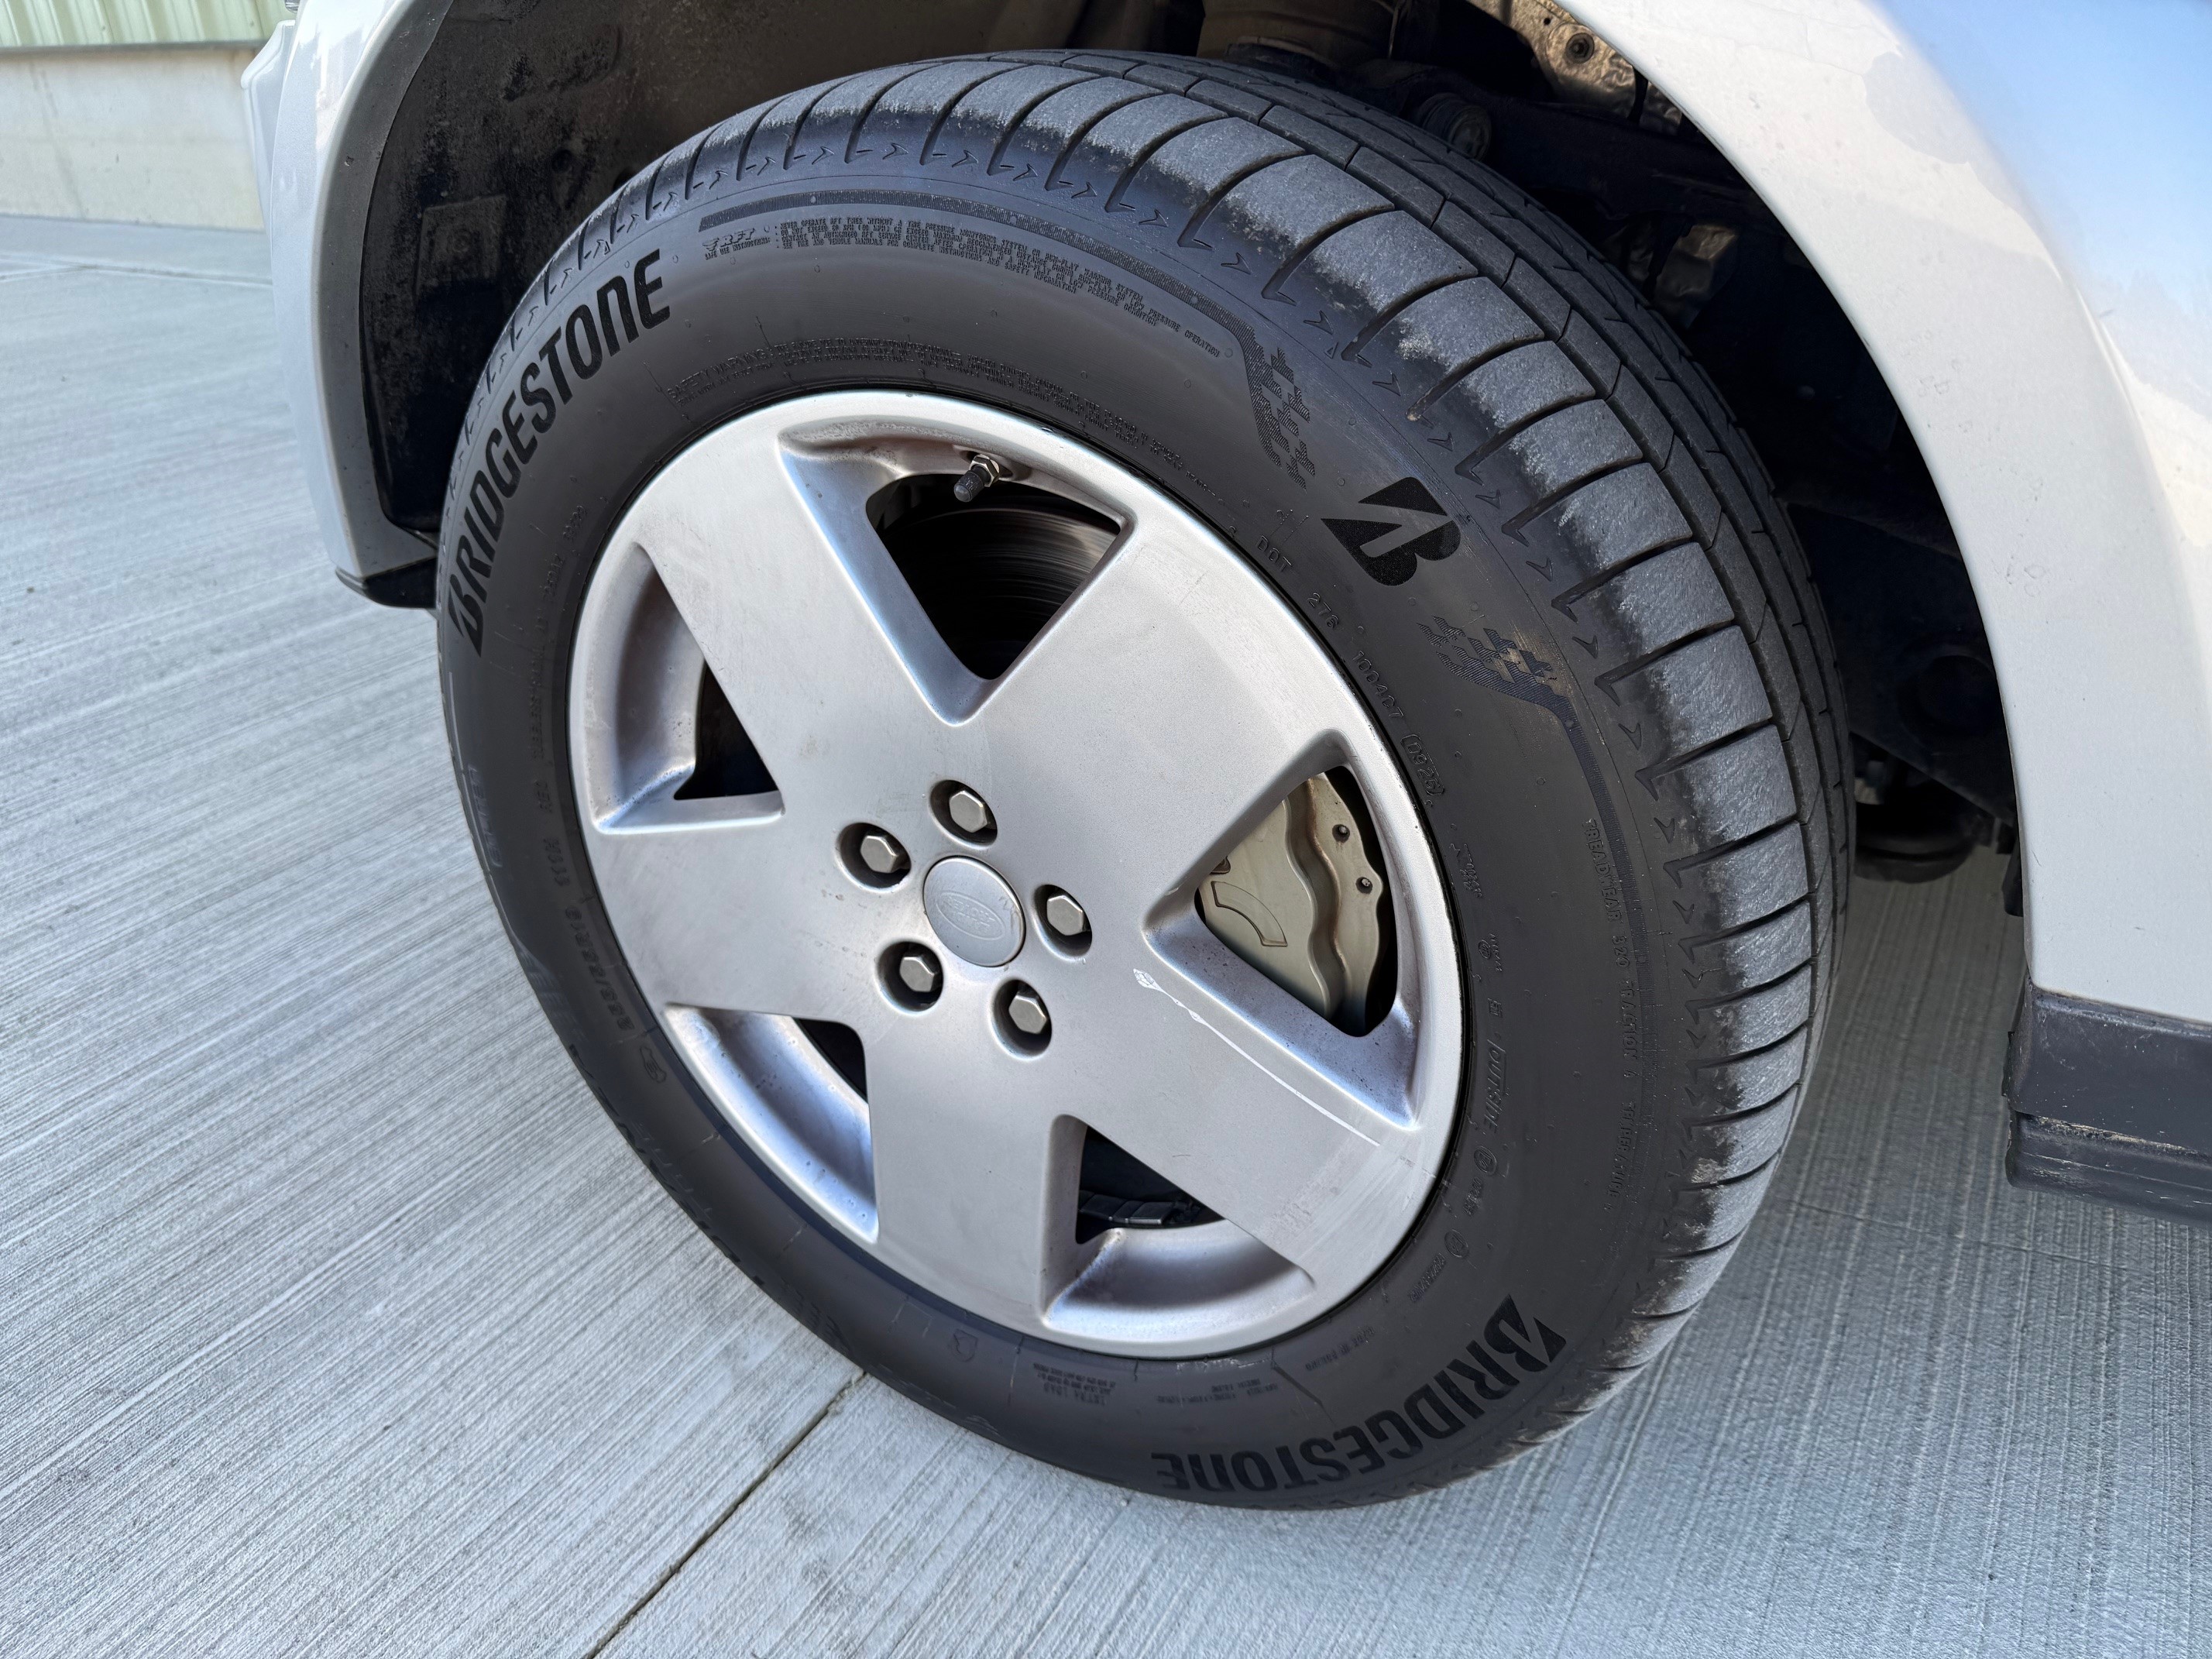
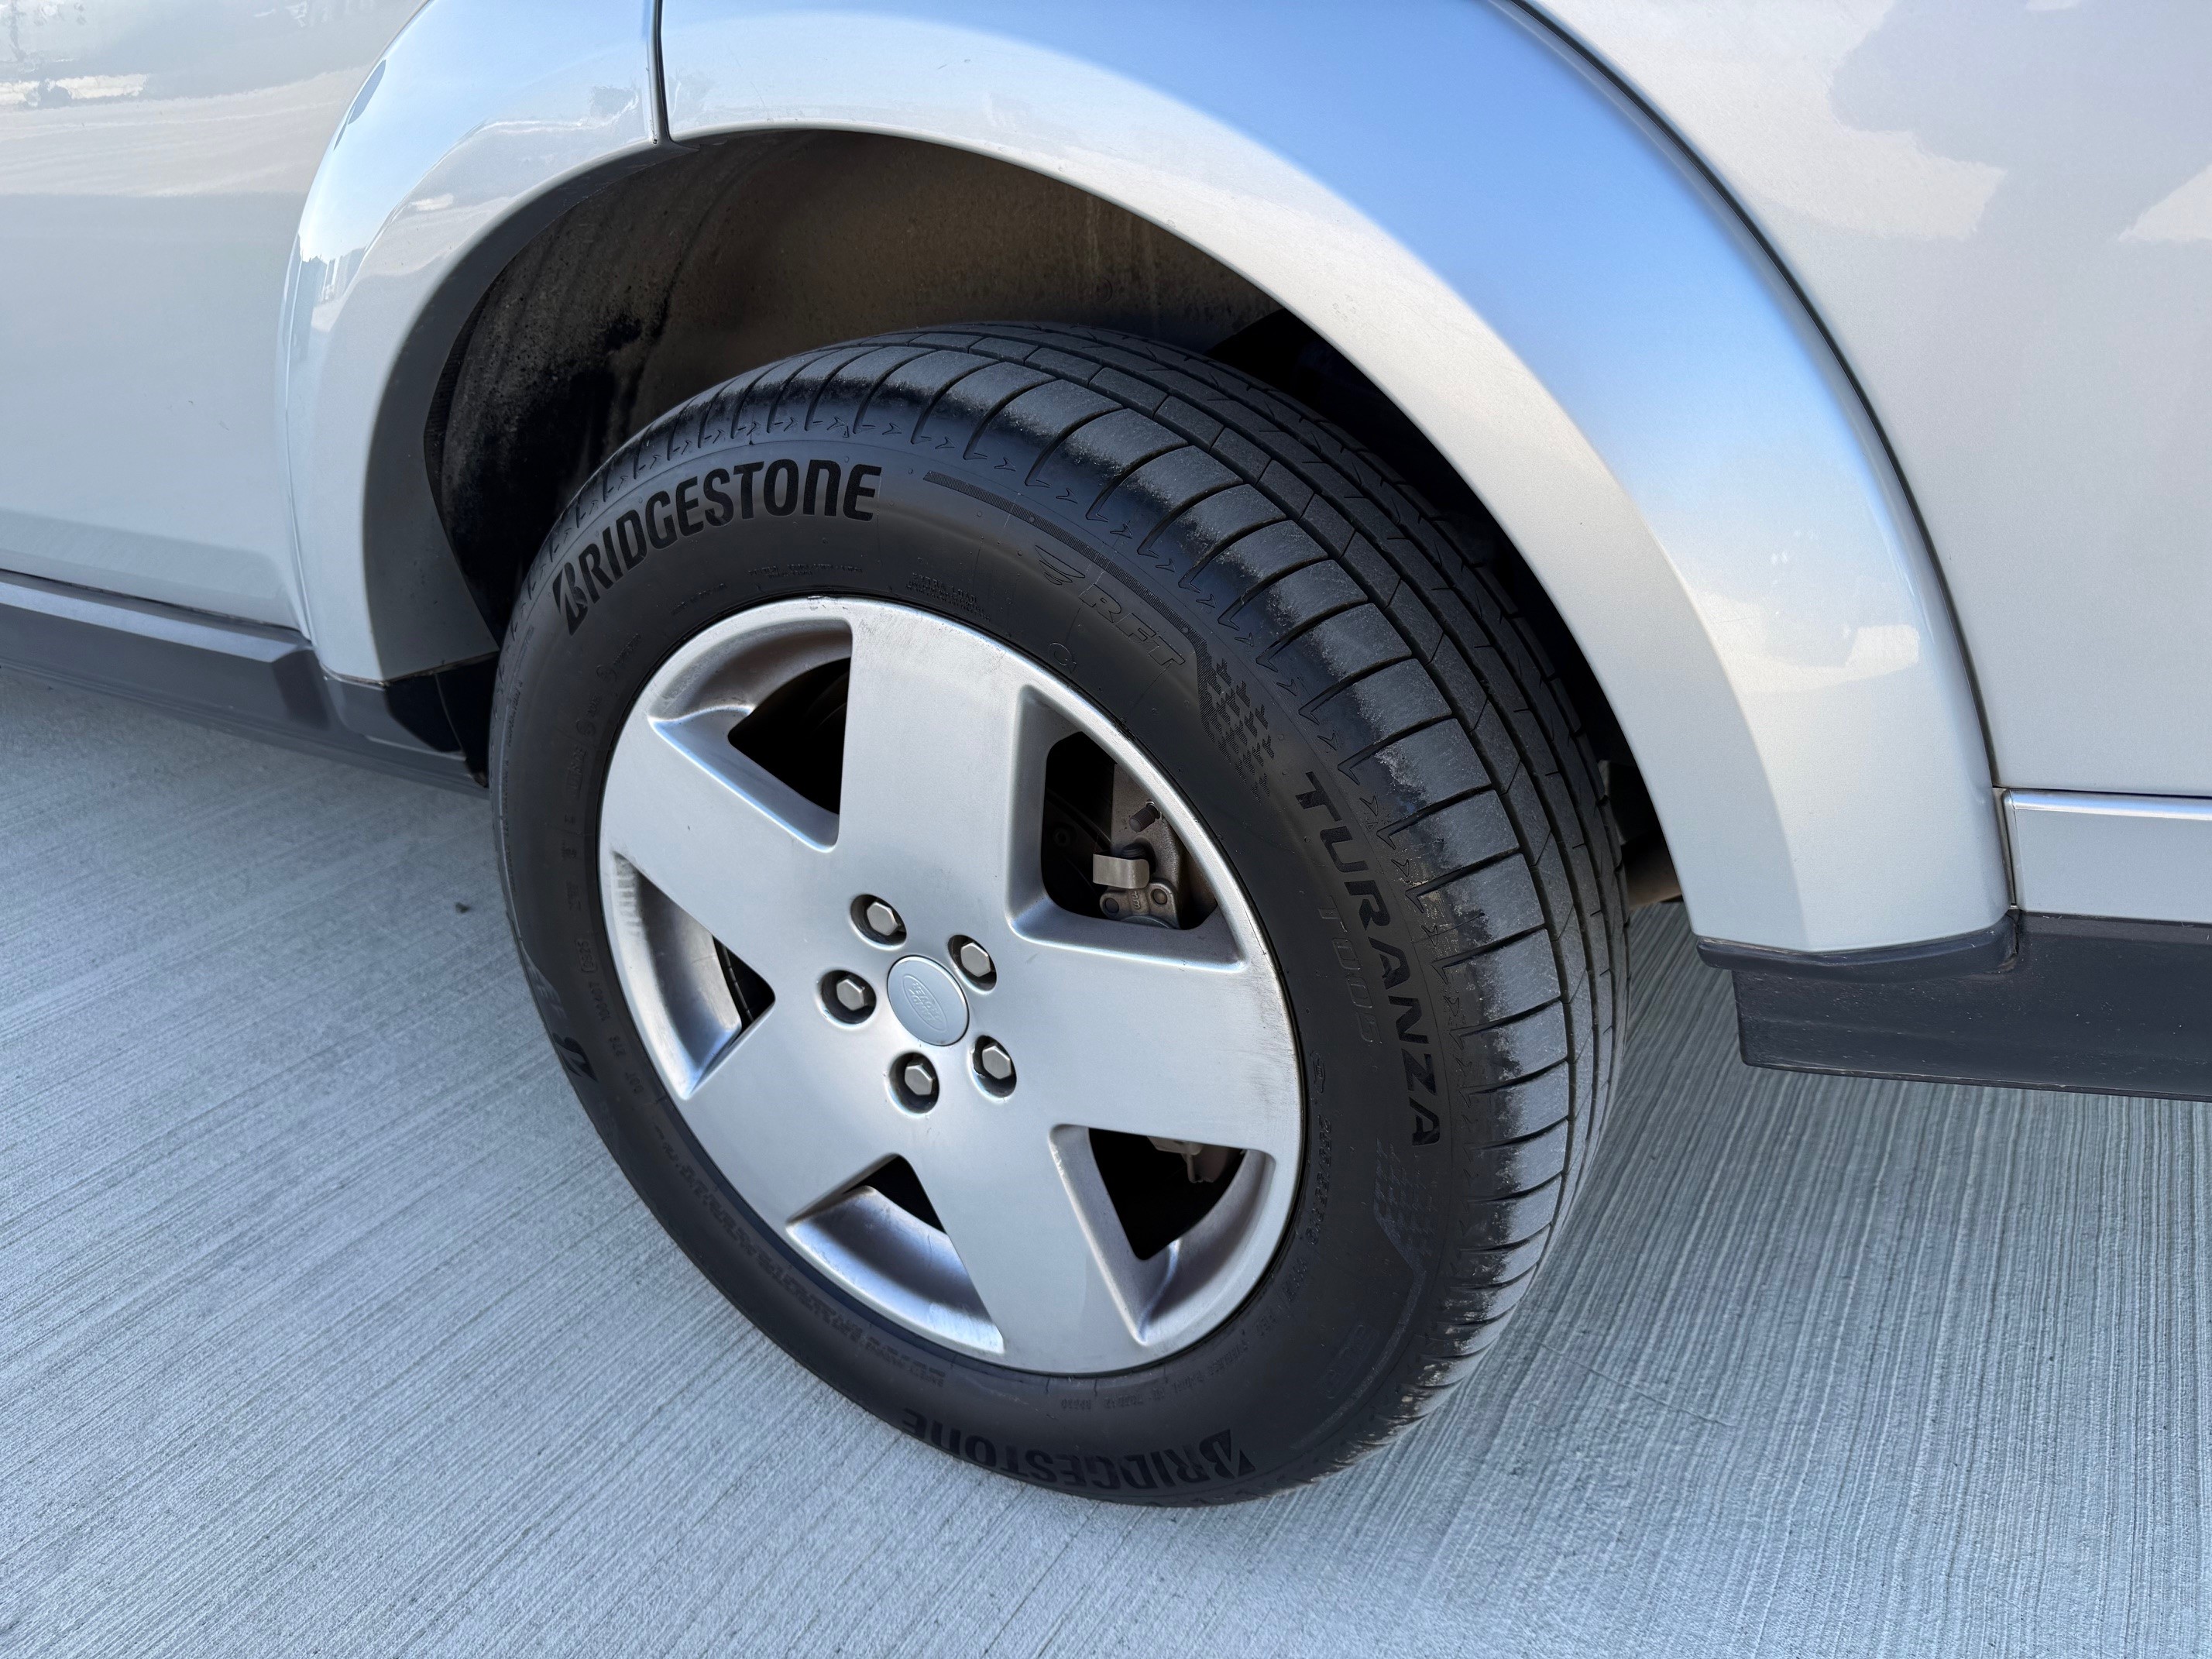
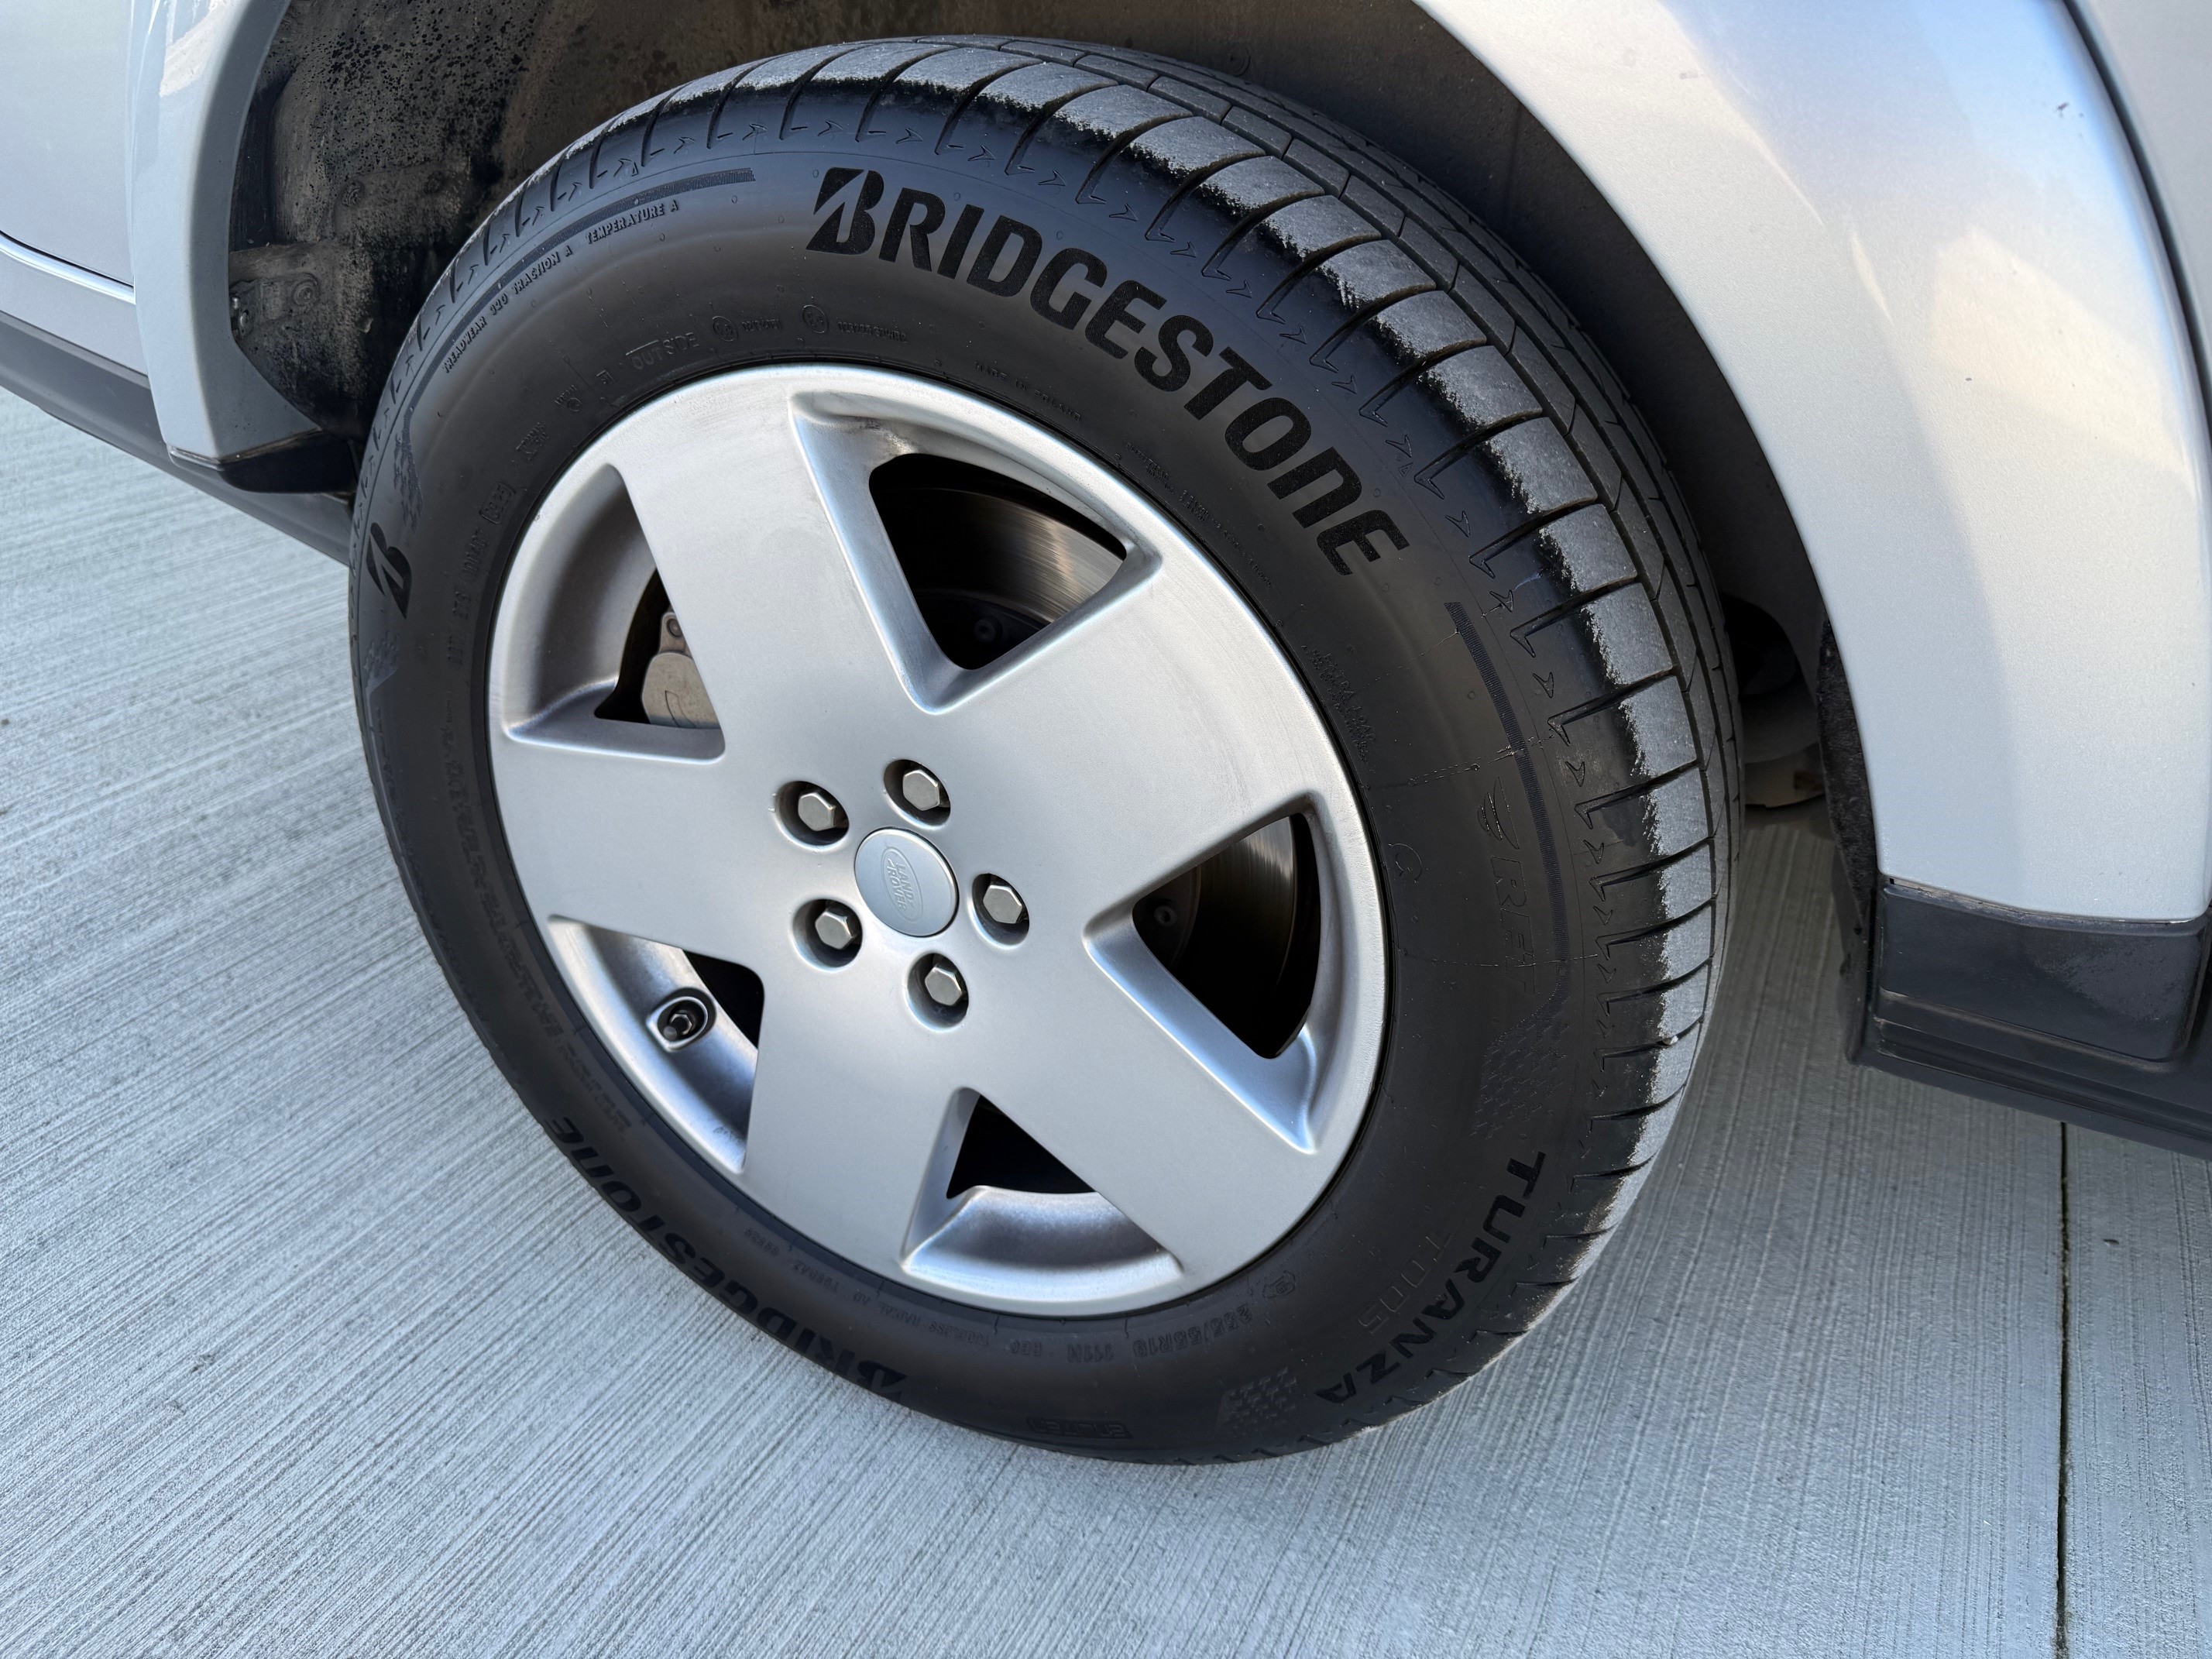
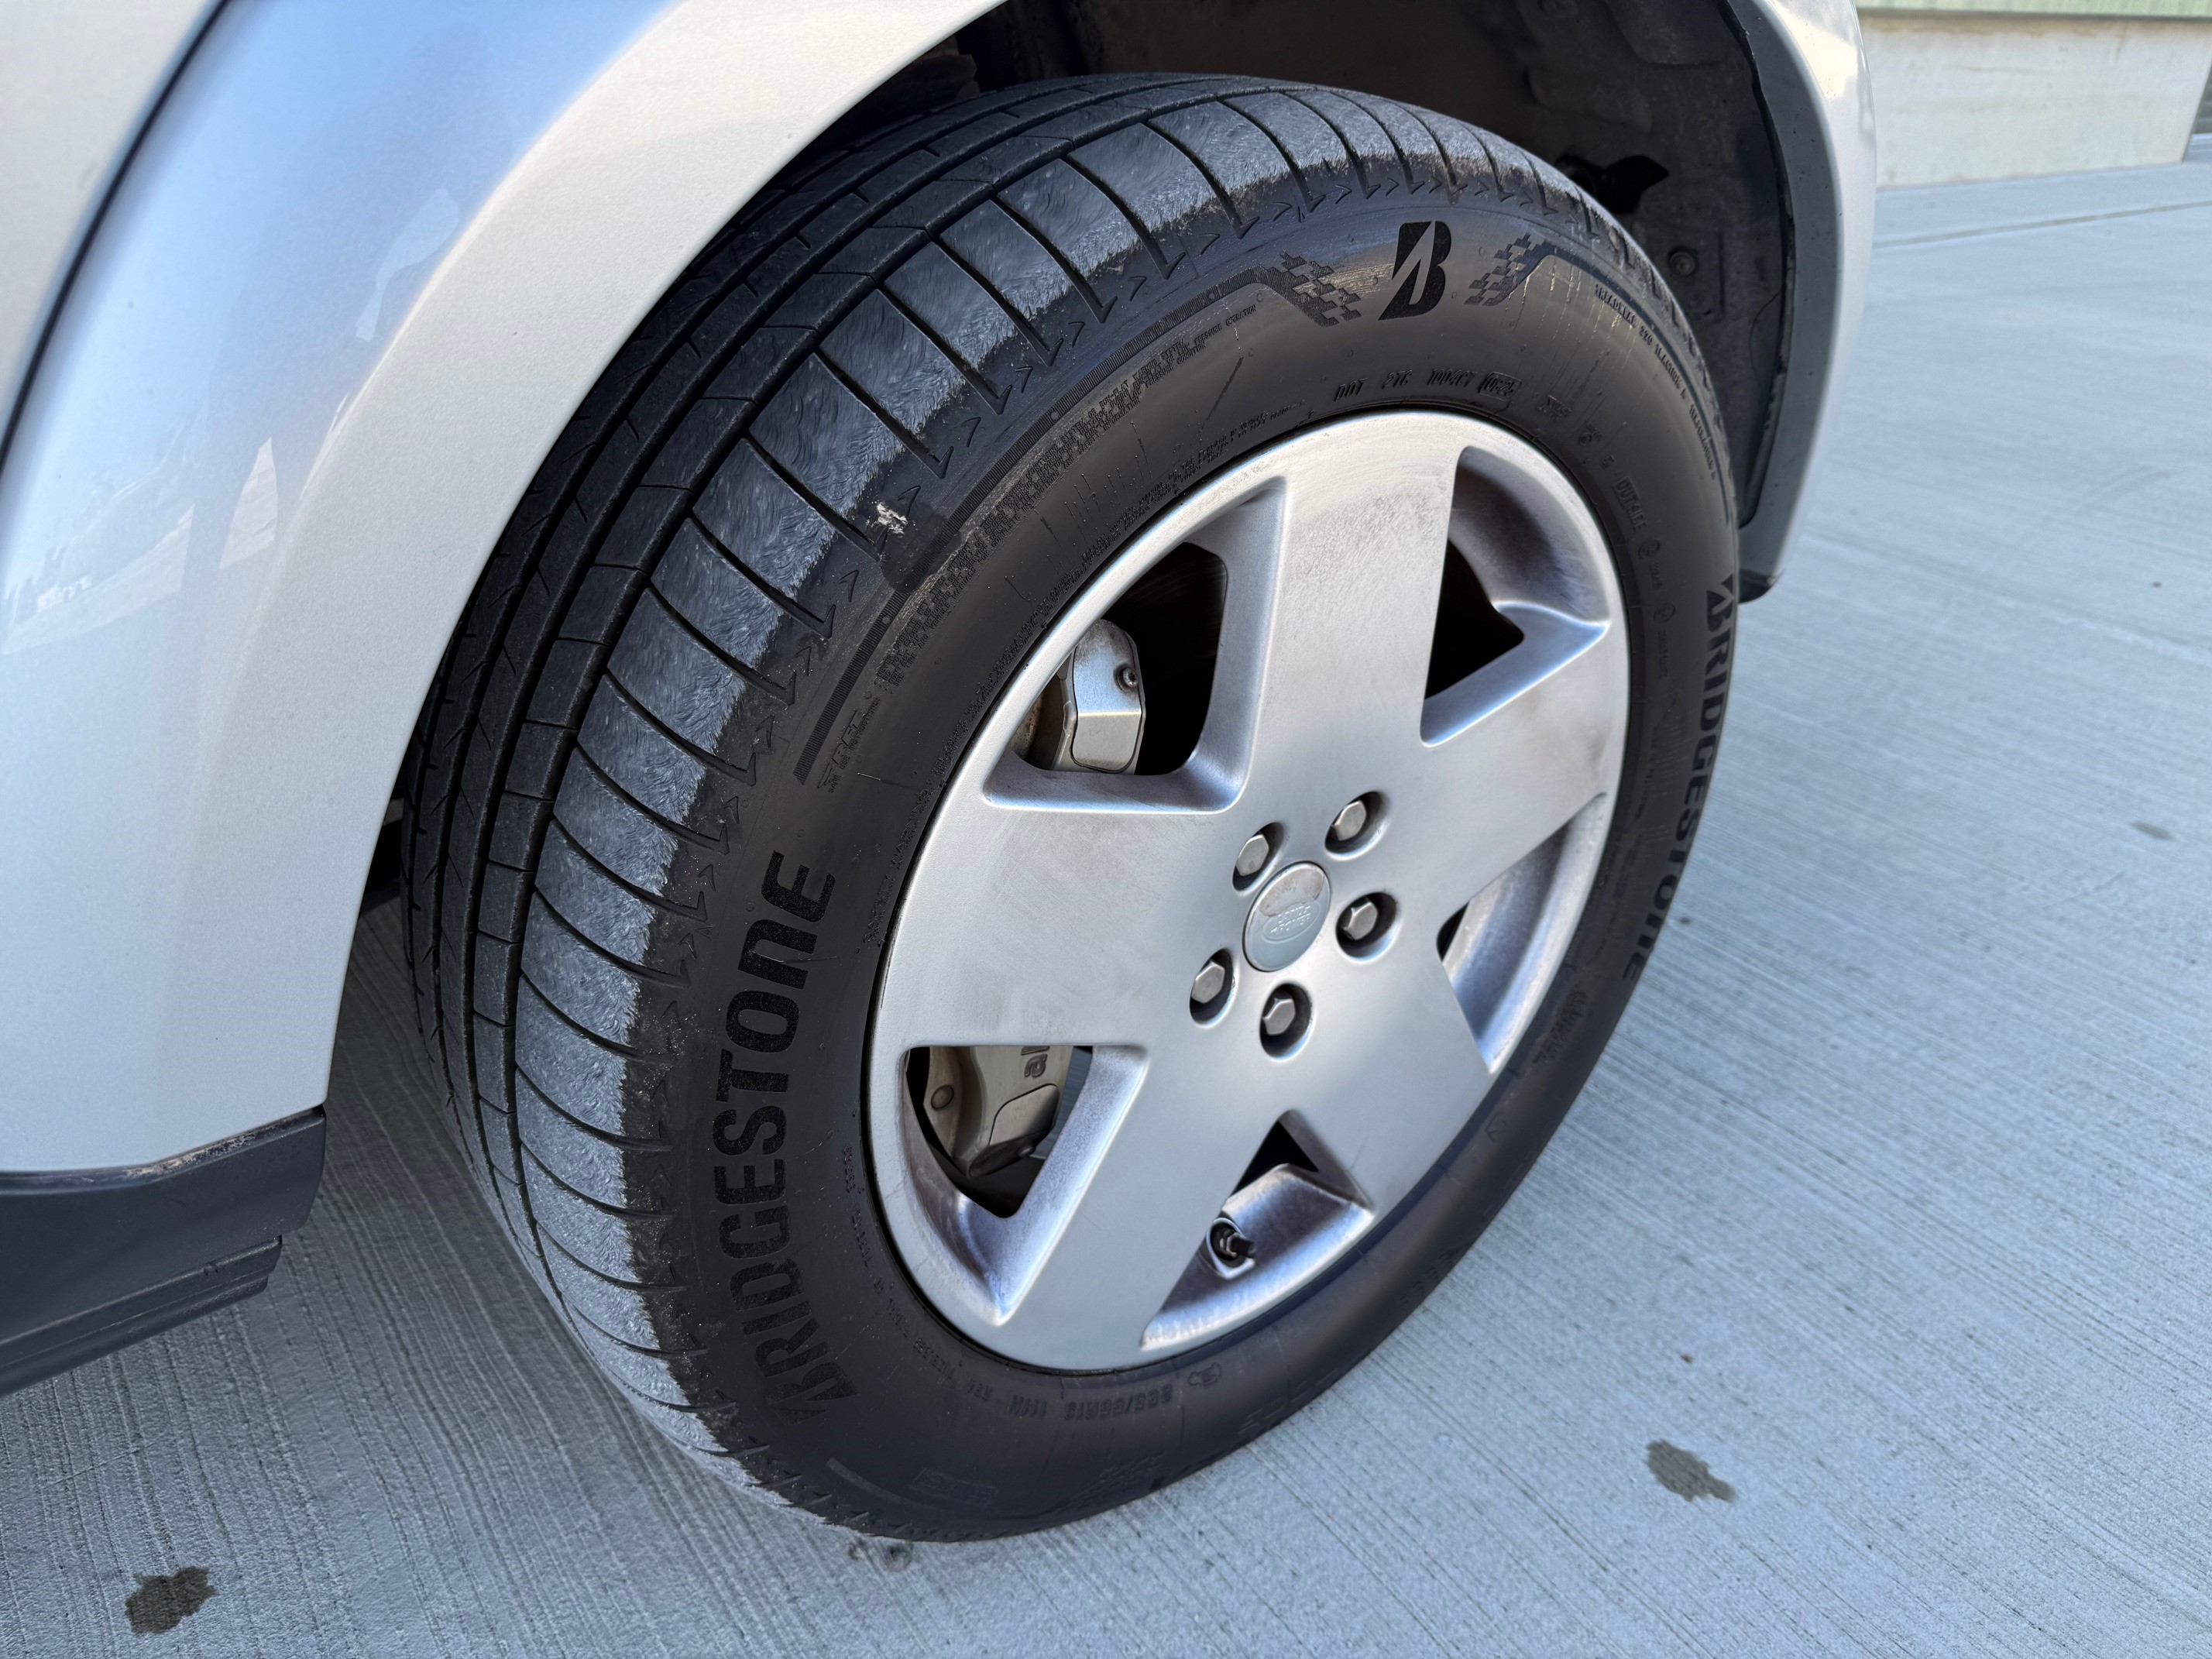
Uprated H/D 20inch alloy wheels.

Uprated H/D Alcon brake calipers

2025 dated Bridgestone 20-inch runflat tyres

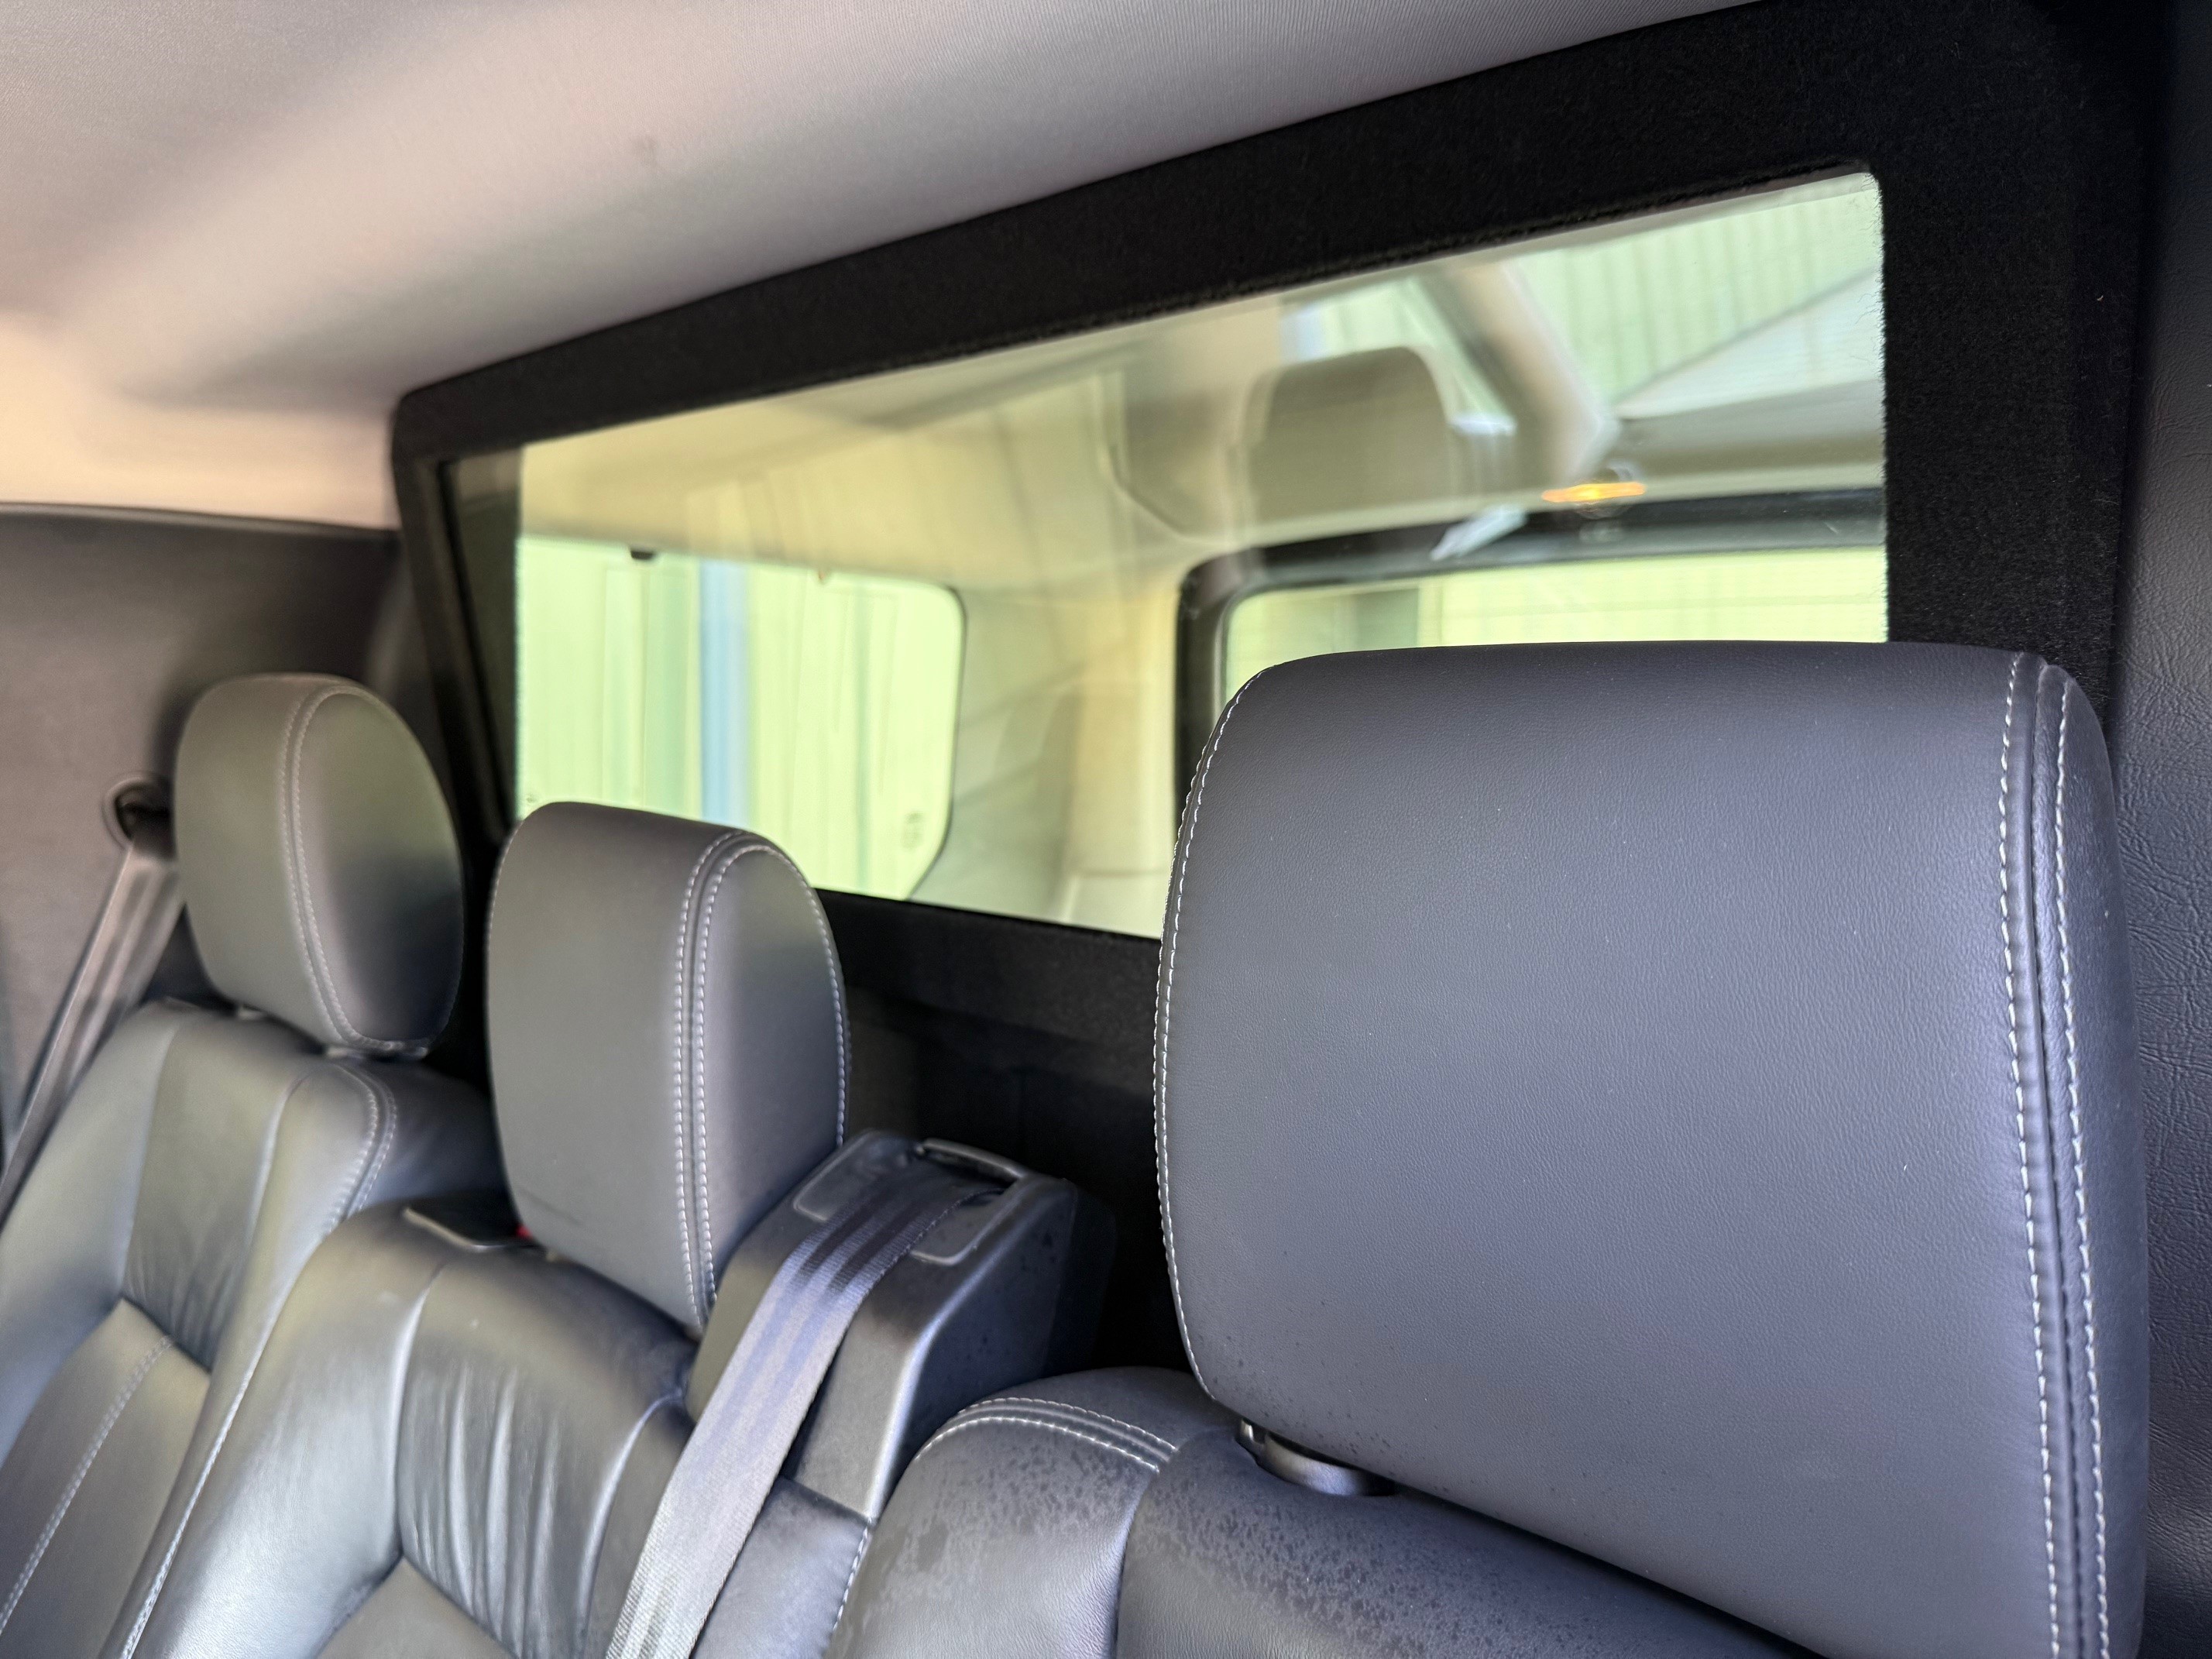
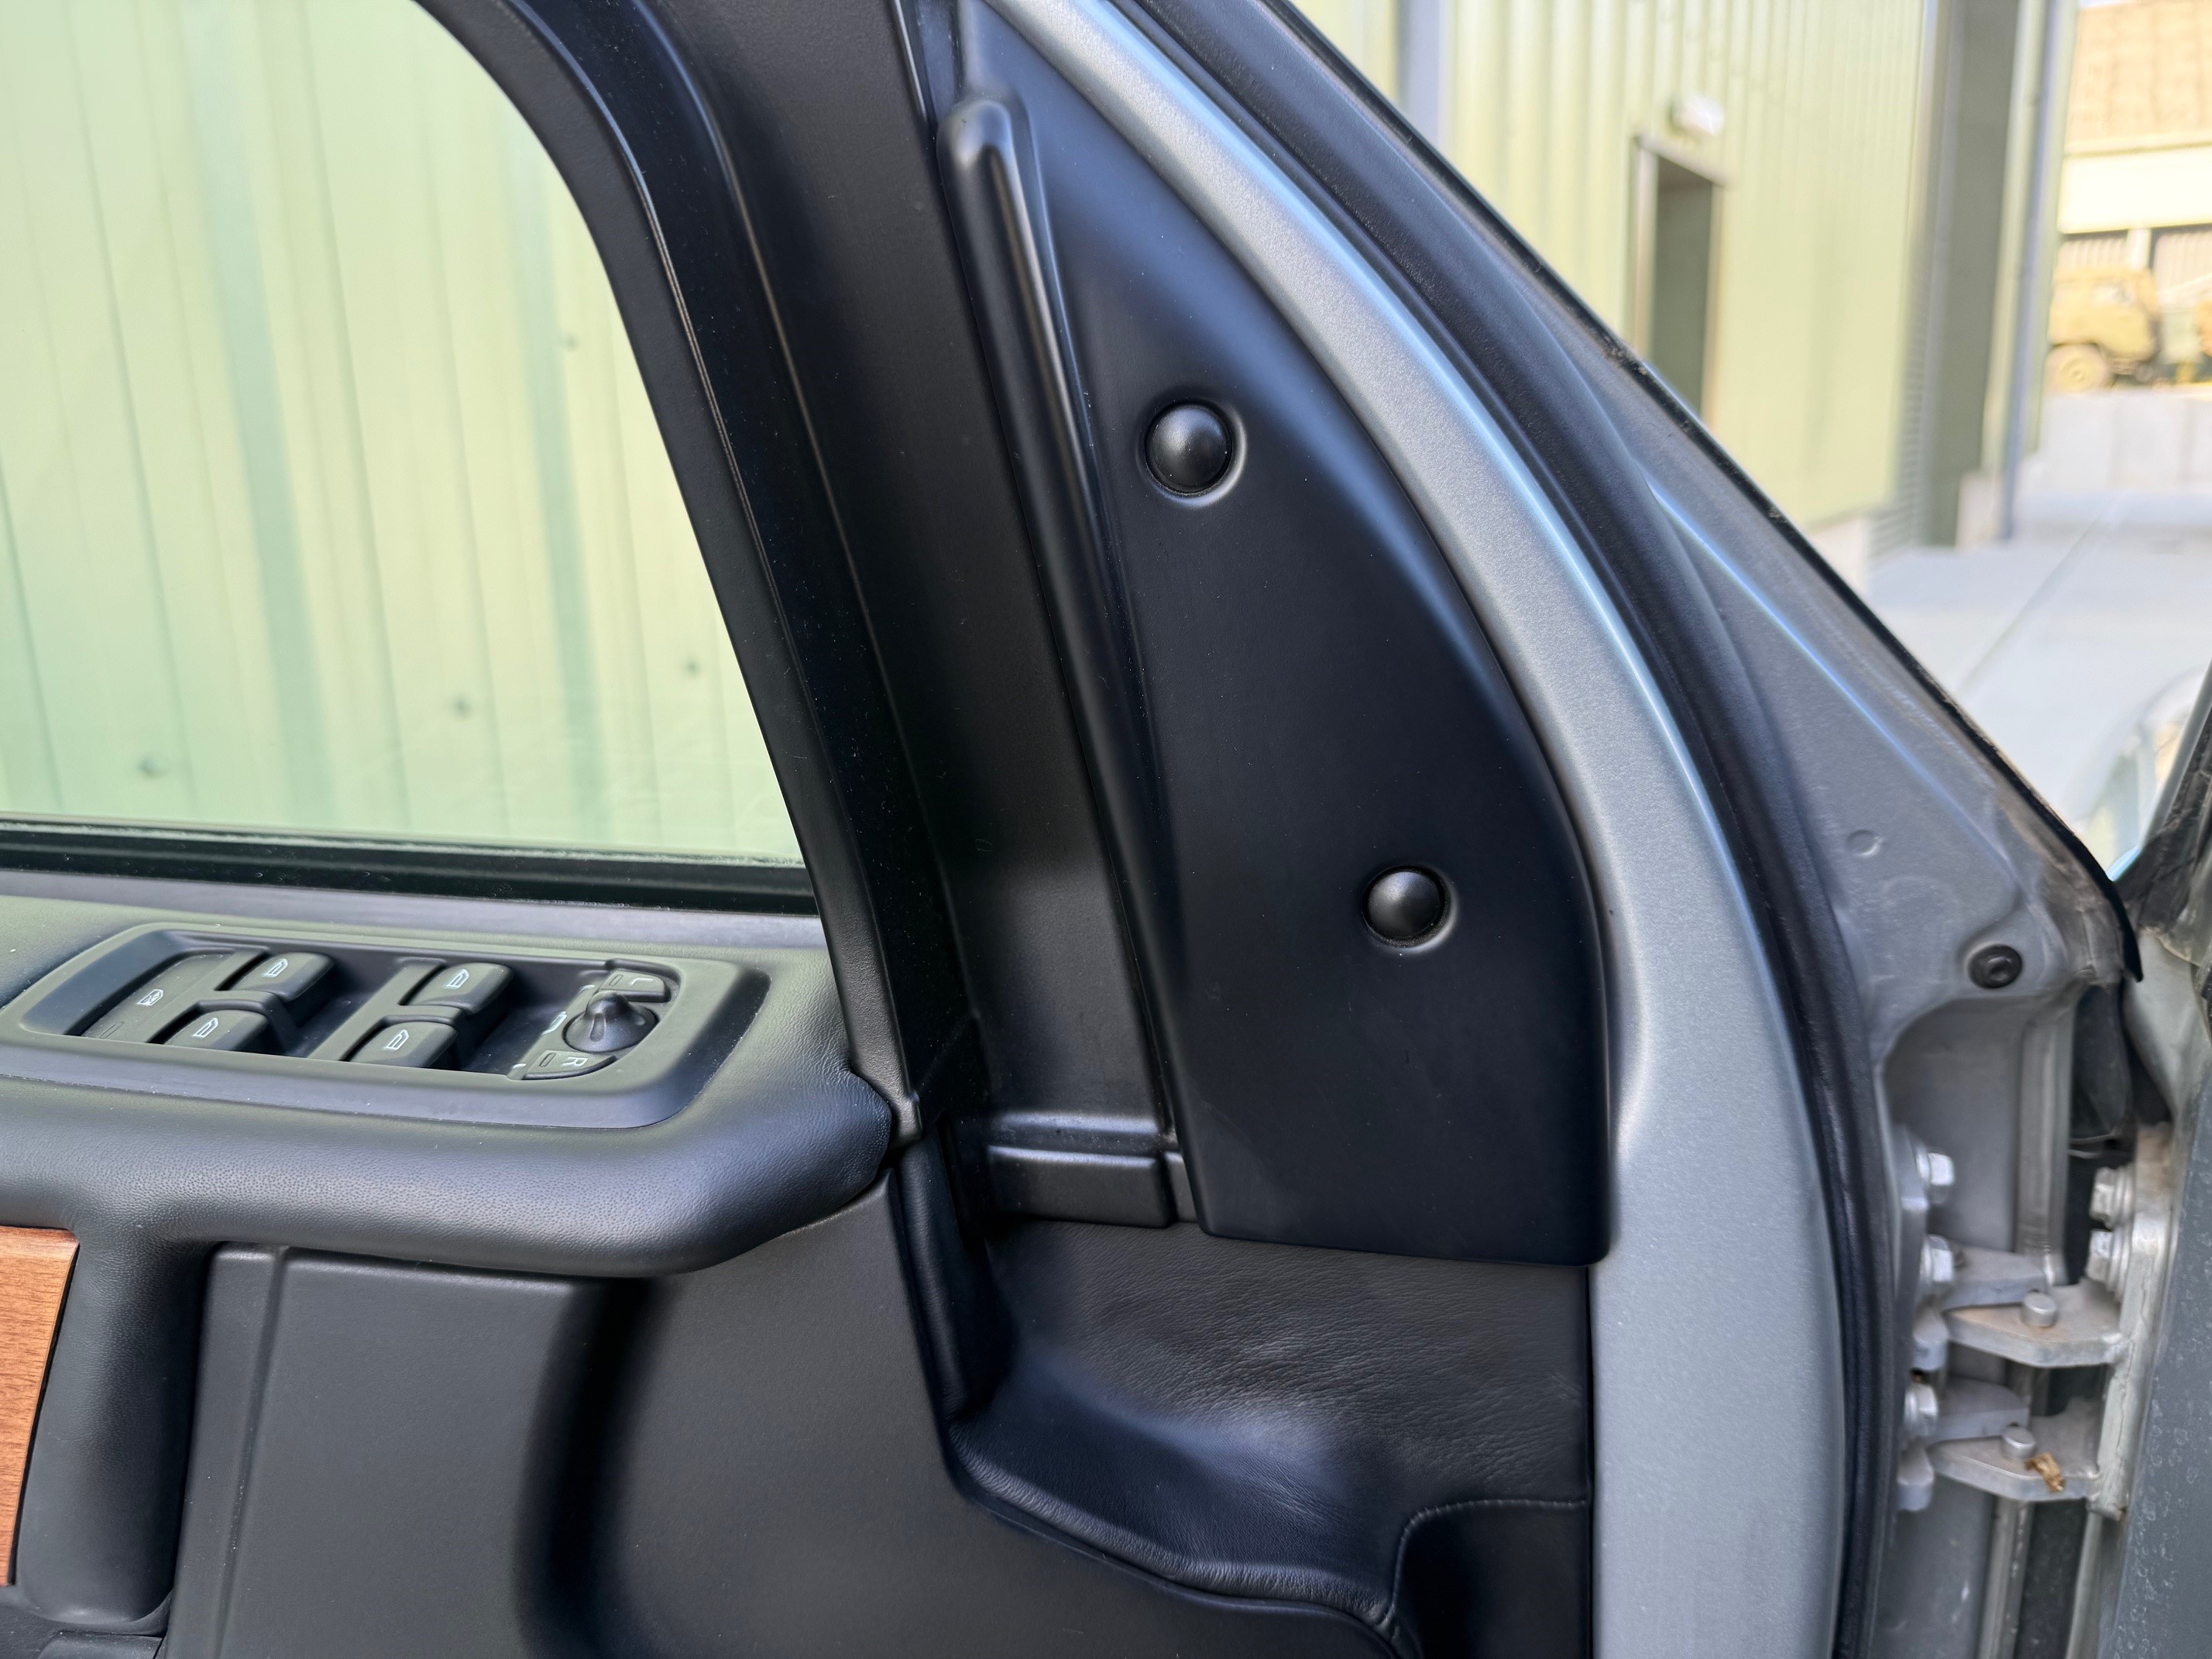
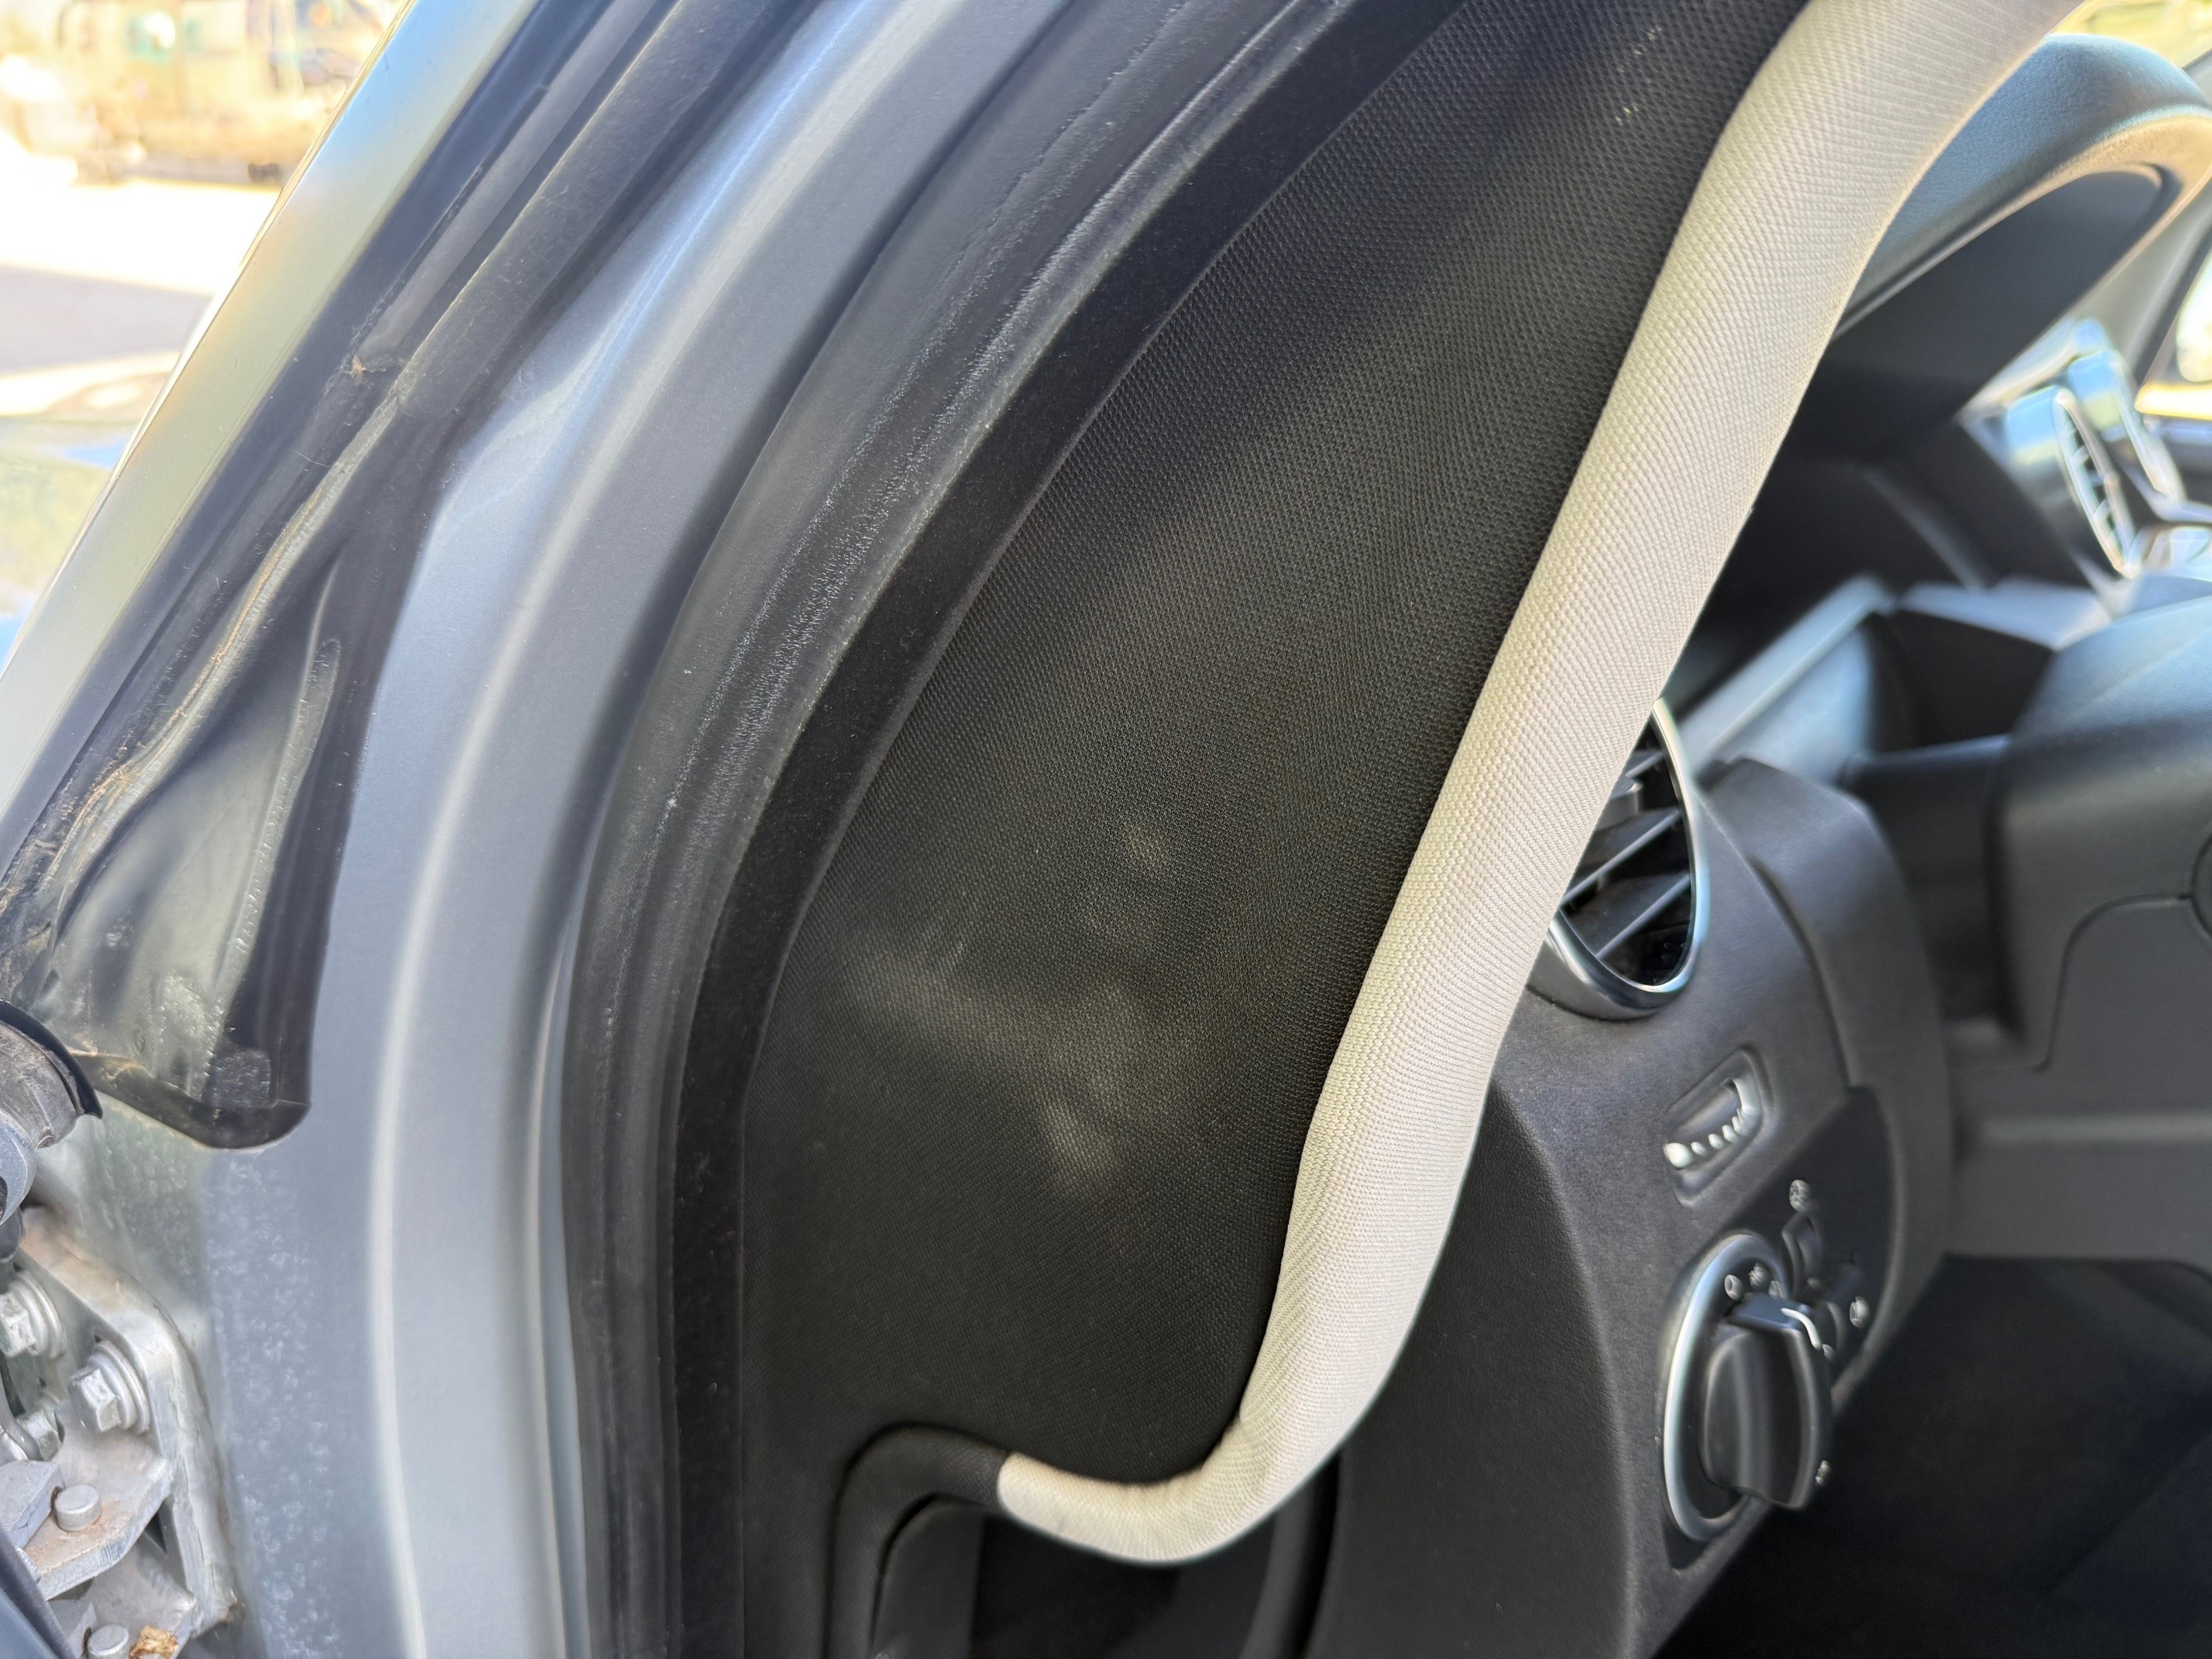
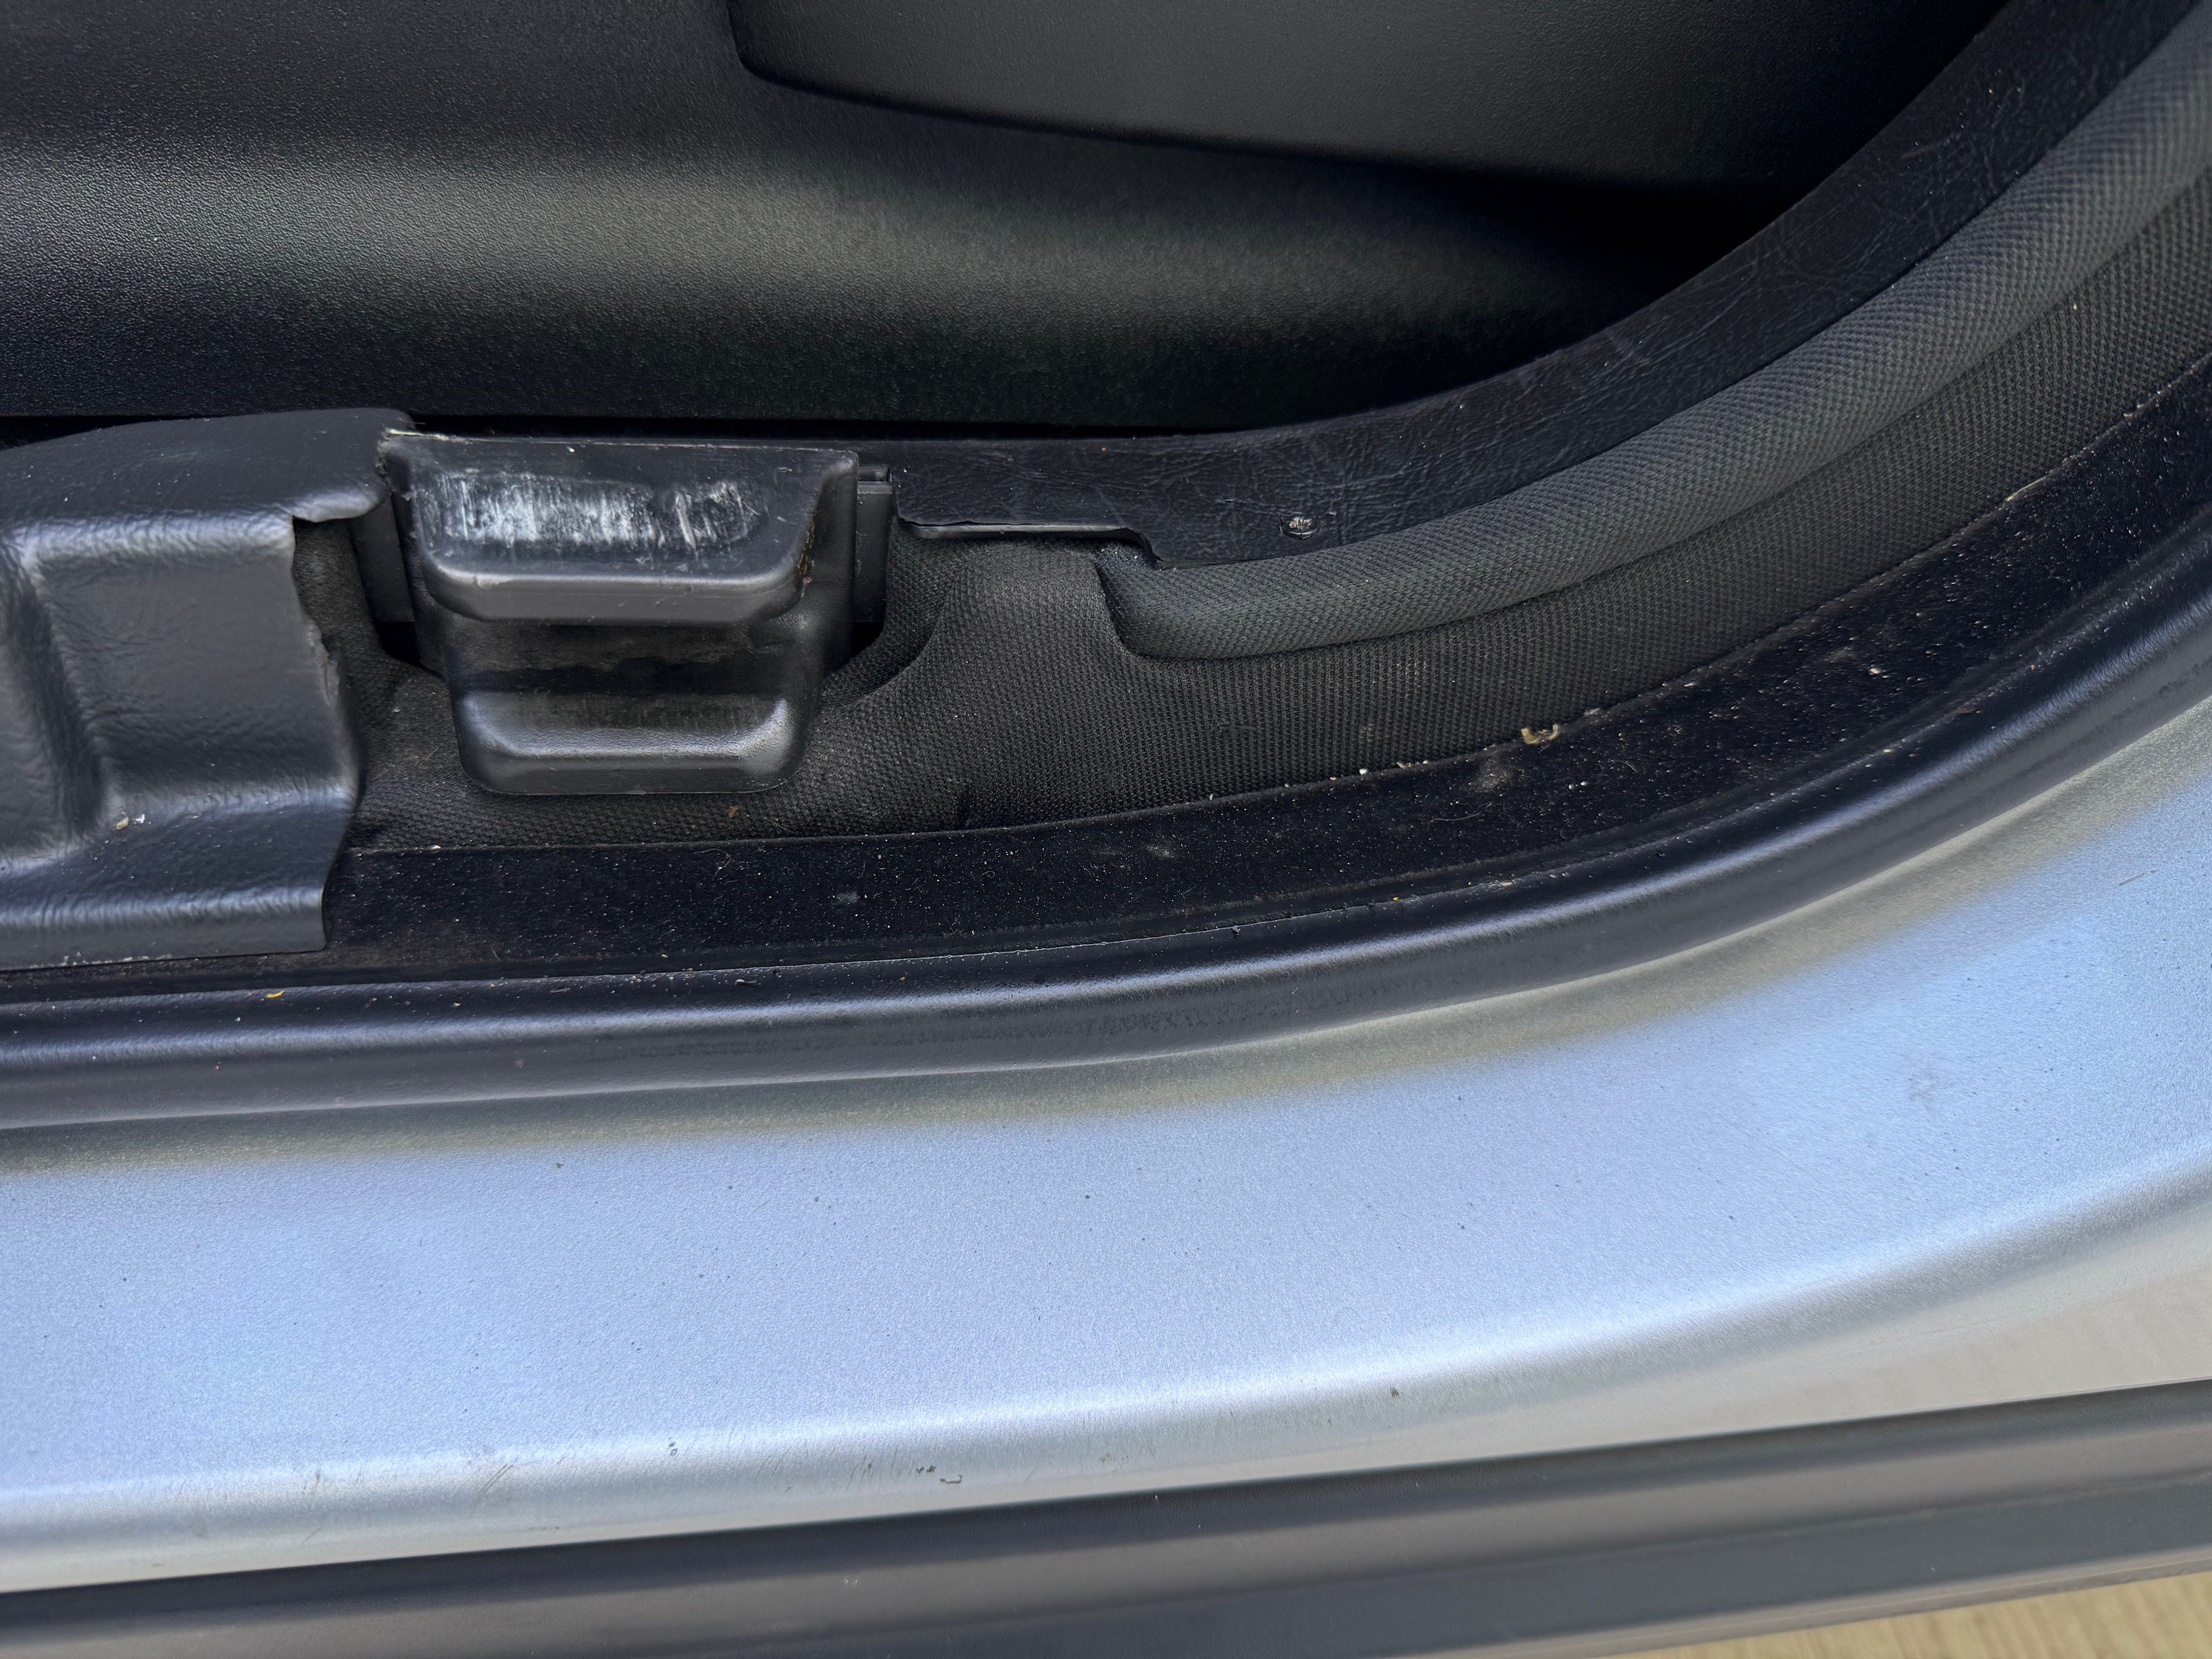
Ballistic glass

Door overlaps

Fire suppression system

Protected battery box

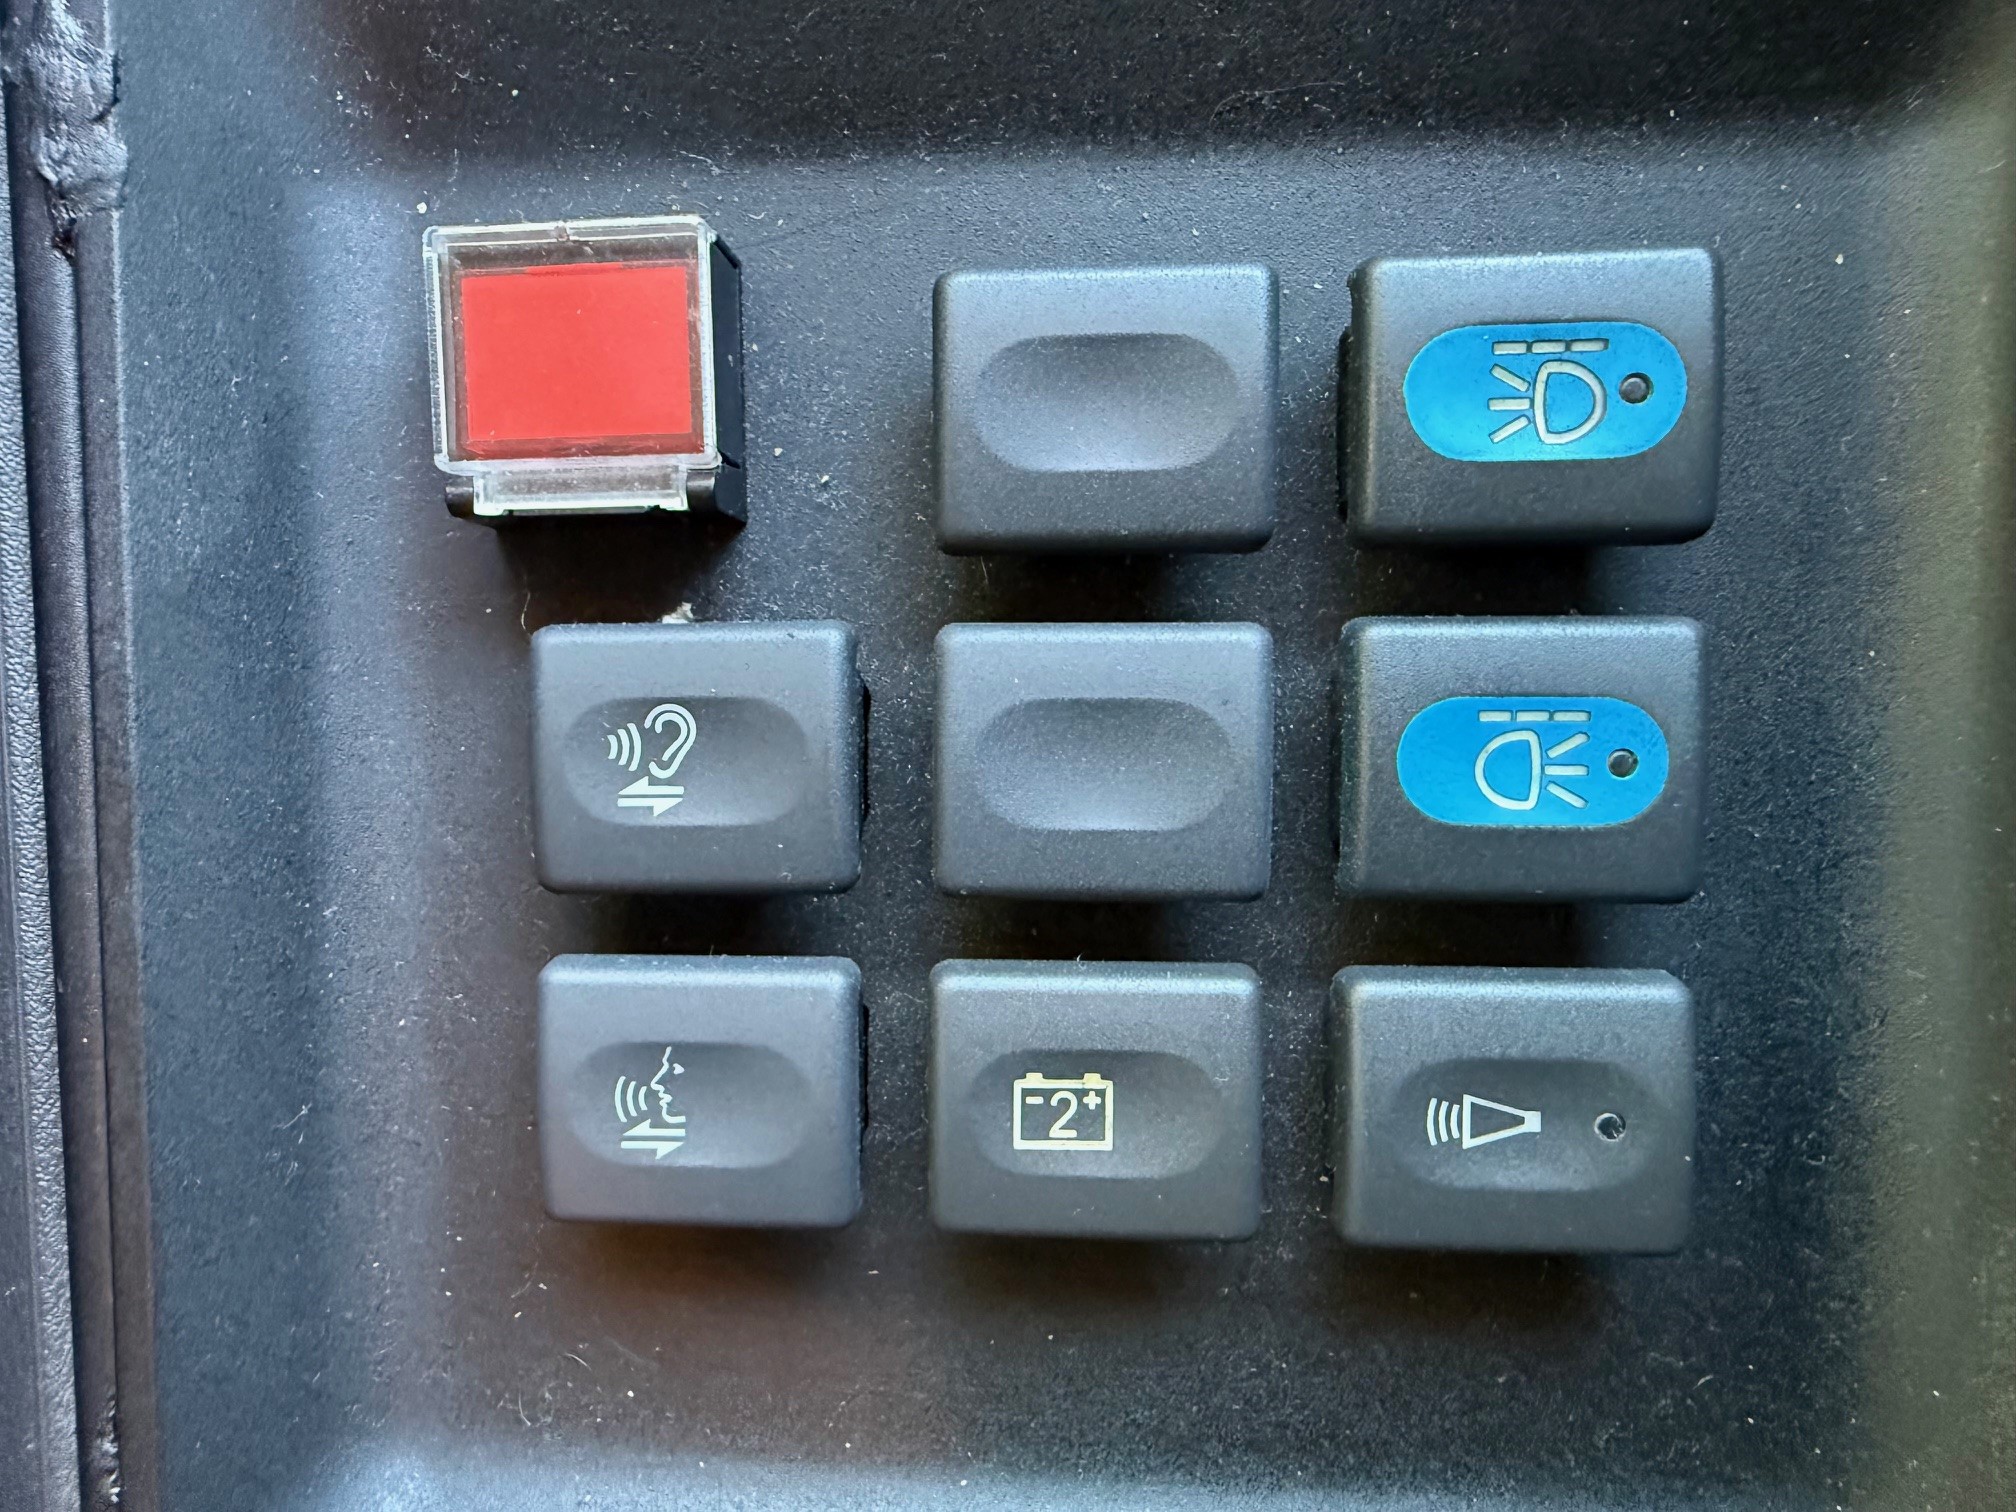
Discreet blue lights front and rear

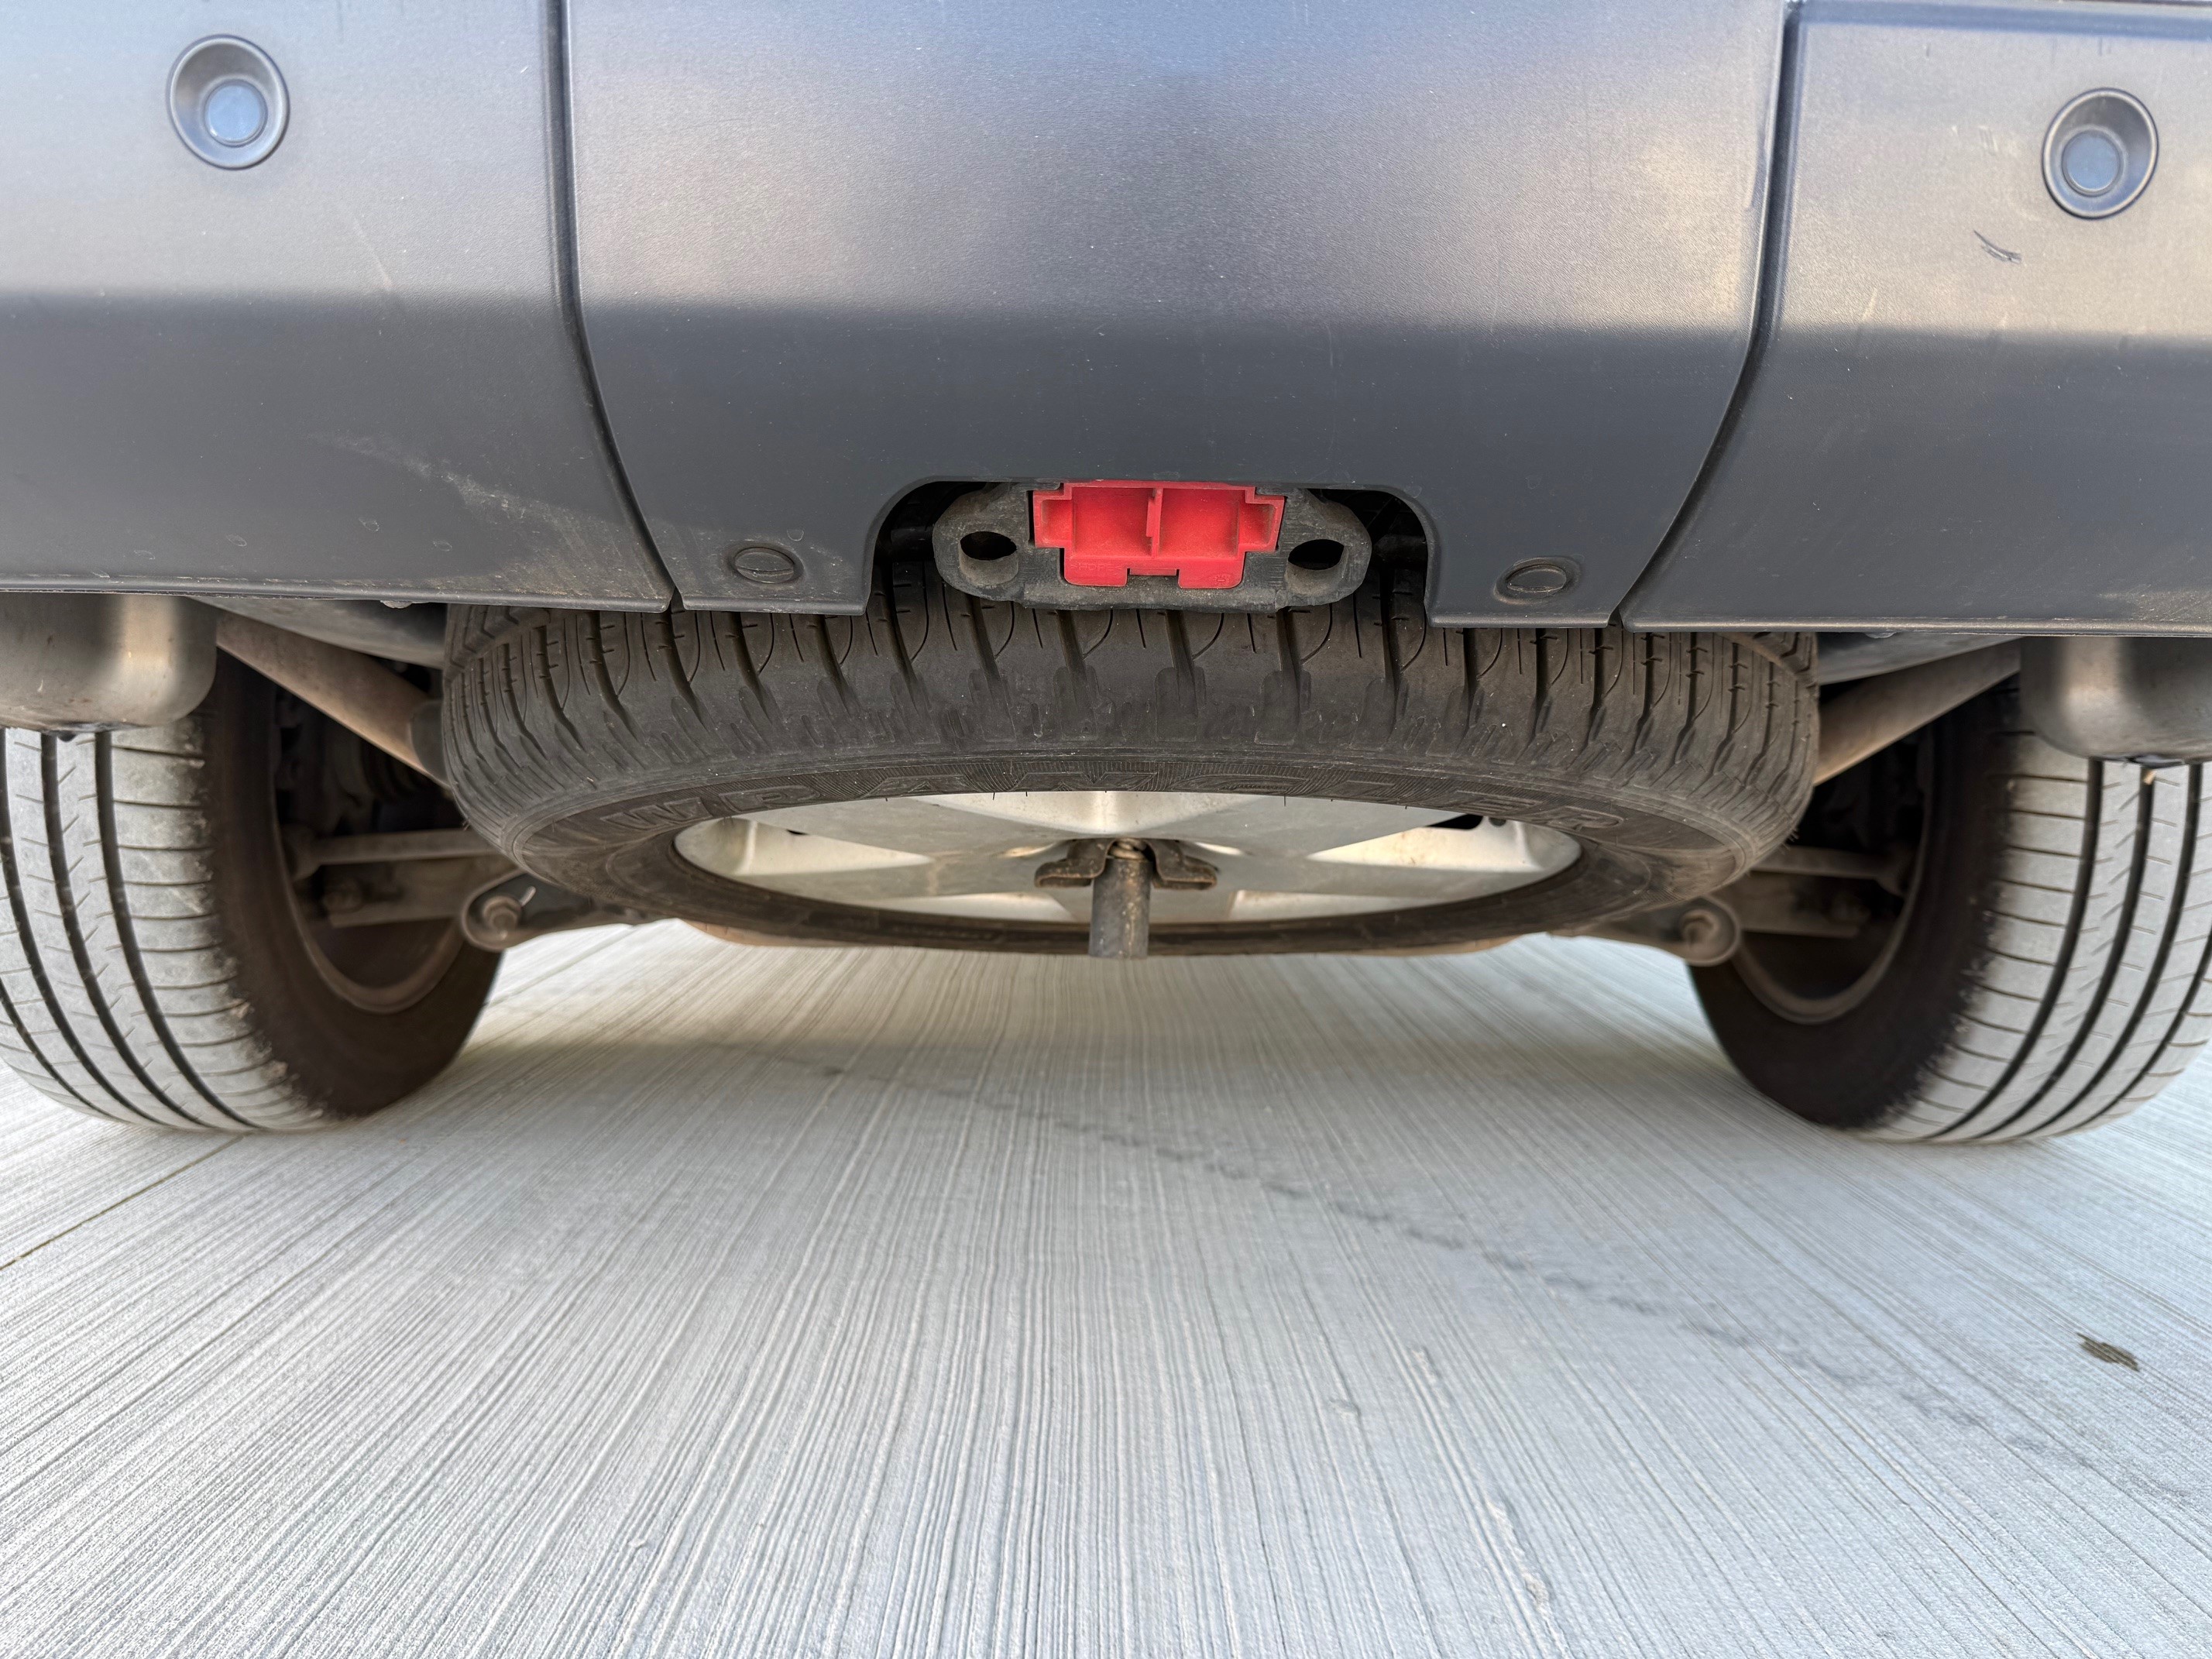
Spare wheel

153,000 kms

2 keys and manuals
View more in these categories:

© Witham Specialist Vehicles Ltd 2026